
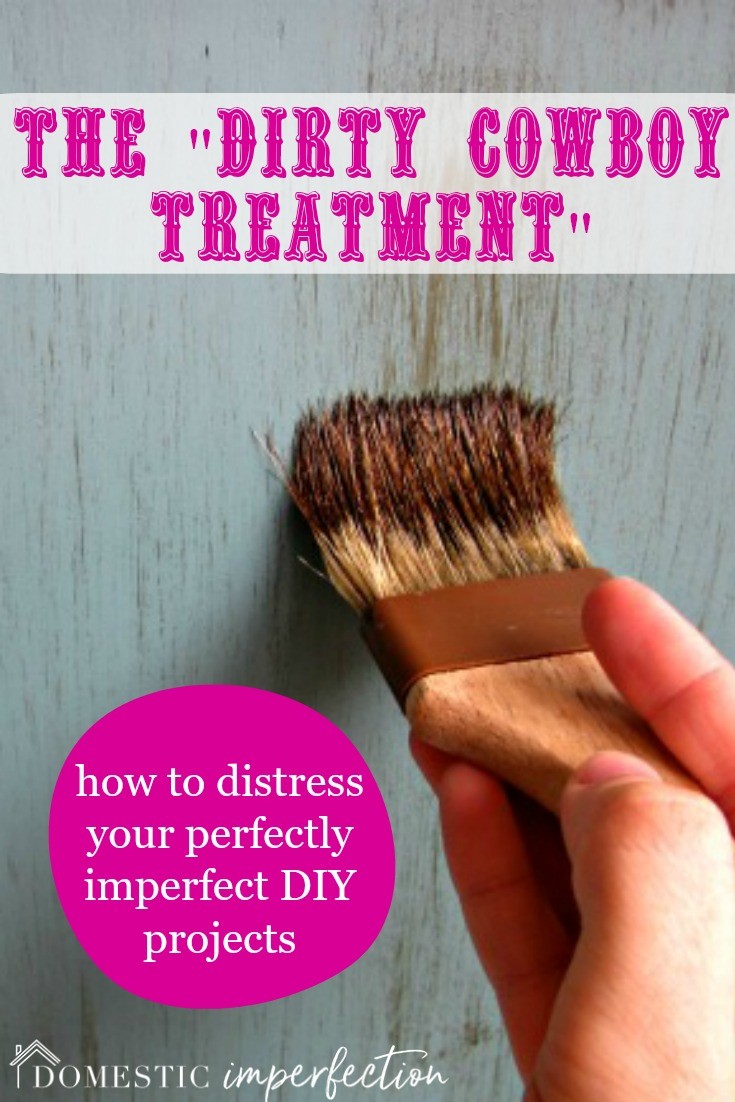
The “Dirty Cowboy” Treatment
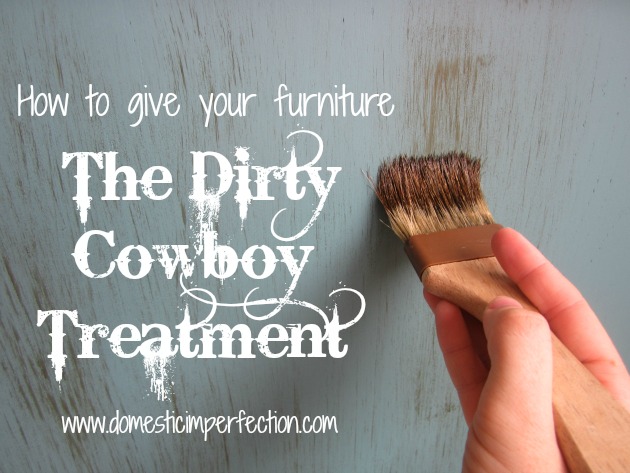
Ahh, the Dirty Cowboy…a great way to give your furniture some personality. That’s right… furniture. Is that not what you were expecting? What kind of blog do you think I’m running over here?
So I didn’t entirely make this technique up, it is really just dry brushing… or antiquing, or distressing with stain, or a variety of other names. I’ve tried to dry brush furniture a few different ways and this is the way I found worked the best, was the easiest and gave me the best result.
First your going to need a painted piece of furniture. (This is the side of a “mystery table” that I haven’t shown you yet.)

Then you’ll need some stain and the crappiest paint brush you can find. Remember that brush that you accidentally left sitting in paint thinner, then you tried to rescue it but couldn’t, then your toddler found it and used it as a shovel? Yeah, that one…well now you have a use for it.

This is a really simple process and it would be hard to mess up. The goal is just to make it look dirty and used, so don’t take yourself to seriously :)
First dip the brush in your stain.

Then “paint” your dropcloth (or old towel or whatever you use to clean up project messes) until hardly any stain is left on it.

Next, brush it onto your surface. Just brush it on real quick, the side of this table took me about five seconds to do (not counting the picture taking, of course).
 from Domestic Imperfection")
I like to add a lot of stain to any corners or grooves.
")
Then grab a rag and wipe it all down until your happy with the way it looks.
")
If you need more stain just repeat the process, or if you used too much then do the same thing with your paint color.
")
Lastly, seal it (I use polycrylic) and your done!
Also, it is hard for stain to dry over paint and it may be tacky for awhile. You can wait it tout, or you can just poly over the tacky stain. I didn’t wait :)
")
And that’s that! I think my dirty looking table matches my dirtfest of a front yard quite nicely, wouldn’t you agree?
(Special note – using a flat paint will make this harder, I used eggshell and it worked well.)
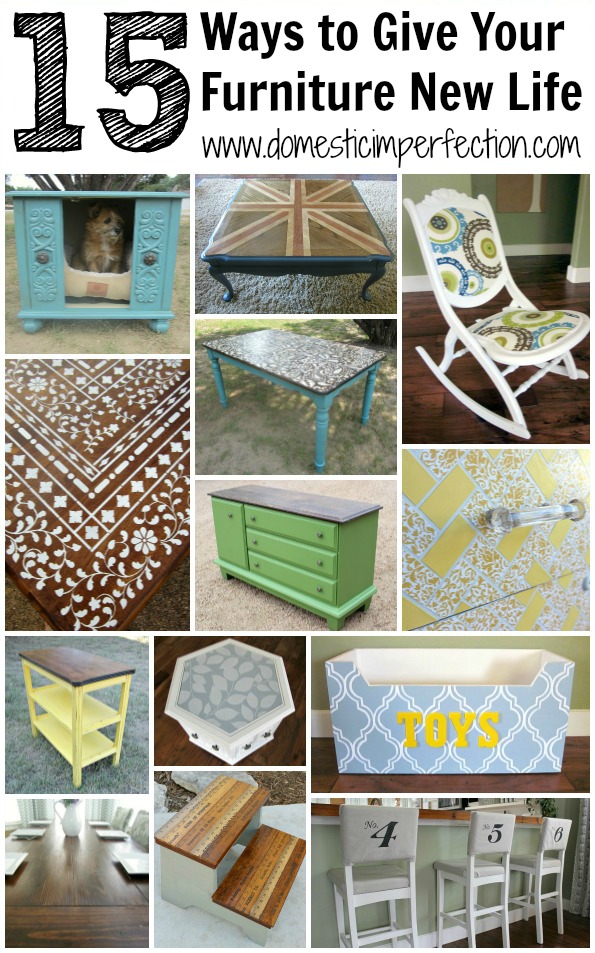
Want more furniture ideas? GO HERE

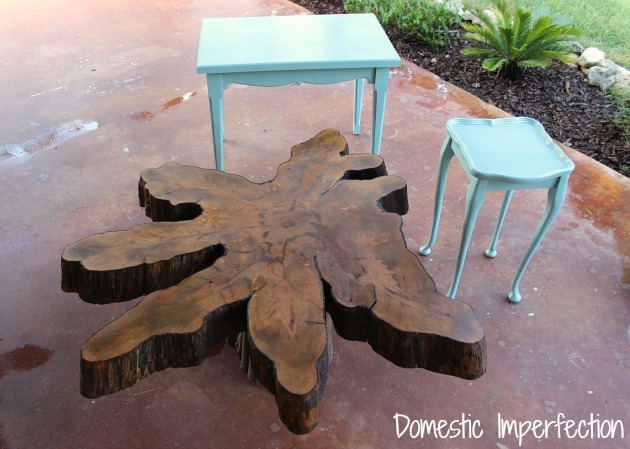
So easy! This looks great. I’m dying to see the front of this mystery table :)
This is kinda neat. But as a sister of a real cowboy, I gotta say the dirty cowboys I’ve seen never look quite this good. LOL! I did this treatment years ago on the top of a painted table. Because I’d painted it with a roller it gave an orange peel effect. So with the stain on top, it looks quite nice…no brush strokes. :-) It’s fun what you can do with stain over paint.
OOO, gonna have to try that!
Looks awesome. Can’t wait to see the whole table. Thanks for sharing.
Ill have to try this sometime! Also, I really love the first few sentences of this post, definitely had me laughing!
“Dirtfest”, haha, love it! Looking forward to seeing the final product.
Love your site and this project. I’ve never tried stenciling, but may have to try this paisley!
I do have a question though: Just painted a headboard gray with latex paint after sanding previous finish off. Did three coats and waited several weeks. Then stained using minwax wood finish (dark walnut). Waited 24 hours. All looked good. Then I applied Johnson paste finishing wax in neutral. It took off the stain! What did I do wrong?
You rock. Plain and simple, girlfriend.
Brilliant, I love it. And I love that you call it “The Dirty Cowboy Treatment”. Yee haw!
Love this, thanks for the idea!
Super Cute. Bythewayjenngray.blogspot.com
Thanks! I love this method and hope to be using it soon. I appreciate the share!
This looks great–I love playing with different finishes. Thanks for sharing.
Can’t wait to see the front =) Love the way the stain makes such an awesome impact!
Visiting from House of Hepworths
I love the name of your treatment! :) Dirty Cowboy! Hehe! Anywho, I love the way it came out and I’ll definitely be giving it a try.
Found you over at I Should Be Mopping the Floor.
I would love for you to link up to my party: http://lovingthiscrazylife-melissa.blogspot.com/search/label/POC%20LINKY%20PARTY
Hope you have a fantastic week!
Haha! Way to grab our attention with the tagline! Worked on me :) Your project turned out fAbUlOus!
Tanya :)
Dirty or clean, I love it. :D Thanks for sharing on BeColorful this week.
p
LOVE the turquoise color! What brand/color paint is it??
It’s Hallowed Hush by Behr (Home Depot).
Whoah. I tried this, and it was SO easy and it came out SOOOO good! Thank you for posting. My husband was amazed at the final product, commenting that it looked “Way beyond my skill level”. I think that was a compliment…?
:)
Lol…husbands have a way of making complements sounds suspicious. I’m glad it turned out well and your welcome!
Okay, here is my take on the Dirty Cowboy treatment!
http://nopoquirkymomma.blogspot.com/2012/08/my-bedside-table-re-do.html
I just redid my master bedroom and used this treatment on almost everything! I did a pale green on an antique door for the headboard and an old 6 pane window for use as a picture frame, and cream on some shelves, a bench and the dresser. This technique really ties them together without them having to be all matchy-matchy.
Do you think you could use the technique on metal?
ha this is hysterical! I love using the drybrush technique [actually just used it in my painted summer series] but never knew it came with this awesome name :-)
thanks for sharing this wonderful project
What type of polycrylic finish did you use? satin?
I wrote this post so long ago that I don’t remember…but what’s in my paint closet now is gloss and I’m pretty sure that’s what I’ve always used. The gloss isn’t actually that shiny though, it looks more like a satin finish (to me).
Never mind, it was satin. I just stumbled upon and old photo and could read the can. The gloss still isn’t that glossy though :)
Do you use a dry rag or a wet rag when wiping the stain??
I use a dry rag, it smudges the stain just enough without removing it. You could also just do the brush technique without smudging (I did that on this table) or just use a rag dipped in stain without the brush (like I did here). Just giving you some options :)
going to try this on a sign
Hi there,
one questions- I’m super new to the whole DIY thing. Is the stain a colour that you picked or do you just go to a paint place and ask for a generic stain?
Thanks so much!
There are a limited number of stain colors from each brand, and they are all pre-mixed (unlike paint). You just pick one off the shelf! The one I use most frequently is “provincial” by Minwax.
I love the way this looks! When I put the stain on it isn’t even close to that dark And when I wipe the stain off my project I wipe it all off. I’m using the same brand of stain you are in an interview ebony. Help please!! :)
What kind of paint are you cowboy-ing over? If you used a glossy paint that is likely that all the stain will all wipe off, and if you use flat then not much if it will wipe off at all. I usually use eggshell/satin. Also, recently I have been doing the dirty cowboy a little differently. I get stain on a crappy brush, get almost all of it off on a towel (it basically needs to be dry), then brush really quickly and lightly over the furniture and don’t wipe it at all. This looks great too and is super fast and easy.
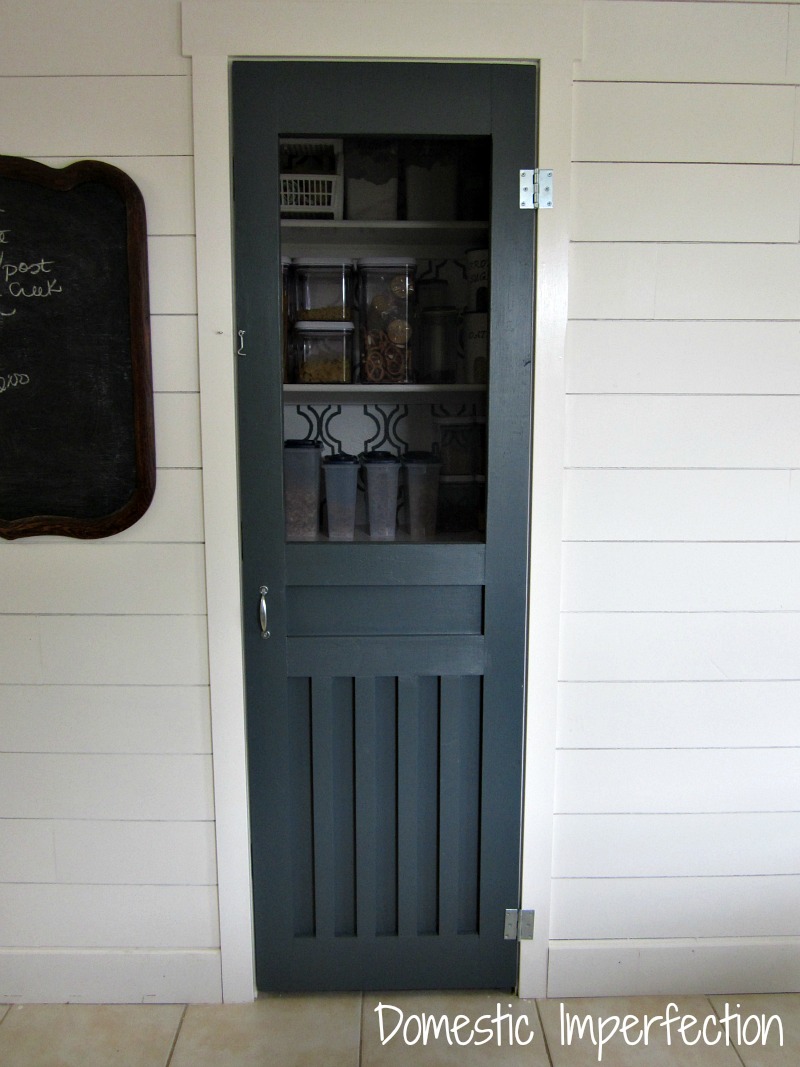
Loving the cabinet in the background as well as the project!!!
Have you ever used artist acrylics for this technique? I’ve never done it was stain, but I usually get the big tubes a cheap acrylic at the craft store when it goes on sale for about three dollars a tube. I originally started mixing it with glaze to do a faux antiquing but then started doing the Drybrush technique for what you call the Dirty Cowboy. It dries pretty quickly and then I poly over that. And I absolutely LOVE having a use for those beat up gnarly paintbrushes! Love your site :-)
I’m doing my basement in an old saloon style, I need to tone down the white walls, would this work on the walls, the walls are painted wood, not plaster or sheetrock.
Would this process work if I used paint rather than a stain to distress the piece?
You a girll after my own heart
You are a girl after my own heart
Do you use a dry cloth to wipe the stain off?
Yes, you can wipe it off with a dry cloth or choose not to wipe it off at all.
I know this is an old post, but any idea which paint and color was used?
Love it, exact color I am going for in a bathroom redo. Would like to do this to the vanity.
Good work i think im gonna give this darn dresser of mine that good old cowboy treatment thanks.
What happens if you use satin enamel paint? Would it still work and would you have to seal it? TIA
Love this technique! I’m using it on my stairs!!
I am thinking of doing this technique for a hutch and uding Sloan’s chalk paint for the base color. You mention not using latex paint and said you used eggshell… I thought eggshell was a color so I’m a bit confused. Just wanting clarification before I begin. Thanks, I love this look!
The sheen of my paint was eggshell, which is basically just satin. If you are using chalk paint I would practice on a test board first. It will work just fine, but chalk paint is so matte and “thirsty” that it might be a little unforgiving until you figure out just the right pressure, speed, and amount of stain to use.
Love the table! Now I want to start working on all my furniture. Lol!
Loved your “distructions” just painted an antique mirror so now I’m going to try your method on it. Also going to sand and paint my bathroom cabinets same way. Wish me luck, hope I don’t regret it. Thanks
Ashley, how many coats of poly did you use? I’ve just started to poly my cabinet doors, and I wasn’t sure if I should do a second coat once they’re set.
Your blog gave me the courage to paint my kitchen cabinets AND give them the dirty cowboy treatment, even with the naysayers telling me I shouldn’t do it. I’m loving it so far, and my husband is blown away. Thank you!
I’m gonna try this ty
Can this process be used on cabinets as well?
Sorry! I mistyped my email. Will this work on cabinets?