
Lightweight Rustic Wood RV Walls
*Thank you to Stikwood for sponsoring this post!*
I’m so excited to finally be at this point in the RV remodel! This entire time I have been schlepping away at this remodel….painting cabinets, painting walls, and painting countertops, and that whole time all I wanted to do was get to the part where Adam and I got to install the rustic wood walls. I knew it would be my favorite part, and I am not disappointed. Just look at the difference!
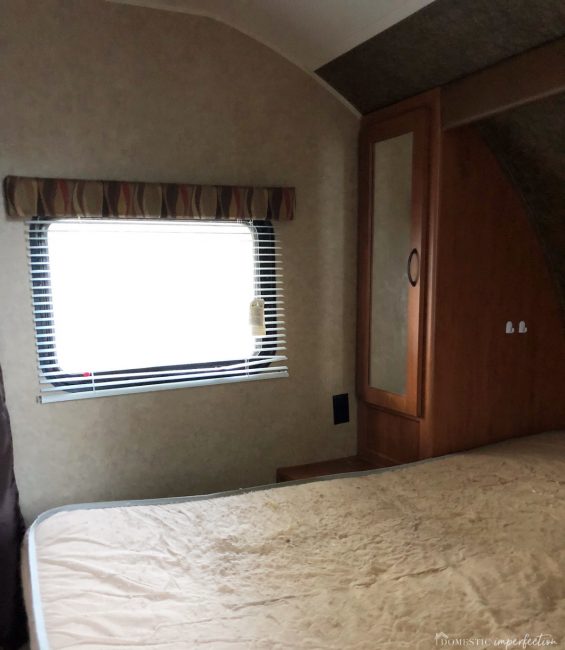
Bedroom before (WAY before) –
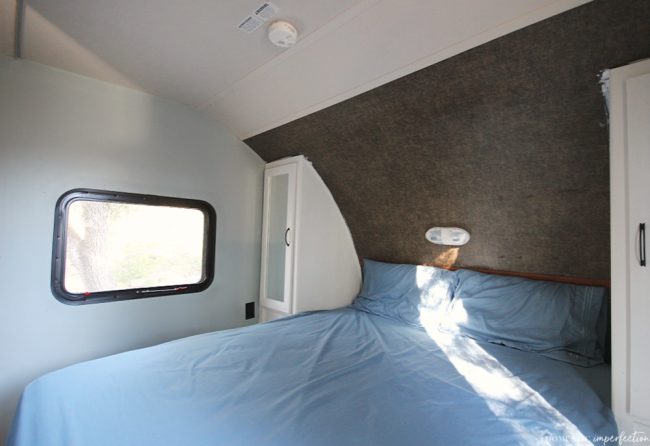
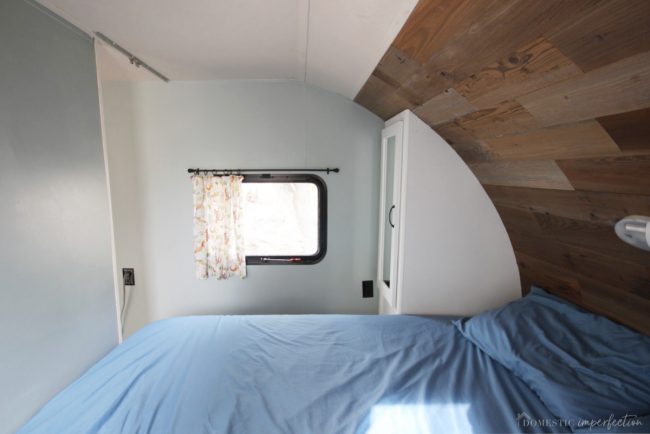
Bedroom, before the wood –
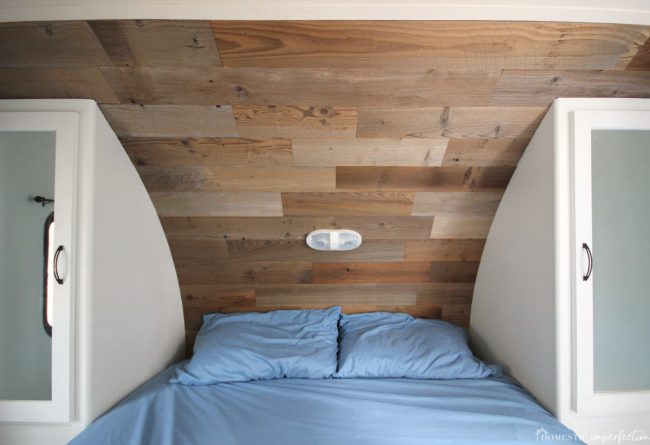
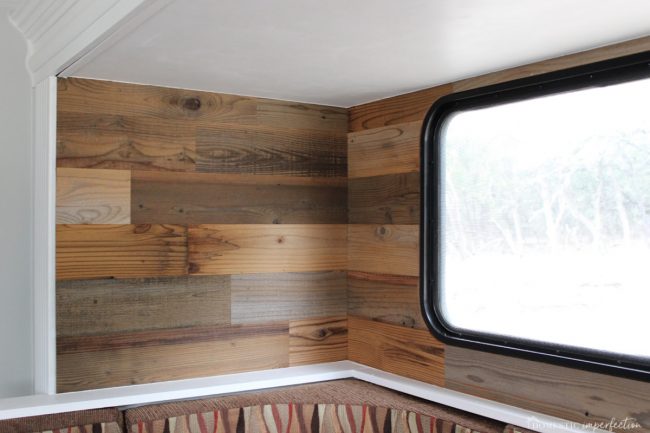
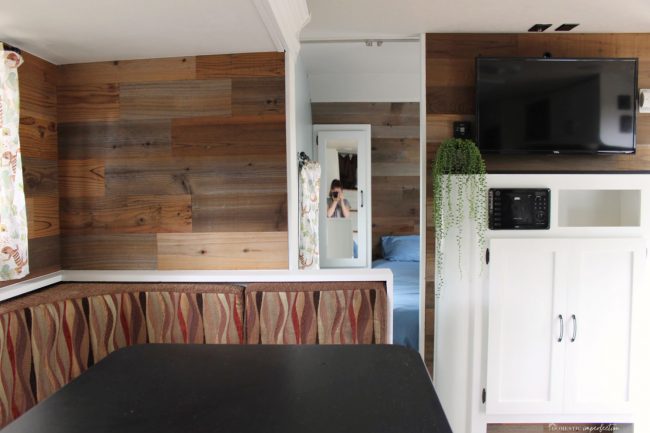
Bedroom now –
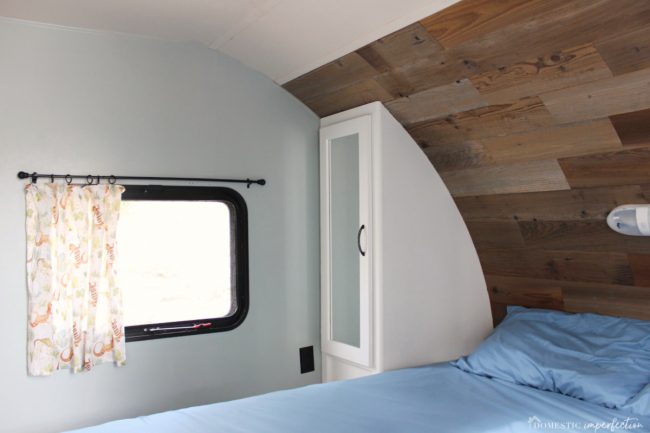
It’s sexy, right? Or am I the only one that thinks rustic wood walls are like the Channing Tatum of home decor? You just can’t go wrong….they look good anywhere, all the time.
The product we used is called Stikwood, and I have been wanting to try it for YEARS. I am obviously a huge fan of rustic wood, and this product looked so great and simple to use that I knew I had to try it.
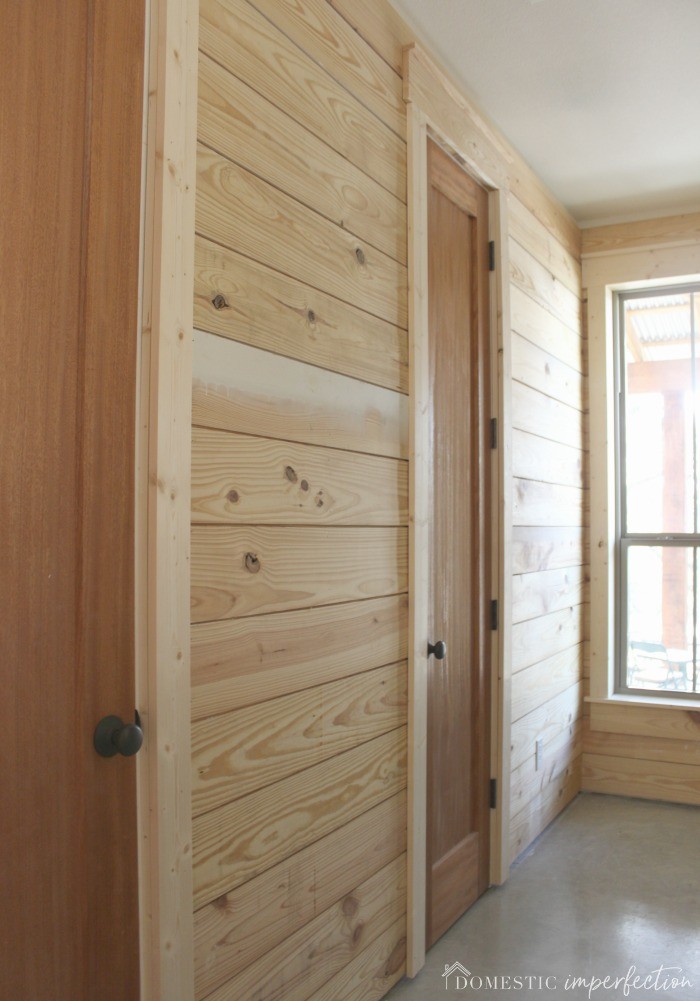
We have used cast-off cedar fence pickets for all the wood ceilings in our house, but that wasn’t an option the RV, for a few reasons. First, you have to be really careful about adding weight to a travel trailer, so adding a few walls full of lumber wouldn’t be a smart move. Second, real wood would be too thick for the walls, not to mention we couldn’t mold it to fit the curved wall/ceiling behind the bed. Wood look wallpaper is always a budget-friendly option, but it doesn’t compare to the real thing. So I emailed Stikwood to see if they would be interested in trading product for advertising and was thrilled when they agreed.
Stikwood comes in a ton of options, and after studying their website and images for way too long, I narrowed it down to two options.
Golden Oak
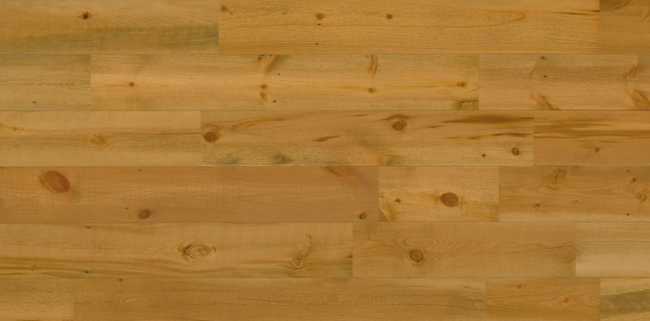
Before I received my samples I was nearly positive that this was going to be the winner. The RV was really dark when we bought it, and adding dark wood after painting over a bunch of dark wood seemed counterproductive. I liked the warmth and lightness of this one, plus I thought it would look great with the barely-there blue walls and the oranges in the curtain fabric.
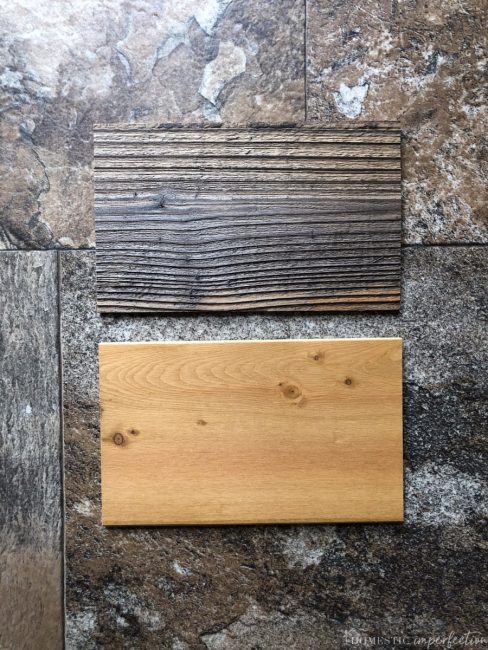
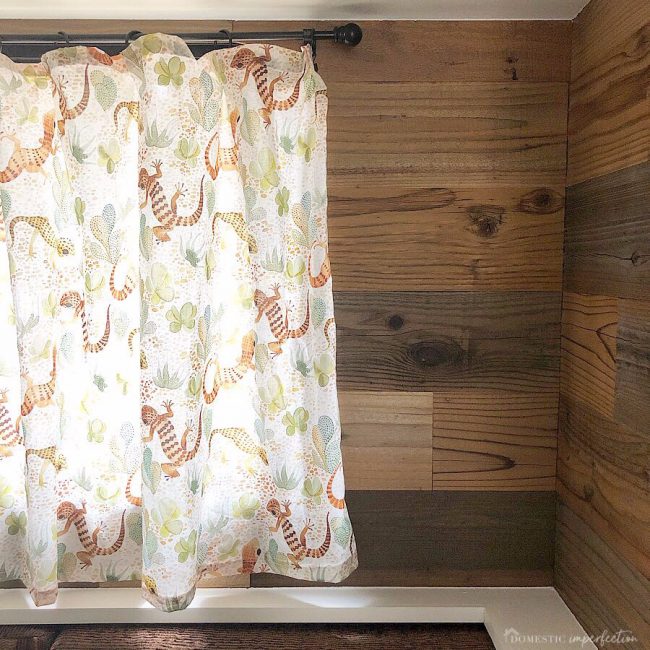
Reclaimed Sierra Silver

I’m fairly certain that this is one of Stikwoods best sellers, and I can see why. It is had a ton of color variation and rustic imperfections, and it is what I would choose to use in my house, no doubt. I assumed it would be too dark and gray for what I was going for in the RV, but I couldn’t NOT get a sample.
When the samples arrived they were both beautiful and very, very different. So I took them out to the RV to try and make a decision.
And then I asked Instagram, and y’all verified what I was already thinking.
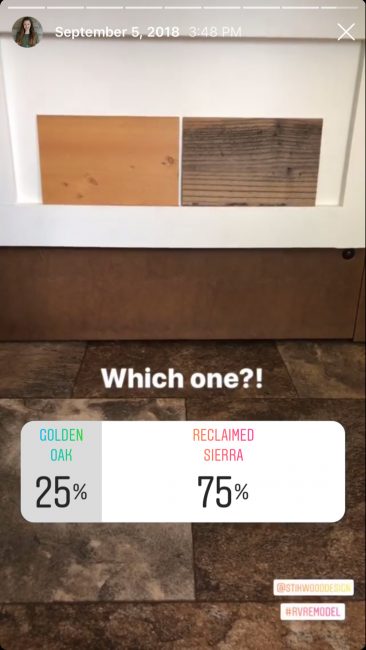
Clearly, I had to go with the darker one. It looked like it belonged in there, and it also made the floor (which is pretty much the only thing we didn’t change in the RV) look like it was meant to be all along.
So I put in my order, and about a week later it was at my doorstep, looking dang good.
Here is the tutorial for installing Stikwood.
How to install Stikwood
- Peel the paper off the back of the Stikwood to expose the adhesive.
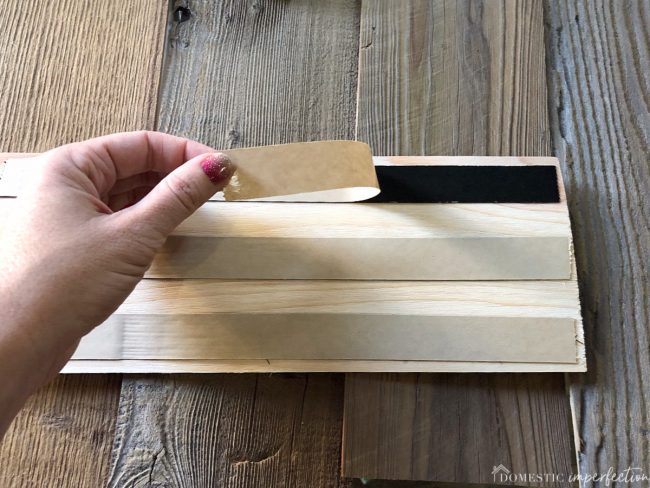
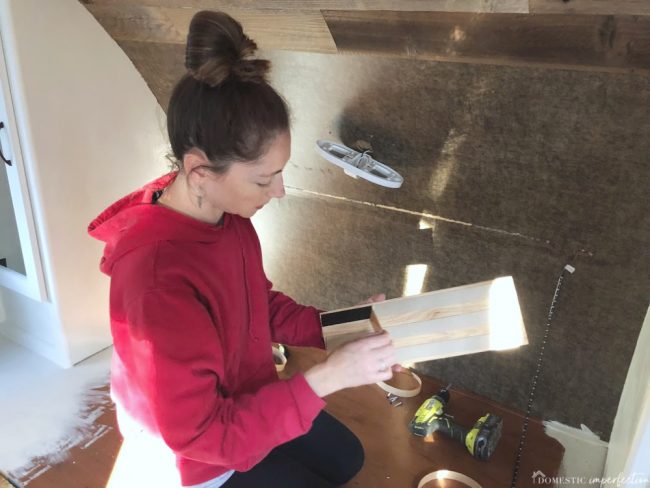
2. Press into place –
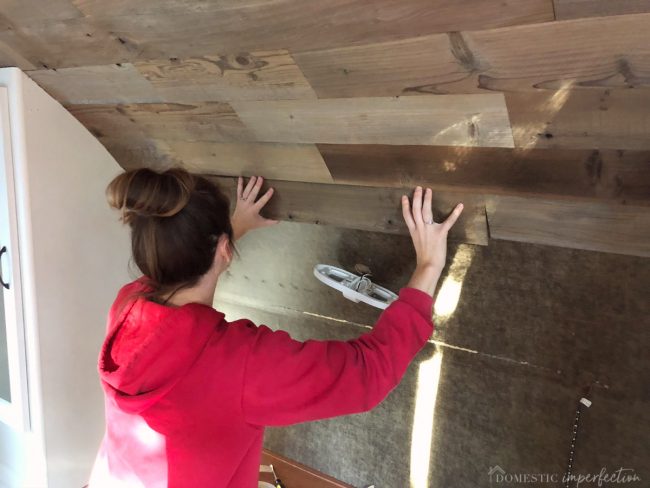
And that is it! So easy.
The self-adhesive strips work incredibly well…these walls aren’t going anywhere. Be careful to place them correctly the first time, because removing the board to reposition it isn’t an easy (or recommended) thing to do.
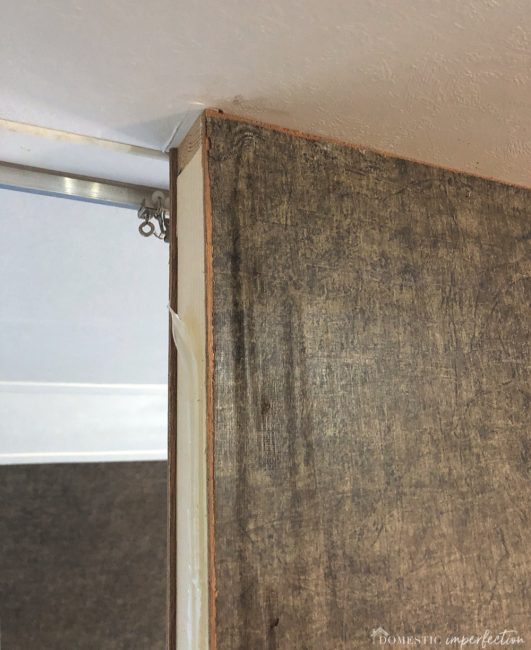
We did have to do a few things to prep the area, since it is an RV. The trim had to be removed, which was as simple as prying them off with a flathead screwdriver.

As far as cutting the Stikwood, we used a chop saw. It’s thin enough though that using a handsaw would be really easy….no expensive tools needed.
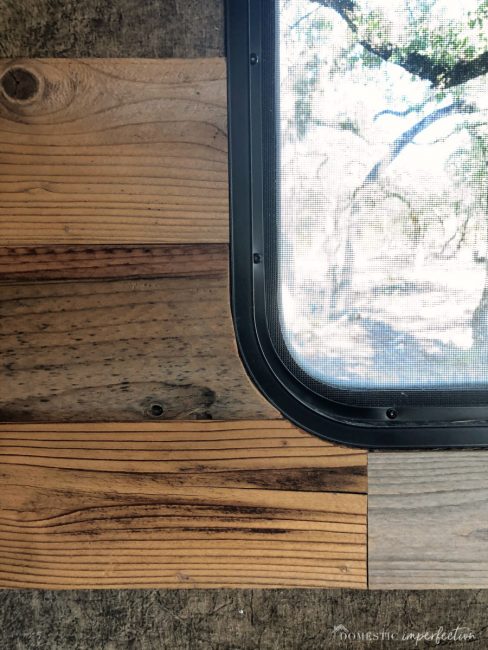
We also had to cut the Stikwood around the curved edges of the windows, which was the most time-consuming part of the whole process….for Adam, because he did them all.
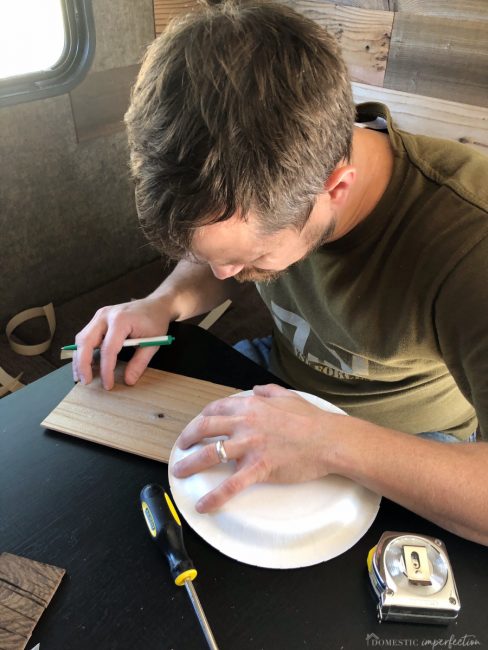

Nice, right? He’s a magician with a paper plate and a jigsaw.
Here is a quick timelapse video I shot of us installing the Stikwood in the bedroom.
So let’s talk about the pros and cons of Stikwood. It of course has both, like everything. The list of pros is much longer, but the con is a big one.
Stikwood Pros
- lightweight, only 3/16 inch thick (perfect for an RV)
- super simple to install, easy to cut
- stays put
- 100% real, legit reclaimed wood
- comes in a ton of different colors and finishes
- premade kits for headboards and barn doors
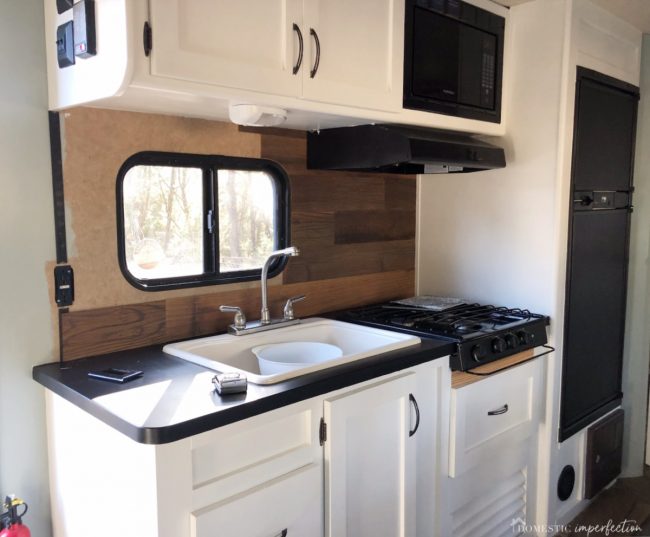
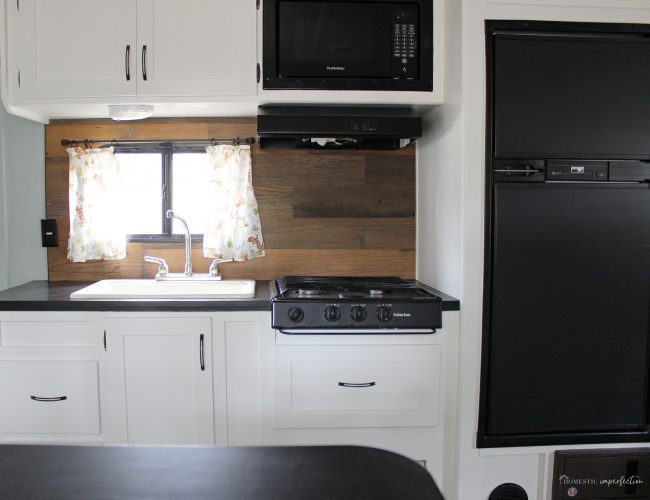
- can buy a “splashproof” wood for places that might get wet/dirty (we used this in the RV kitchen)
- looks freaking amazing
Stikwood Cons
- expensive
I love Stikwood and am excited to recommend it, but it’s not cheap. With this product you are absolutely paying for convenience. It would be much cheaper to find your own wood, cut it to size, and nail it to the wall (like we did HERE). Thing is, it’s not always easy to find a boatload of reclaimed wood (trust me, I know), and putting it up takes FOREVER (so long that we ended up hiring people to finish on this ceiling). With Stikwood, you order it online and can easily do an entire wall in a few hours. You are going to pay for that convenience, but that is just how the world works. If you want a great looking accent wall (or ceiling!) in your house and have more money than time, buy this.
If you are in a budget, Stikwood would be great to use in smaller areas. Adding to the back of a bookcase, as an accent on furniture, on a kitchen island, or on a small wall or would be a great way to add a simple rustic accent without breaking the bank.
Alright, enough with the talk…let’s see more pictures shall we?!
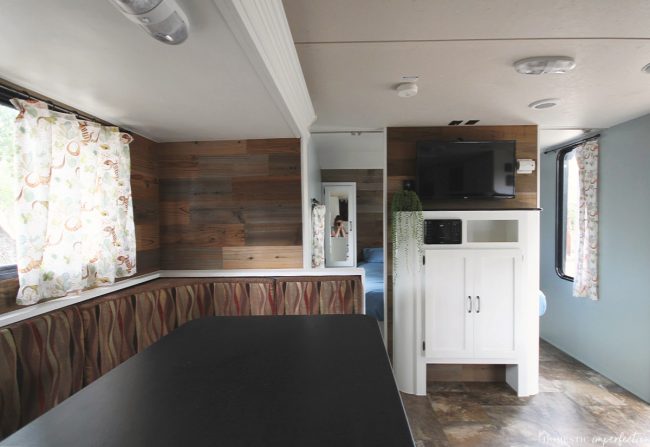
The last step in the remodel is reupholstering the banquette, which sticks out like a sore, ugly thumb now. As much as I have been looking forward to installing the Stikwood, I have equally been dreading reupholstering the banquette. After that we are finished though, I can’t wait for the final reveal!
*** CLICK HERE TO SEE ALL THE RV REMODEL POSTS ***

I have ben LOVING your posts on the RV Remodel! I mean, I love all your posts, but especially these ones. Seriously makes me want to go out and DIY something!
I just love love love what you have done with the camper. It was soooo ugly before, I would not feel to excited to go on a vacation in the before state. But now! Amazing! Relaxing! Beautiful! Great job!
Looks amazing. Makes me want to find a RV and take on another project!
Wow! Your RV is looking great! Love the reclaimed wood and I look forward to seeing it all finished!
WOW! That really looks amazing. And I love that you did accents of it. It kept it feeling light and bright and not a 70’s cabin, lol. You’re right, I didn’t notice the banquet much in the prior posts, but now you have to re-do it. It’s the red-headed step child in the room! :)
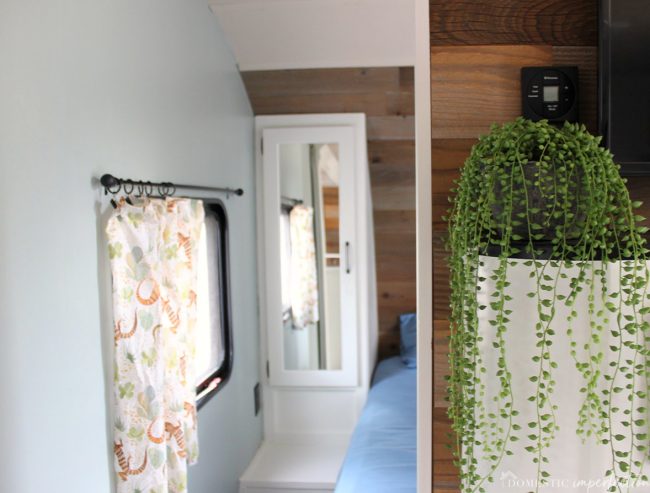
So this is not a Stikwood comment (although it looks GREAT!), but where is the faux-plant from that is by your television? I’m looking for a good fake-out hanging plant and that would be perfect. Thanks!
This is the String of Pearl Artificial Plant Hanging Basket ” target=”_blank” rel=”nofollow”>string of pearls plant from Nearly Natural. They sent me a few plants for the RV, and the string of pearls is by far my favorite. I want to fill my house with them…it looks real and hangs beautifully. It’s kinda expensive ($59), but I have spent at least that much in ones that I’ve killed. I just can’t keep them alive to save my life!
Ashley are you concerned about the heat and humidity loosening the planks? I have had peel and stick tile come up in our camper after one summer. I’m very curious how this holds up. Please keep us updated!
I really think they will stay put, but I can’t be 100% sure until we are on the other side of a sweltering Texas summer. They made it through the winter and a few freezes without a problem….I will keep y’all updated!
The reclaimed sierra was definitely the way to go. I have an RV myself and reading this makes me want to re design it all over again!
Oh wow, the Stikwood is just beautiful! It is making me think of lots of things I could make rustic around here… Your RV is looking so awesome!
Stumbled across your DiY this early morning and what a gift, a refreshing gift it was. You are the first couple I have seen using a product to enhance the interior of your camper, not just throw a coat of paint all over it. I’ve never been a fan of painted wood, even in my home.
Kudos to you both for presenting to us this beautiful wood product.
The O’Connors
Wheatfield, In.
I just love your remodel.
I bought a 25ft pull behind the front has water damage,but that did not stop me.
I got it home in the barn and got started on it today. It will take some time for my remodel but I’m excited. Now even more now that I’ve seen yours.
Love the way ,your Rv looks..