
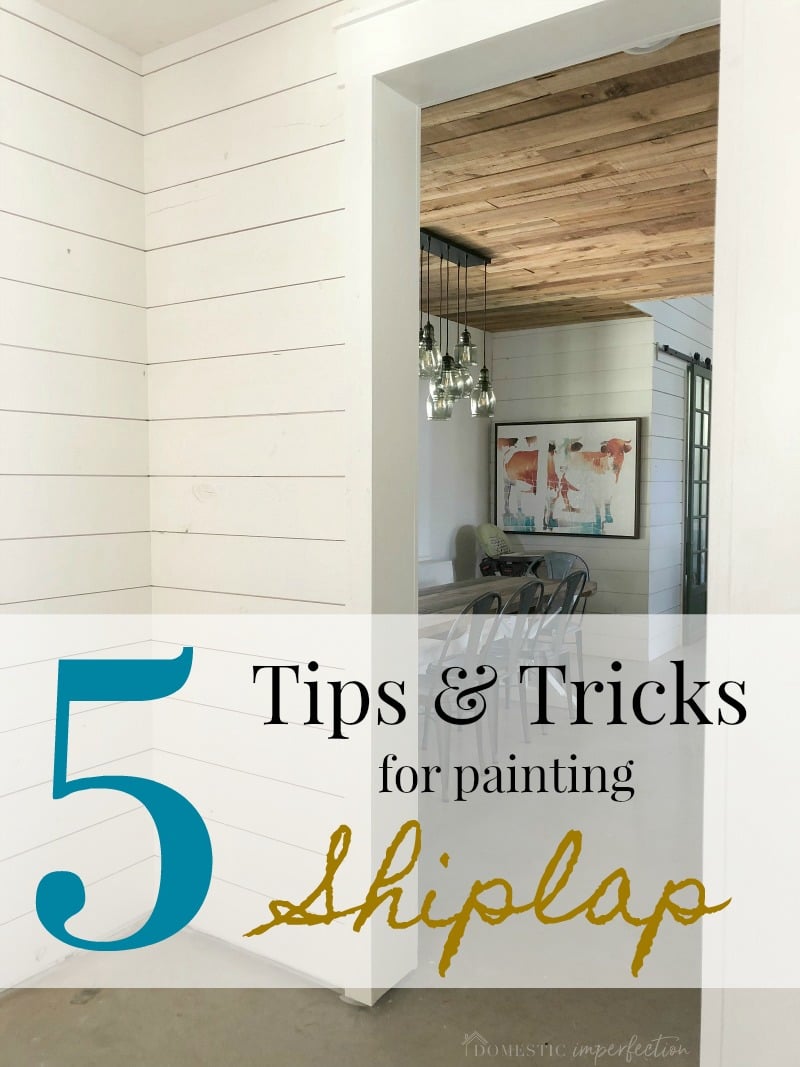
Everything I’ve Learned About Painting Shiplap
I logged onto my website this morning to publish this post and saw that it has been a month since my last one. I would have sworn it was only a week or two….time is flying. Flying. Anyway, progress is still happening around here despite my blog neglect, and the shiplap in the laundry and mudroom is painted and officially checked off the list. So here it is!
Before

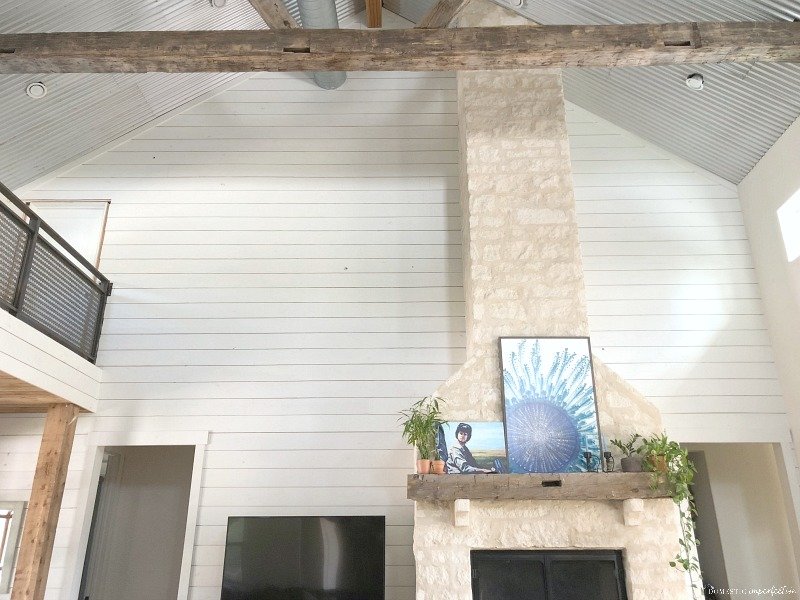
and after!
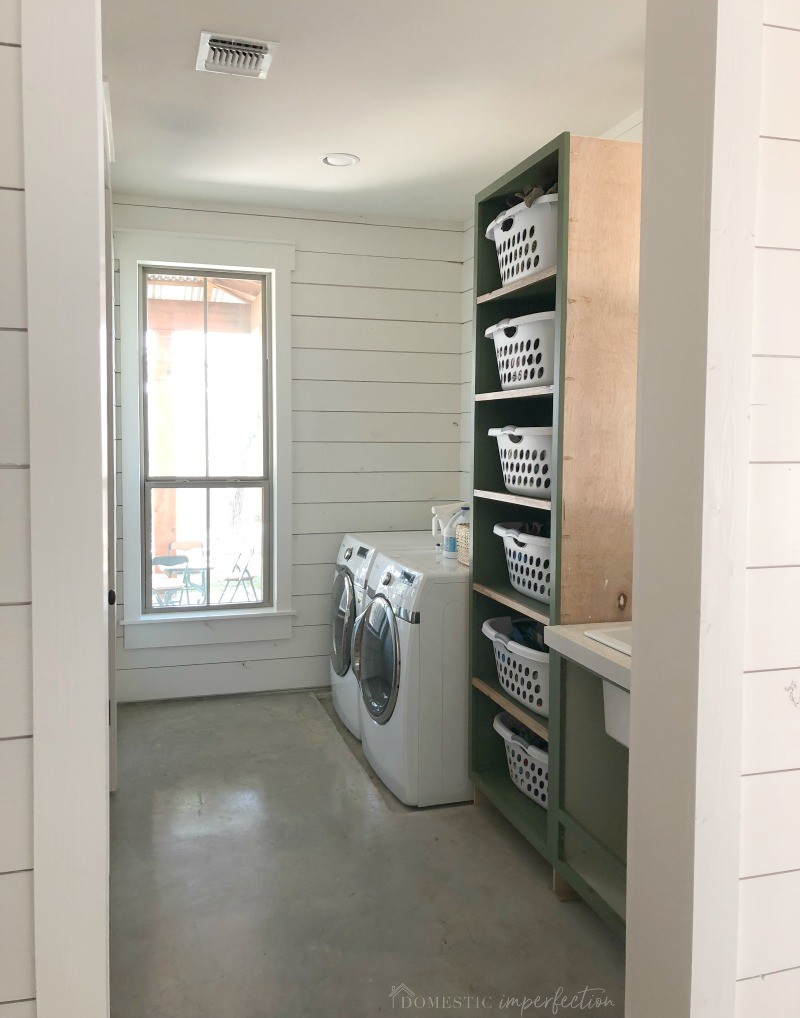
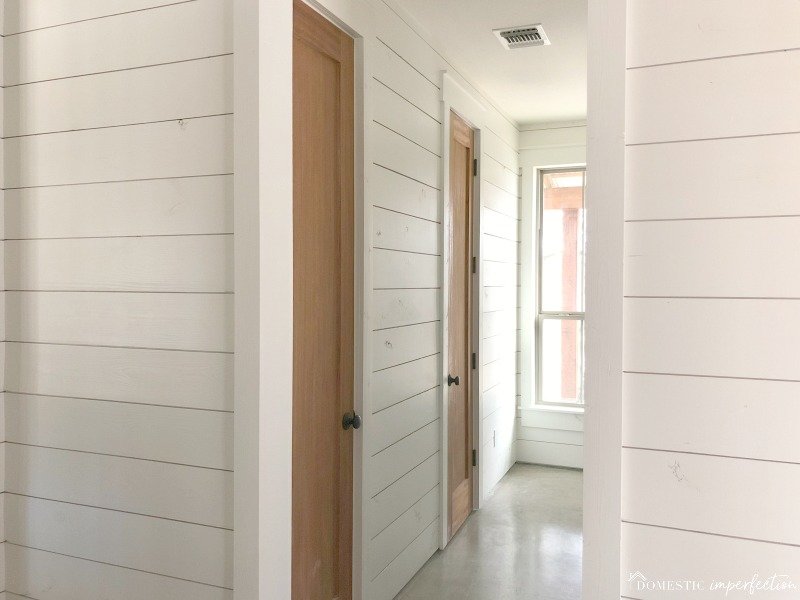
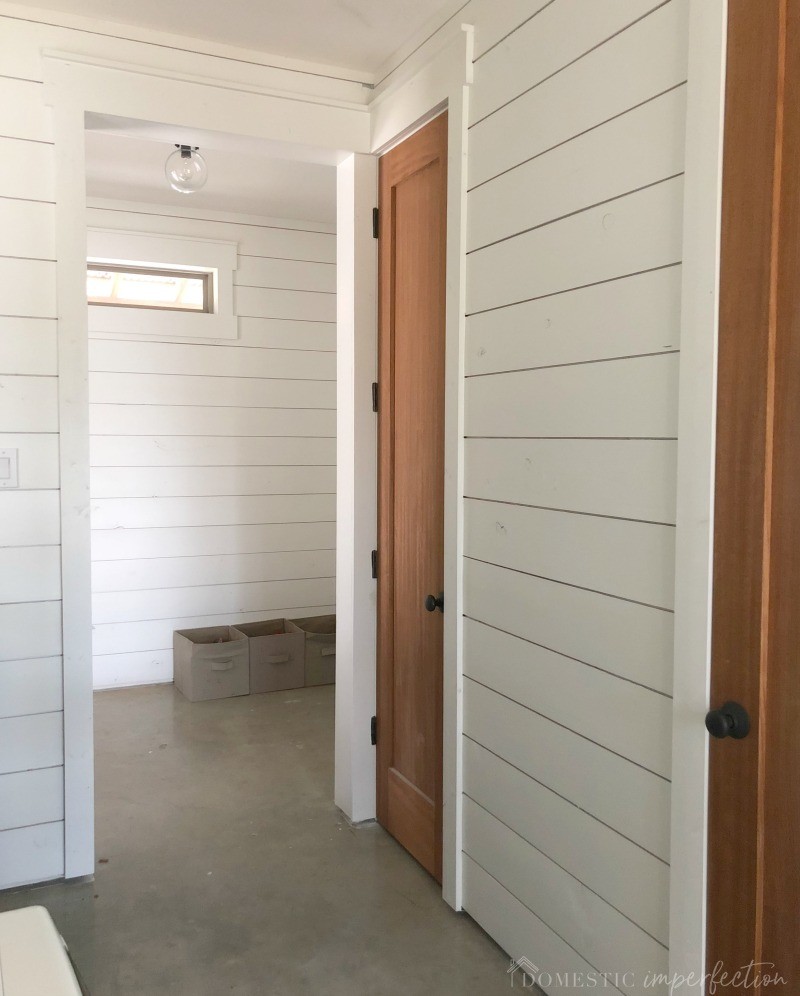
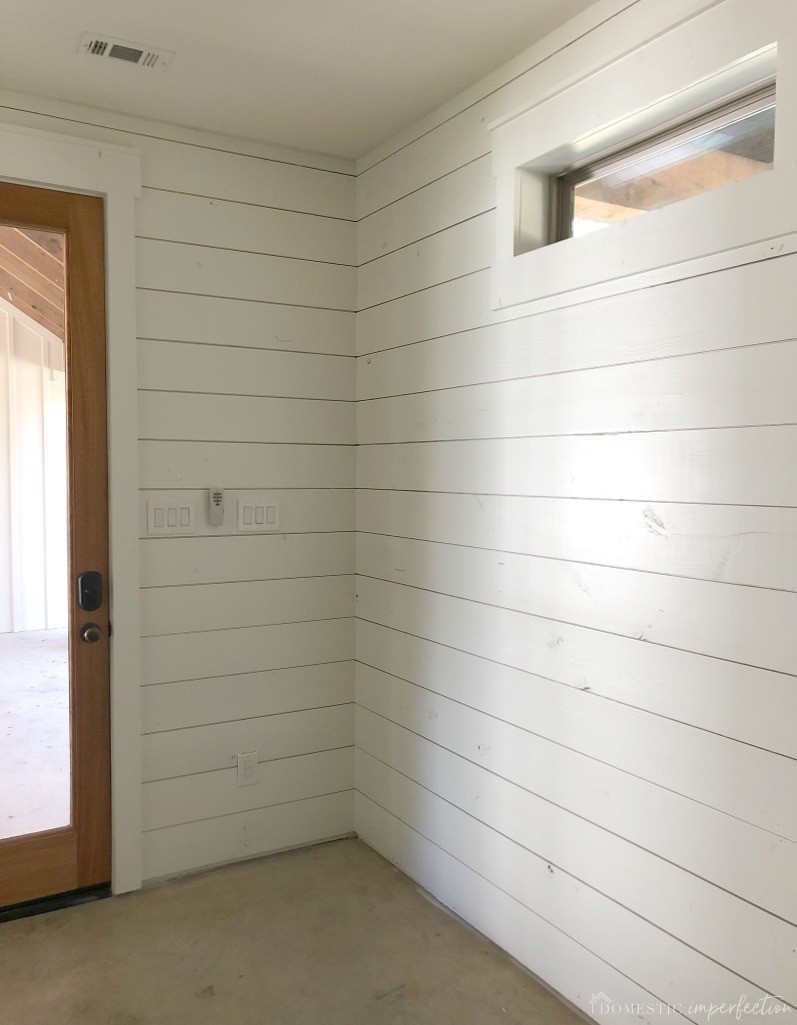
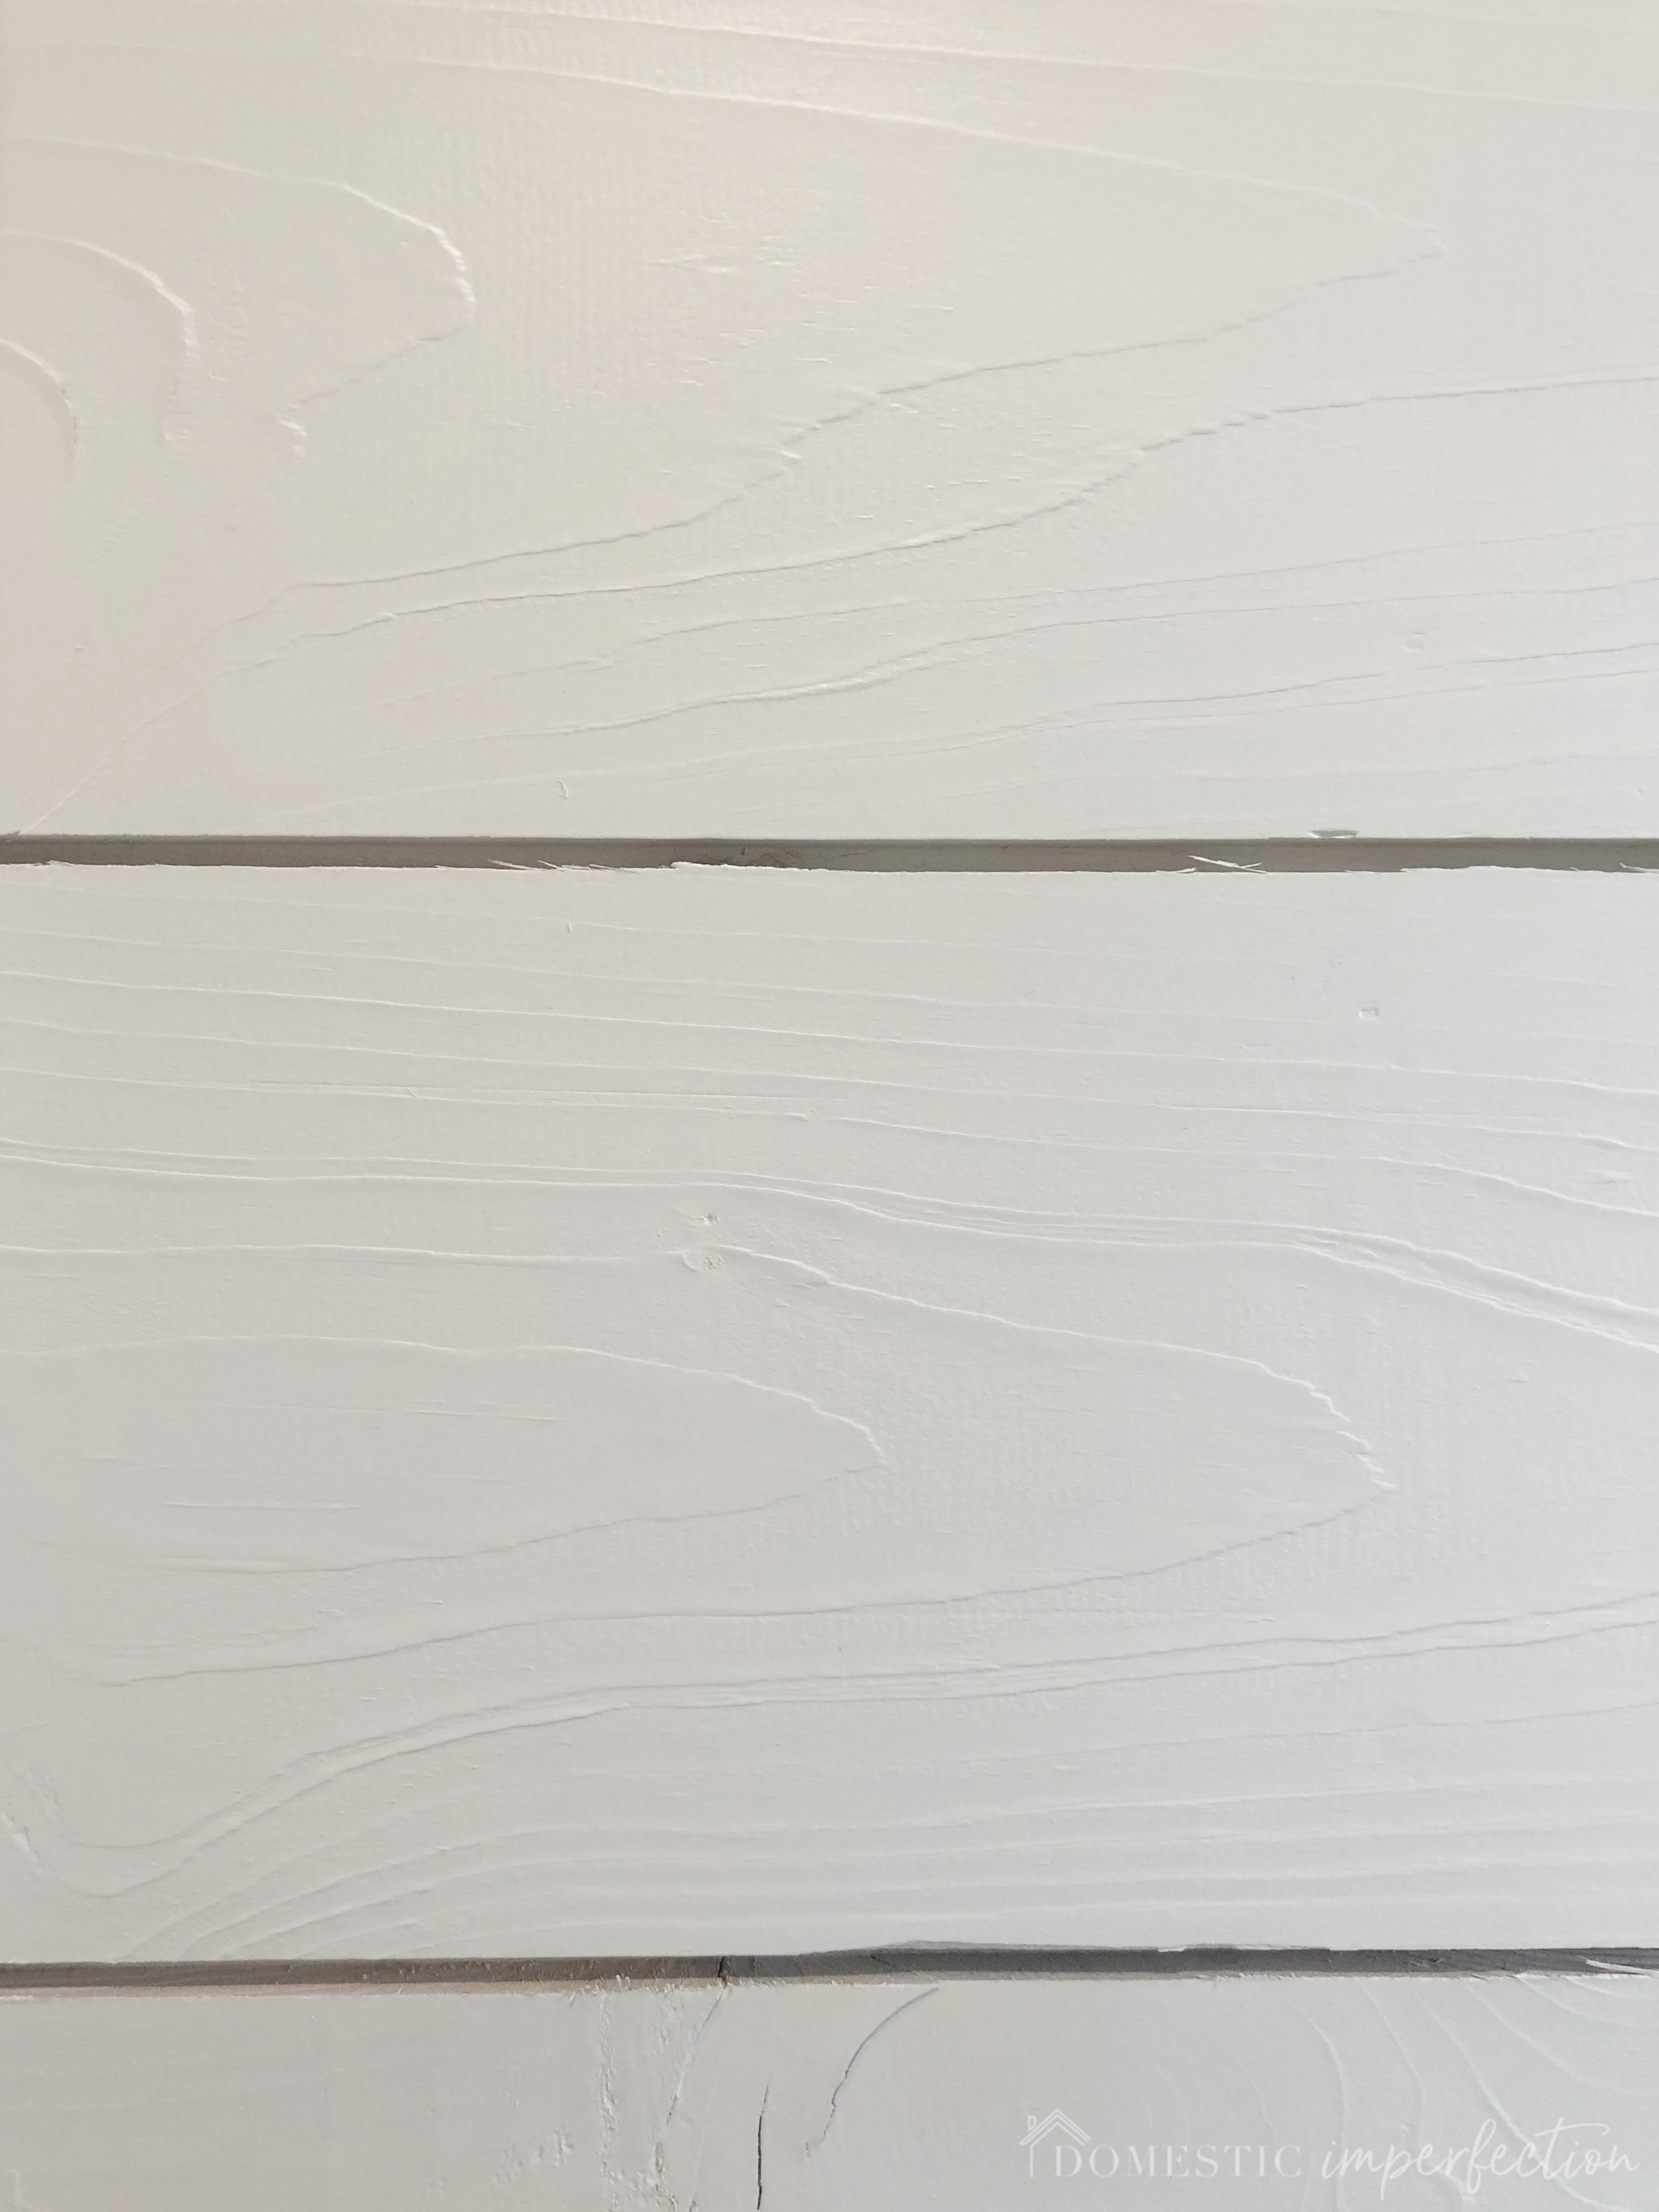
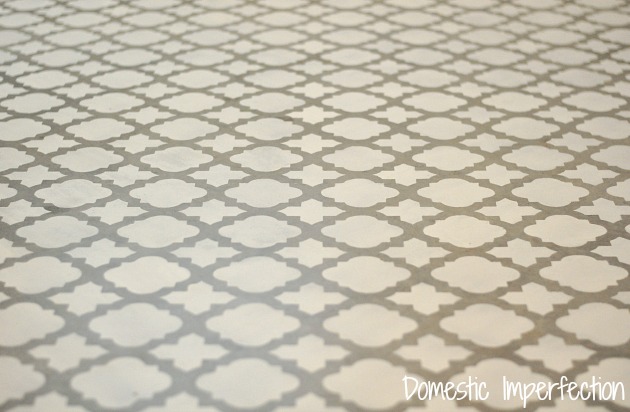
I love it, it’s so fresh and clean and just a great starting point for the rest of the makeover. Here is a close-up so you can see the texture and character.
Anyway, instead of just showing you pictures I thought I’d share some tips for painting shiplap. It seems like this would be unnecessary…I mean, painting is painting, right? Roller meets wall, rub it around, color happens, done and done. Painting is pretty simple and self-explanatory…but also? It is such a pain in the butt, and painting planks adds an additional layer of pain.
Tips for Painting Shiplap
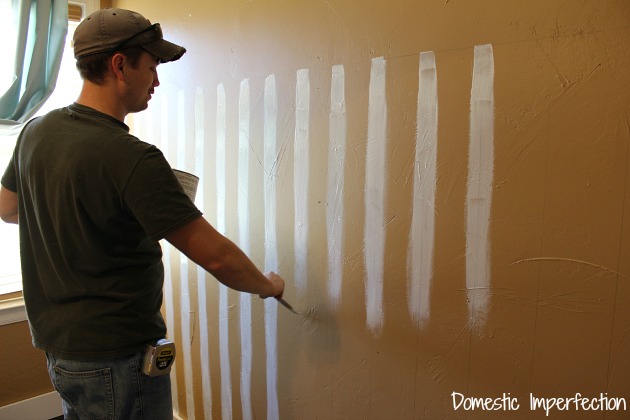
Paint the wall the color you plan to paint the shiplap.
This step varies in importance depending on which kind of shiplap you are installing. If you are doing the faux planks (like we did here) then you will see the wall between every board, and painting it beforehand is so much easier then painting it afterward. Not only will painting it after not work all that well, it will tear up your brush and take forever (if you are using faux planks make sure and sand the edges before installation as well). After learning our lesson the first time, we wisened up and painted where the cracks would be for this vertical installation. It doesn’t have to be a great paint job, it just has to be the same color (or close enough).
For this new house we used real shiplap instead, which doesn’t leave a gap where you see the wall, so painting the wall beforehand is much less important. There are still knots and cracks where you would be able to see bits of drywall, so depending on how much of a perfectionist you are you may still want to take the time to paint it.
Patch the holes and caulk the cracks
Installing the planks will leave you with a ton of nail holes, plus there will be cracks in the corners, along the ceiling, and a variety of other places. The process of filling them all is tedious and slow, but in my opinion very necessary. You will want to use a paintable caulk for the gaps and cracks, and for the nail holes this 3M patch + primer is my absolute favorite.
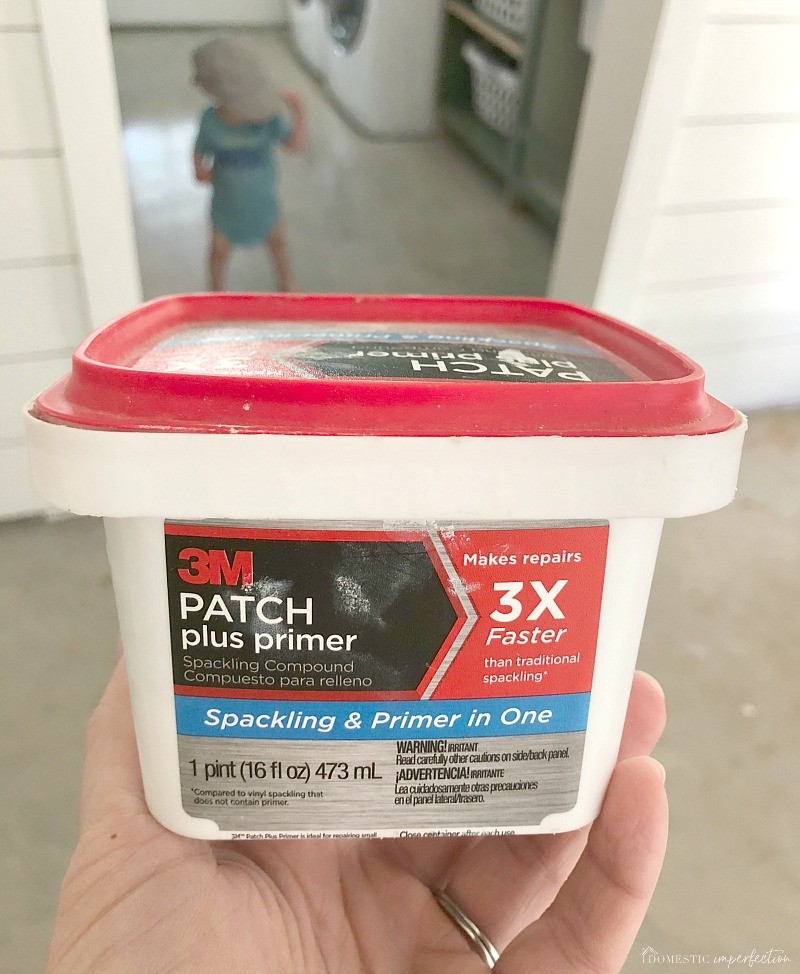
Often when you use a patch you can see it after you paint, the sheen is never quite right and it just looks like a patch. This one includes a primer though, and it works amazing. Just push little into each nail home, let dry, sand smooth, and paint. And if the stuff in the tub dries out you can just add a little water and reconstitute it indefinitely (I’ve reconstituted this tub no less than 20 times).
My other favorite thing? 8-year old boys that think this kind of tedious work is thrilling.

Don’t skip the primer
Priming might seem like an unnecessary step, but it is actually very important. Pine absorbs paint (and stain, and everything) really unevenly, so the primer will help to even it out and give you much better coverage. It also helps with adhesion, gives you a smoother finish, and stops bleed-through. And if nothing else primer is cheaper than paint, so you really can’t go wrong. My primer of choice is Kilz 2, which is water based. Oil based stuff is good but also a horrible, stinky, messy pain that’s not worth it.
Don’t bother painting the boards beforehand
When we shiplapped the walls in the living room we thought we were so smart painting the boards beforehand. The walls is 27 ft at the peak, and painting them at ground level and not in the sky seemed like the only intelligent way to go about it. So we set them up on racks and primed and painted them all with the paint sprayer, and gave each other a high five for being so awesome.
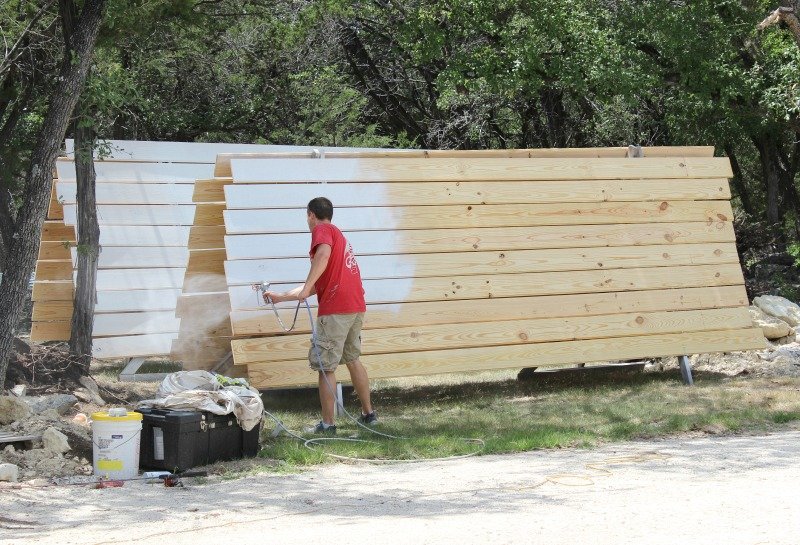
Then after being moved around, stacked, cut, and otherwise abused they needed to be painted again by the time they made it up on the wall. Of course they did.
If possible, use a paint sprayer
After painting a few rooms full of shiplap with a brush, I can safely say that spraying is better. Much better. Painting by hand takes a few days at least (for me, with normal life distractions), and painting with a sprayer takes about 30 minutes for both primer and paint (we have this paint sprayer). Also, the finish is flawless. If it sounds too good to be true though it probably is, and the downside to spraying is the prep work.
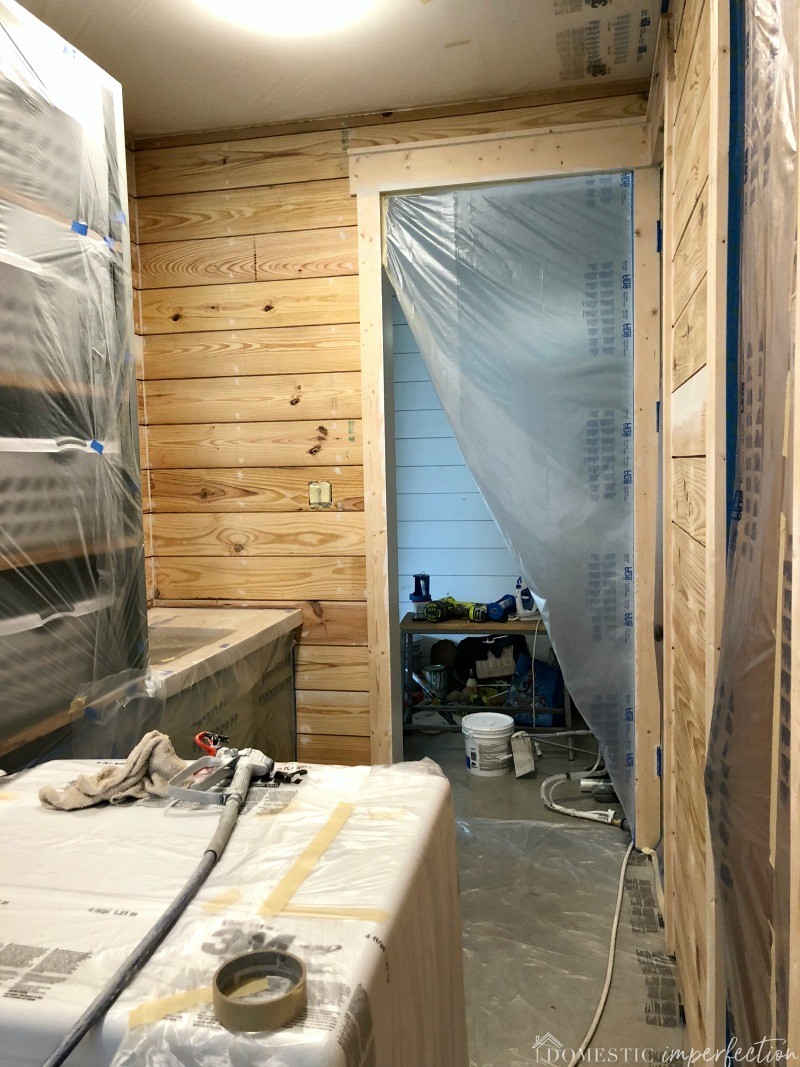
Everything that you don’t want to get paint or overspray on needs to be covered with plastic and taped securely, plus you have to thoroughly clean the paint sprayer after using it.
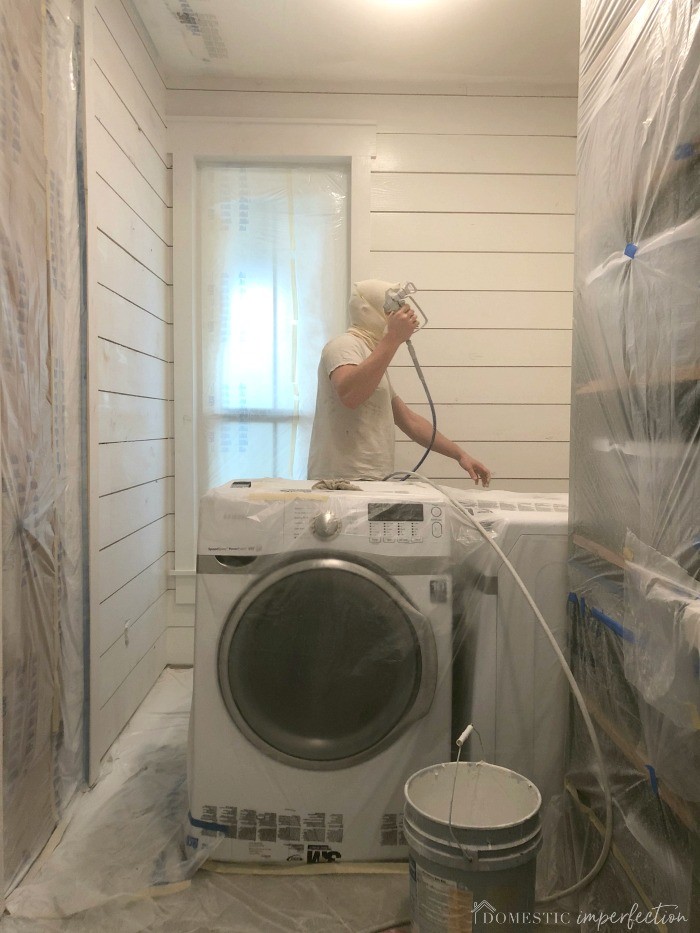
I have to tell you though, this paint sprayer info is secondhand. My awesome husband did the 95% of the prep and painting by himself while the boys and I spent the day on the couch with fevers. It was actually a pretty terrible day all around (who am I kidding, the sickness hung around for weeks) but now its over, everyone is healthy, and the room is painted. (We used SW Alabaster in a satin finish, BTW).
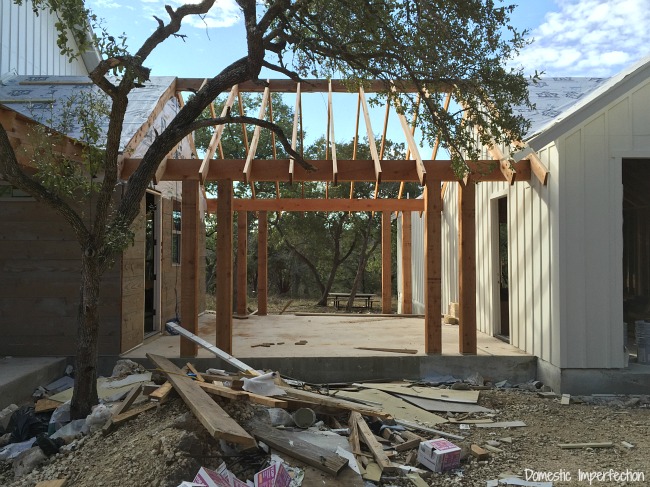
So those are my tips! In other news, we got the brick flooring in and I am happy to say that it has all the color variation I hoped it would.
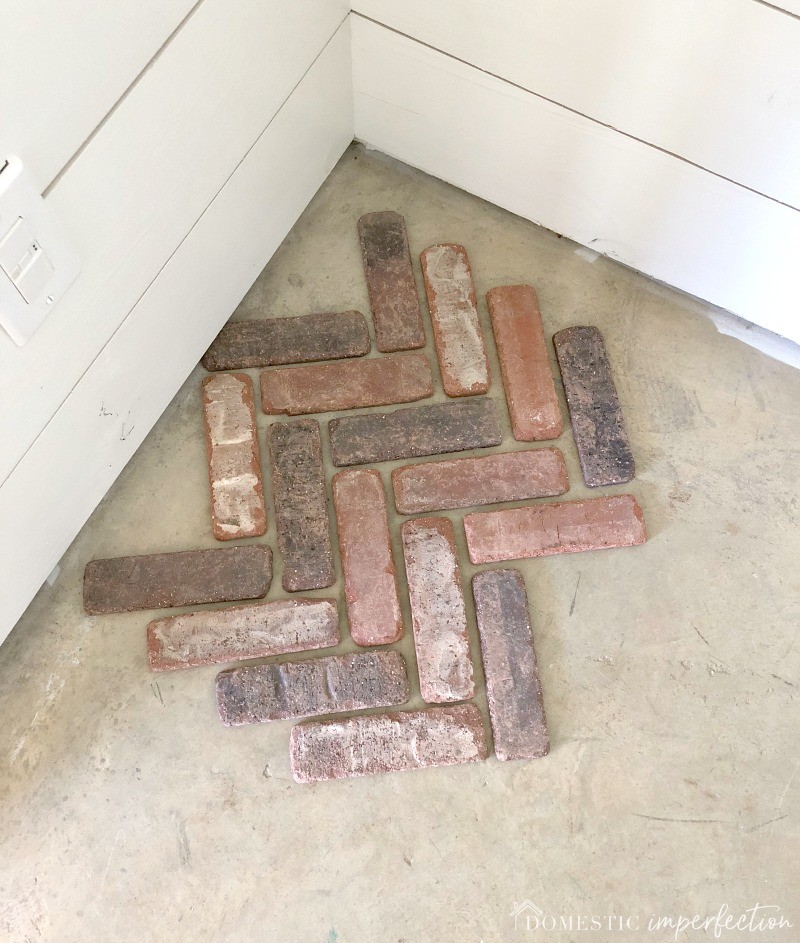
Adam and I have decided to hire this job out, so as soon as our tile guy has an opening the floor will get installed. I’m excited.
The mudroom lockers are also here and assembled.
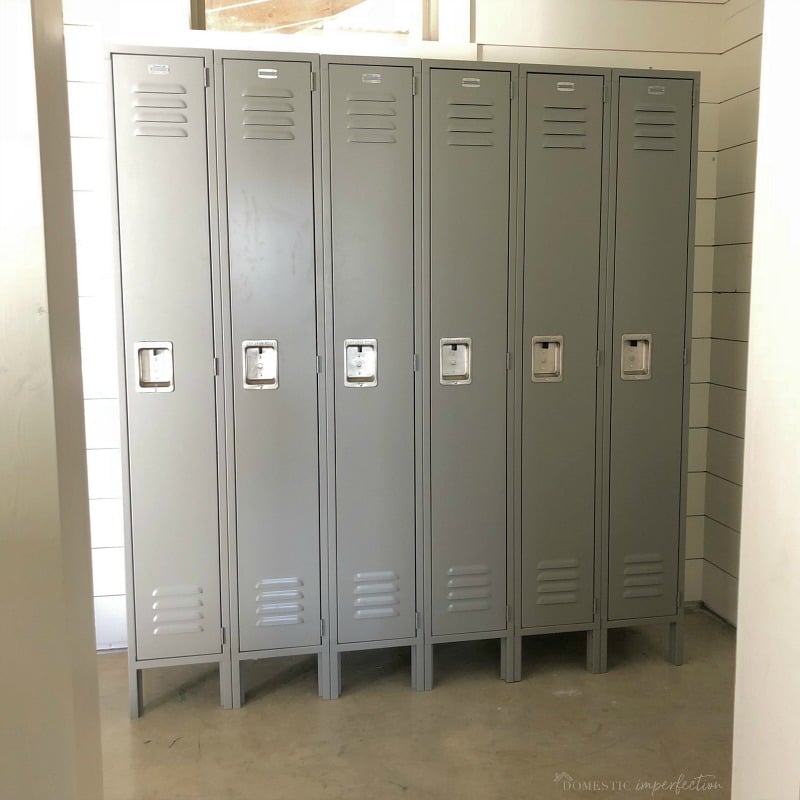
After spending FOREVER looking for used ones (I really wanted some beat up character) getting quotes (all well over $1,000) I finally found some new ones on sale at Home Depot for about $500. All that looking and I got them at freaking Home Depot, the place I’m already at multiple times a week. The downside is that they are gray and I really wanted blue, so painting them is on the to-do list. Adam feels fairly confident that I’m going to ruin them, which means I definitely have to paint them just so I can prove him wrong. It’s one of my great joys in life, proving my husband wrong.
You may also like –
My failed attempt to whitewash shiplap
9 Room Painting Tips and Tricks


Looks great! I think you can spray those lockers, no problem :)
Nice to see a post from you, I was just thinking it had been awhile.
Thank you! Yeah, I’m thinking I can just lightly sand them and spray paint and it will be no big deal (I probably just jinxed myself by saying that).
Looks great! I (well mostly my husband who is home on spring break while I’m at work) am embarking on a much smaller project this week. What are you using for baseboard trim? We are either using the existing trim (2 inch decorative basic), just shoe molding or a 1×3/1×4. We aren’t doing all the walls, so I think we’re just going to have to see how each looks once we get the boards up (we’re using carsiding hung horizontally for something a little different). Your finished walls make me so exciting to get to mine! We’ll be brush painting though since it’s part of our main room with high ceilings/kitchen and taping everything would be a nightmare. Even if you had to go back over your walls, I think it was a time saver pre-painting! We did our siding that way, one coat before installation and a second coat once it was installed, but the second coat didn’t have to be perfect (great when you are balanced up high on a ladder!)
I’m not sure what we are using for baseboard trim, I think we are going to wait until the brick floor is in and see what the gap looks like. It’s likely to just be a 1×2, but I think i would prefer no trim at all (just caulk) if possible. Your living room is going to look amazing, and brush painting is definitely the way to go. We did the same in ours….too much prep for the sprayer in a big open room like that.
Wow ! Your ship lap turned out awesome and your laundry room gives me hope for mine. Can’t wait to see your new tile. Thanks for giving me inspiration.
You can totally paint those lockers. We painted the ones my hubby brought home from work that were nasty dirty. Best advice. Slow & Steady and the side you are painting must be up and flat. Any other way and the paint runs! Will take a bit longer but the finish will be beautiful.
I was planning to spray paint them standing up, so I’m glad you said something!
It looks great!! I’m so happy for you. A finished mud/laundry room will feel so good.
I have struggled a lot to get a good finish in painting metal. And then I found a very accommodating local autobody shop. This is going to sound crazy, but hear me out. I spent one summer meticulously painting the metal exterior doors to my house, and they were utterly trashed by the following year. I think that part of that was the expansion/contraction of the metal over the course of the year, but part of that was that even though I used a primer and a metal paint, it just didn’t seem to have a strong grip. I shortly thereafter stopped by the aforementioned autobody shop to have a dent in my door popped out and made a joke to the owner that I should bring him my metal doors to paint. He was intrigued and said that if I stripped them down, he would paint them for just the cost of the paint to see if it would work. Girl. That finish is *flawless*. It’s been five years now, and they look brand new. And I’m not gentle on the doors either. I have a mastiff dog that “knocks” at the back door with all the gentleness of a galloping Clydesdale. And you can get just about any shade you want. My exterior side is the slightly orange red of a 1970s Mustang, and my interior side is a sage green from some 1950s Ford truck. And after my “experiment”, the shop started advertising that they painted metal doors and now have quite a successful side line. (Metal doors are popular in this area.) So, yeah. Talk up a local autobody shop. Or at the very least, look into using an auto paint in that sprayer.
Cann’t wait to see pics when the brick floor is laid. That’s going to look superb.
Looking forward to seeing those lockers painted. The grey looks drab and the blue will definitely lighten them up!
Love it! I used your old fake shiplap tutorial for the walls in our living room and it helped so much! Also, there is an old episode of Will and Grace where her mom does this super obnoxious and hilarious “I told you so” dance. It is one of my favorite things to do when I get to prove my husband wrong about something. ????
Beautiful home! Did you use satin sheen on the trim as well as the walls? Are you happy with the sheen you used? I’ve narrowed the color for my shiplap down to BM white Dove and SW Alabaster, but I’m struggling with sheen now …. decisions, decisions! You’ve really done a fantastic job!
If you are talking about the shiplap sheen, then everything is satin and it’s great. For the rest of the house, the trim is satin and the walls are flat, which was a huge mistake…they are gross and impossible to clean. Go satin (or eggshell) for sure!
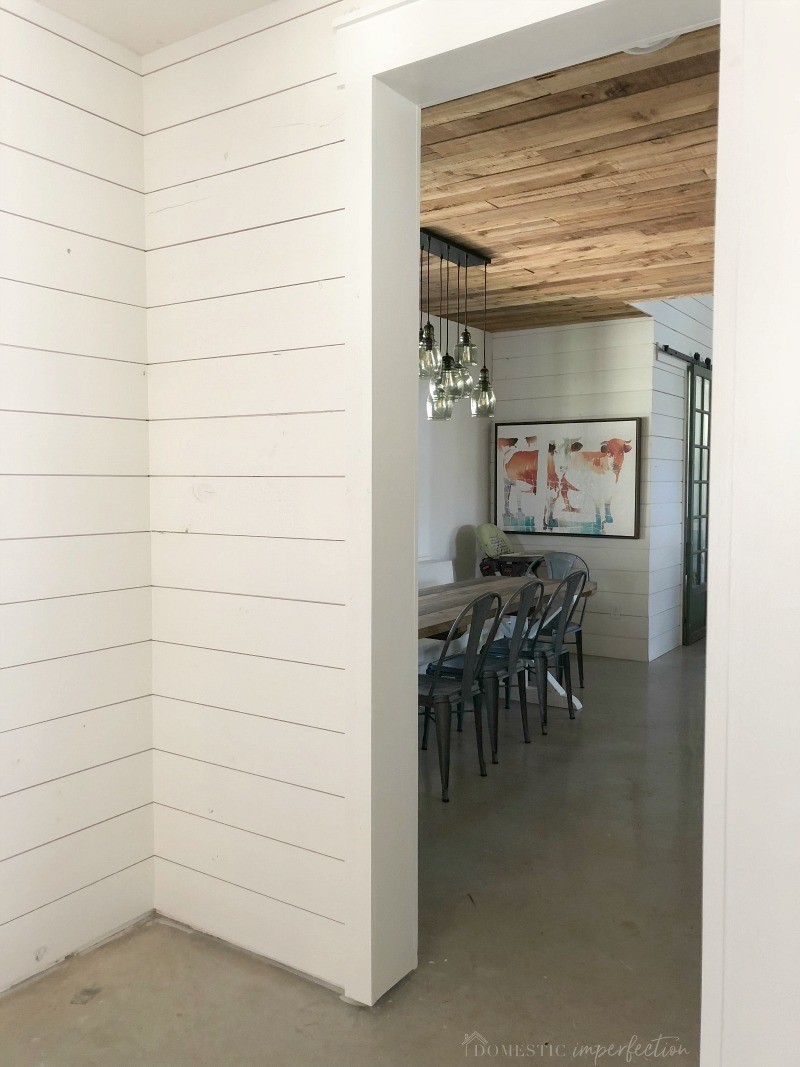
Hi! where did you get that cow canvas?
It’s a print from Crate & Barrel, but it doesn’t look like it’s available anymore.
Where did you find the brick/stone for the fireplace. It looks awesome!
Thank you! It is just cream-colored limestone, here is a post I wrote about it – https://wildfireinteriors.com/interior-limestone/
Looks awesome! We are about to attempt a very small area in our dining room, which is mostly patio door.
I would love to know the steps you took to trim the window after the shiplap was installed.
I have that! Here you go – https://wildfireinteriors.com/farmhouse-window-trim/
I’m using real shiplap and I’m trying to paint the cracks with a paint brush and it’s not going to work. Some cracks are not as big as others..not allowing the paint brush in between them.. Did you do this or just spray the boards and let the cracks be as they are?
I feel for you, I tried painting the cracks with a brush the first time I did shiplap and it was the worst. This time we just let them be after spraying. They aren’t perfect, but once you get all the elements in the room its not something you would ever notice.
Can you advise the best finish for painting shiplap? Eggshell, semi-gloss or High Gloss?
I used eggshell. You can use whatever you’d like, but I think the higher gloss would take away from the rustic look most people are going for when they install shiplap.
Oh lol, thanks for that info! Pls ignore my question below.
Hi, thanks for this. I’m about to paint mine and was debating getting the sprayer out. Mine is in a bathroom and I’m curious if you used matte, satin, semi, gloss finish paint? I feel like it should be matte for the right look, but not sure in a bathroom.
Beautiful!!
We are about to paint our kitchen which has lots of shiplap and have been trying to figure out what to use to avoid the knots from showing through the white paint…how did yours hold up? Would you suggest anything different or was your latex primer a winner?
I would love to see pics of the finished flooring!
Looks awesome! We are about to install our shiplap, and it’s already primed white. How do you recommend painting it? I thought about using chalk paint, and distressing it, but not sure. Thoughts? Thanks!
I think it was right here that I somehow got bounced off the email list, because I hadn’t seen the shiplap and brick flooring in the laundry room installed. It already looks good, and I know it’s going to be awesome! (When *I* get to it, as I’m sure it’s been done for ages, lol).
Beautiful! What stone did you use on the fireplace?
Lisa
Did you caulk around the door frames where the shiplap is? (Skipping over the gaps of course) Trying to decide to do that or not.
Thank you for the great post. I love those interior wood doors in pics above. May I ask where did you get those or what brand they are?
Thanks for sharing, very helpful
We’re shiplapping our garage. Do you need to paint the back side of the board before you install it? Thank you