
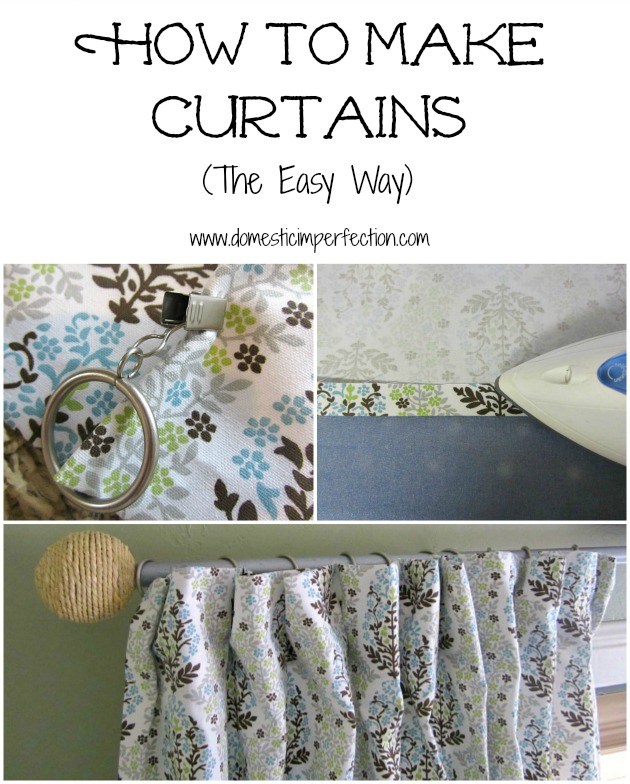
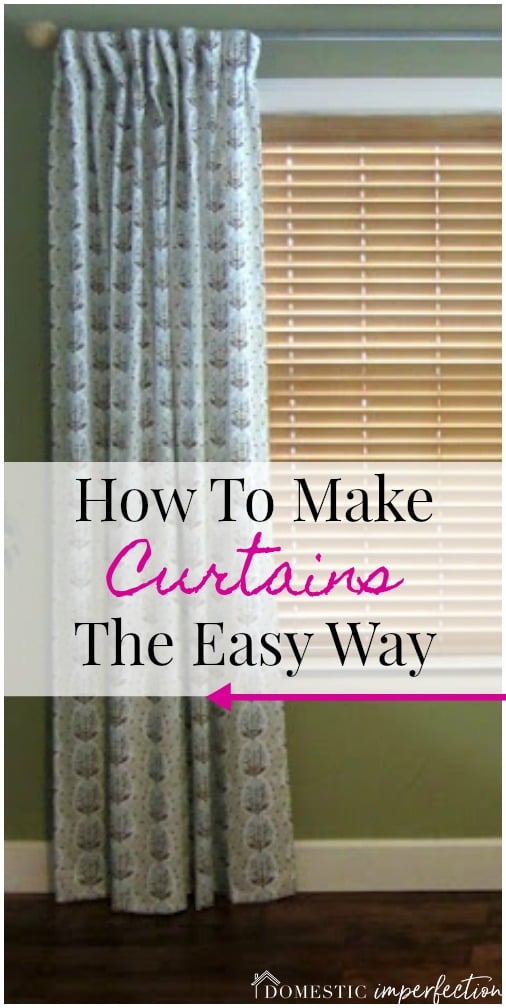
How To Make Curtains

You will need –
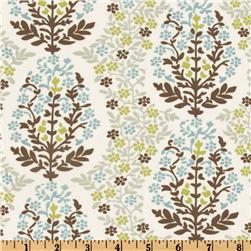
- Fabric (check out this list of my favorite online fabric stores)
- tape measure
- scissors
- iron
- sewing machine, pins, and thread OR
- hemming tape
Step One
Step Two
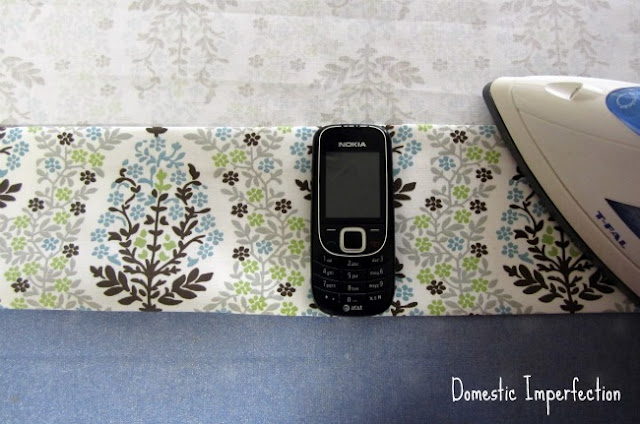
Next you will need to measure and cut your fabric. Measure the length from the top of your curtain rod to the floor and then add 12 inches. Mine measured 92 inches, so I cut the fabric to 104 inches each.

Step Three
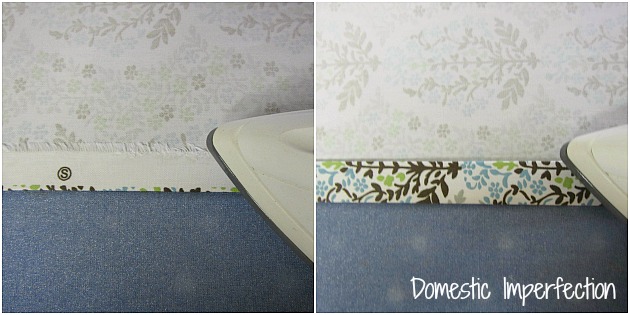
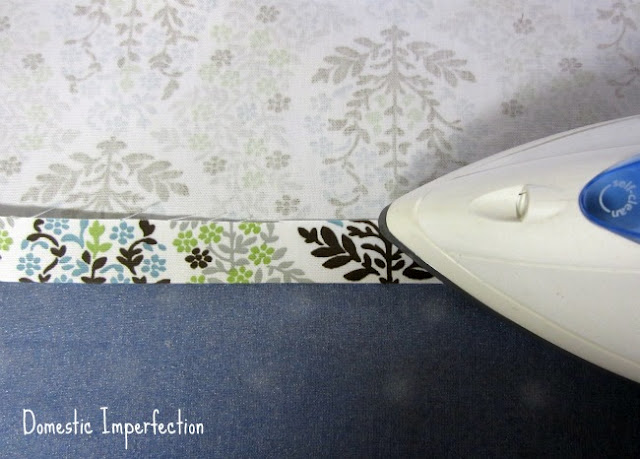
Step Four

Step Five
Next you’re going to need to hang the curtains in order to hem them to the correct length.
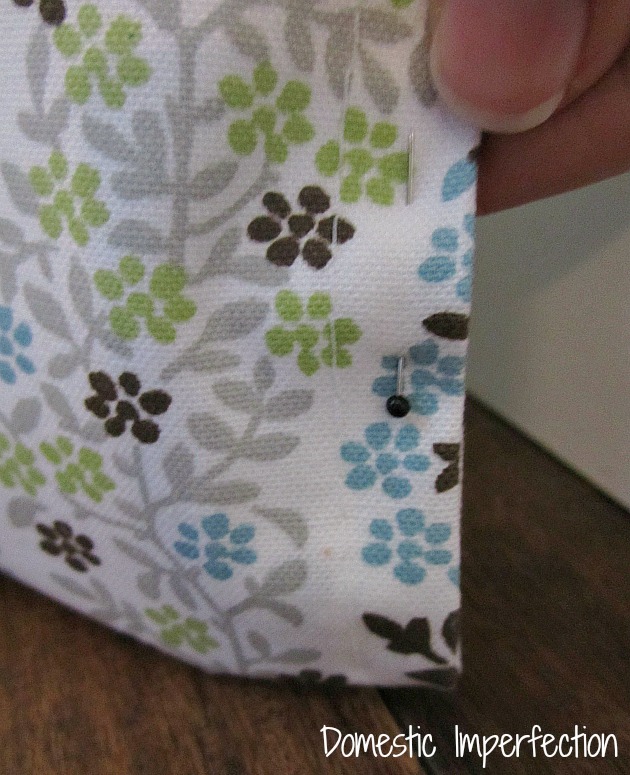
I wanted my curtains to look like back tab curtains (which I show you how to make here) without actually having to sew back tabs. So I bought these rings from Amazon and clipped them to the back of the curtain instead if the top, like so…

To do this you will need to lay your curtain out flat to make sure your rings are evenly spaced. Then just pinch a section and add your clip, making sure the top of the ring is about even with the top of the curtain.
Step Six
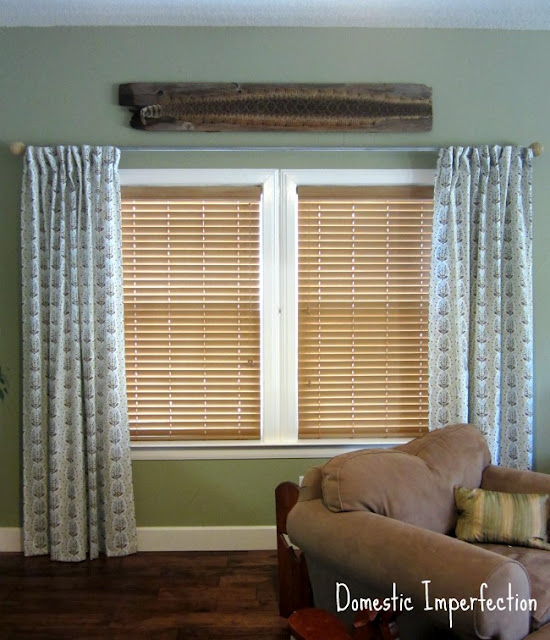
Once your curtains are hung, fold up the bottoms so that the curtains barely graze the floor and pin in place.
Then take it down, hem it, and hang it back up. Done! Cheap and easy custom curtains!
You may also like –
So cute! I love the pattern you chose too!~ Going to have to try this when we redo our living room this Summer~!
~Lisa
those look great! I love them!
Beautiful, now all I need to do is learn how to sew! Love those rings, looks pretty simple to use.
Learning to sew can have a great many benefits. Not only is sewing an old time craft with a rich heritage, but it also has many applications today. Developing a skill for sewing can be helpful in your life, and can provide many benefits. Learning to sew your own clothes can save you money, as well as help you develop a sense of pride and accomplishment.
looks great! love that you can use any fabric you like when you make your own!
Great idea with the curtain rings. Love the fabric too.
Awesome tutorial thank you for sharing! I love your fabric by the way!
Great tips, thanks!
Melissa
redflycreations.blogspot.com
Hey Ashley! The curtains look great! Do you know about how much this project cost you? I need to hit a fabric sale in the city and get to sewing…have lots of naked windows in this house. :)
Let's see…each window (I only showed one, but I did two) cost about $10 for the DIY rod, $16 for the rings, plus almost six yards of fabric was about $50 (from Fabric.com using coupon codes). If you need to go cheaper you could always sew back tab curtains (no rings) and/or buy cheaper fabric.
You sound like me saying to need to take a trip into the city…let me guess, you live pretty far from things? Me too, hence the online shopping. No way am I loading up two babies and driving 40 minutes each way to go fabric shopping!
I love making curtains. I feel like it's such a simple way to make a big difference. Your curtains look great.:)
These are great!
I need to get my sewing machine serviced so that I can get back to sewing!!!
Biz
Such a great job! Over visiting from Addicted2Decorating and saw your curtains…I'm ready to do mine, but no sewing machine for me. Could you do this with fabric adhesive and leave the sewing out? Great job and thanks for sharing.
I'm a new follower!! If you get a chance come over and visit at http://ourbluefrontdoor.blogspot.com
Blessings,
Andrea
You certainly could! I've never used fabric adhesive strips, but over at Young House Love that's all they use. You should buy a sewing machine eventually though, mine was only 60 bucks and works great :)
Thanks for following along!
I just found you and I'm going to follow ! ! Great post !
Very very nice! I think I could do this, and I know just the place for them! Thanks for the inspiration!
Jo-Anna
So glad I came across this post! I've been wanting to make my own curtains for a while now. Thanks!
OK. Nice job, helpful tutorial, it all looks very nice and is a HUGE improvement from the formerly all-brown room. But I had to laugh because your fabric is basically…brown!
Haha, I was wondering if anyone was going to point out that my curtains aren't as brownless as I intended. Don't exaggerate though, they're only partly brown! It seems I just can't help myself :)
These are lovely – love the fabric, too. I am curious – why do you stitch the side edges in the center of the pressed part, rather than close to the folded edge? Won't they eventually curl or roll on you?
I really like how you used the curtain rings, I've made curtains several times but haven't used rings that way before. Great idea!
Come on over and visit me sometime!
I read your post and wished I’d wrttien it
Sooo pretty! I love the fabric!
They frame your window nicely. I like the pattern.
Ummm, that would have made more sense wouldn't it? I really didn't think about it…I hope they don't roll! Thanks for the pointer, I'm learning as I go :)
I love the fabric you chose. Thanks for the tutorial. I'd love for you to share this at my VERY FIRST link party.
Rachel
http://adventuresofadiymom.blogspot.com/2012/02/terrific-tuesdays-link-party.html
These are gorgeous, and you made it look so simple! I'm currently in the “de-browning” of my dull living room too, I will definitely be using this tutorial. Really enjoying reading your blog and look forward to all your future posts! I am one of your new loyal followers! When you have a chance come on by and check out my blog (and make sure to say hi!). If you like my blog, I would love it if you would follow me back! Cath @ Home is Where my Heart is: http://cathhasablog.blogspot.com/
These turned out great! Perfect fabric to help de-brown and liven up the space. Off to check out the cheap curtain rod trick. Cheers!
I Love how you used your cell phone as a measurement guide! :D
I adore this fabric, and what a simple tutorial! So smart to use the rings on the back to make a mock back tab. I'd love it if you'd share this at my Show & Tell party, going on now @ the Delectable Home.
I love that fabric!! Looks great with the wall color. =)
http://thelatestfind.blogspot.com
Love this! I'm dying to do different curtains in my kitchen. I may have to use this tutorial. I found your link at Blue Cricket Design. Thanks for linking.
Love the curtain fabric.. :) Thanks for linking at friday fun party
Nice tutorial and wow does that look great. Thanks for sharing on Motivated Monday at BeColorful
pam
The fabric you chose is so beautiful!! Great tutorial! Thanks for sharing at oopsey daisy!
Great tutorial! I LOVE your fabric!!! Thanks for sharing at my party!!! Happy Valentine's Day!!! XO, Aimee
Thank you so much for this EASY tutorial on sewing your own curtains!!! We are moving into a new house in a month and I just took measurements on all of the windows so I can try to make them all myself!
Pinterest, I just must get my snake hide mounted… it has been hanging over the china cabinet door too long… love you tutorial…
Thanks for sharing your knowledge and skill. I have so many windows in my new house. I can’t sew but I am going to try to make a few of the curtains following your instructions. Any knowledge on how to make curtain for an oval shape window?have 4 of those.
Thanks for the tutorial. I pinned it and bought the fabric almost 6 months ago, and just got the drive to sew them today. I did and they look great. Thanks again!
Hi, Nice post but am I the only one wondering what in heavens’ name is that thing on the wall above your windows?!?
Ha… It’s a giant rattlesnake skin :) My dad made it.
Do those clip on rings allow for each opening and closing of the curtains? Thanks for the tutorial!
Yes, they are completely functional and the curtains slide easily.
How far did you put the outside clips from the edge? Right on or a few inches away? I’m debating sewing back tabs or doing clips. I need to make a decision and be brave enough to cut my fabric.
This was so helpful,I try it it works perfect,thank you so much for the information
I have learnt how to make curtains and my home is looking nice no more buying from the shops
You know what? I have recently done my small custom curtain project for my living room and that was done on the basis of your guide. Your guide really helped me a lot to accomplish that small task with higher quality. Thanks for sharing it with us, keep ut up!