
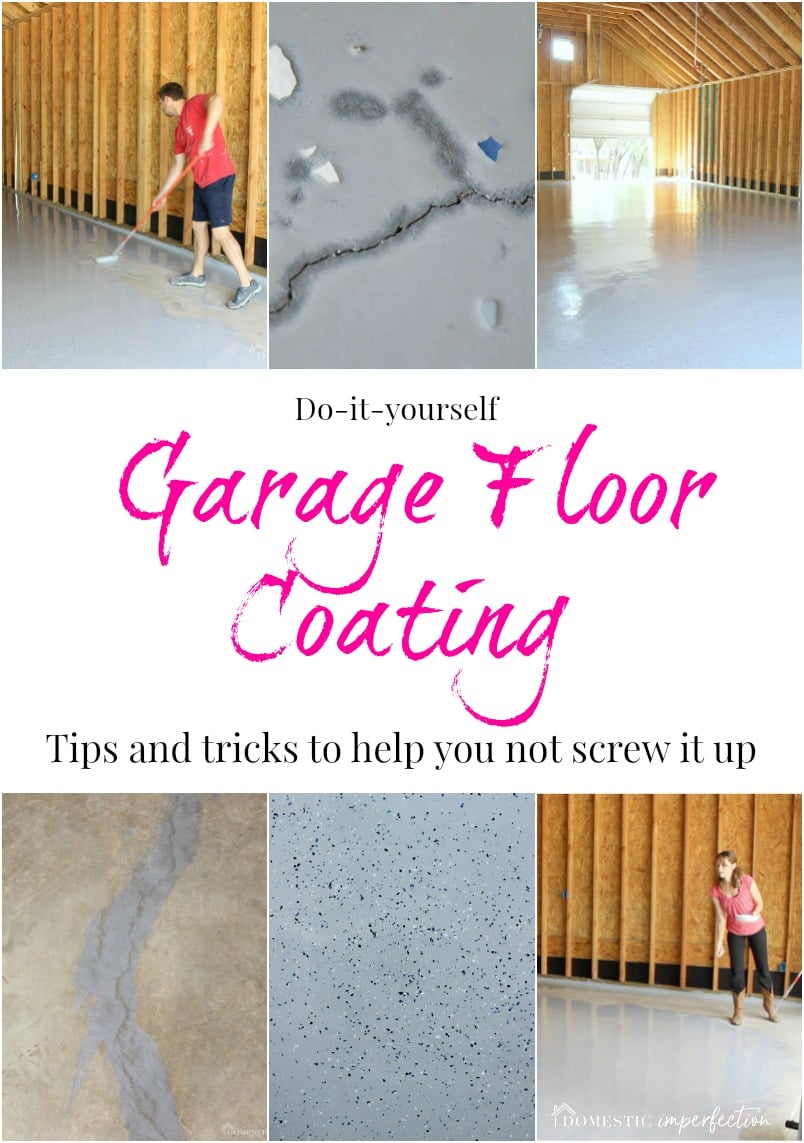
DIY Epoxy Floor Coating – A Step by Step Tutorial
Rustoleum generously donated the products used in this post. All opinions (good and bad) are 100% my own.
I know everyone is in holiday mode right now, but I’m here today to give you some (much needed?) relief from everything Christmas. Not that Christmas isn’t amazing and all…but so an epoxy floor coating, right? I know that when I showed the kids the finished garage floor they were like “That is so much better than Santa!” Ha…obviously that’s not true, I think their exact reaction was “good”. No exclamation point, no full sentences, just a statement of fact. So keep reading if you also want a “good” garage floor, and hopefully learning from my mistakes will even earn you an exclamation point.
To be completely honest, at first I didn’t really “get” this project. My husband has said that he wanted an epoxy floor coating in our garage ever since we started designing our house, and I really didn’t understand what the purpose was. Who cares if a garage floor is pretty? He explained that it wasn’t just about being pretty, but being crazy easy to clean as well. Oils stains, for example, can be wiped up with a paper towel…and when I inevitably spill a quart of wood stain in the garage it would be no biggie. And so we added it to the to-do list… way ahead of flooring for the actual house or a fully functional master bathroom. It’s all about priorities.
I’d also be lying if this project wasn’t slightly intimidating. Our garage is big, 25X50 or about four cars. We use the front half to park our vehicles, and the back half as a workshop (or at least we will after we get it all cleaned out and organized). Adding a garage floor is a two-person job with a time limit (epoxy has a short pot life), and we would need to keep our four young sons away from it and us for a few days.
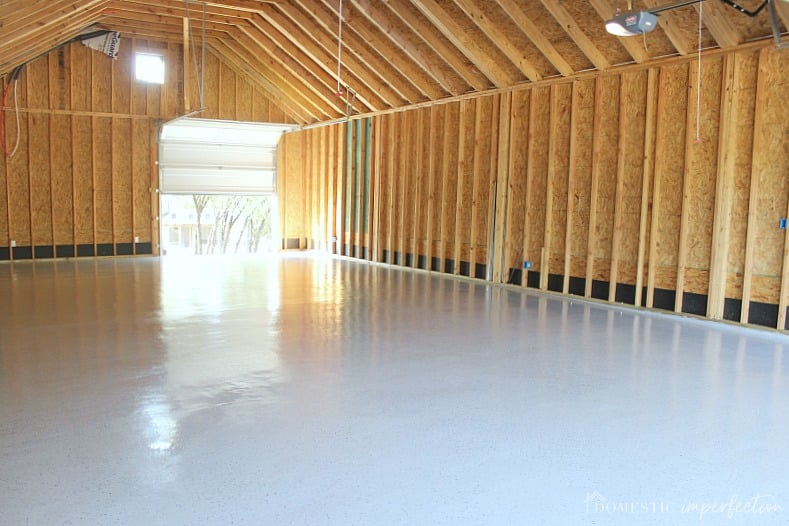
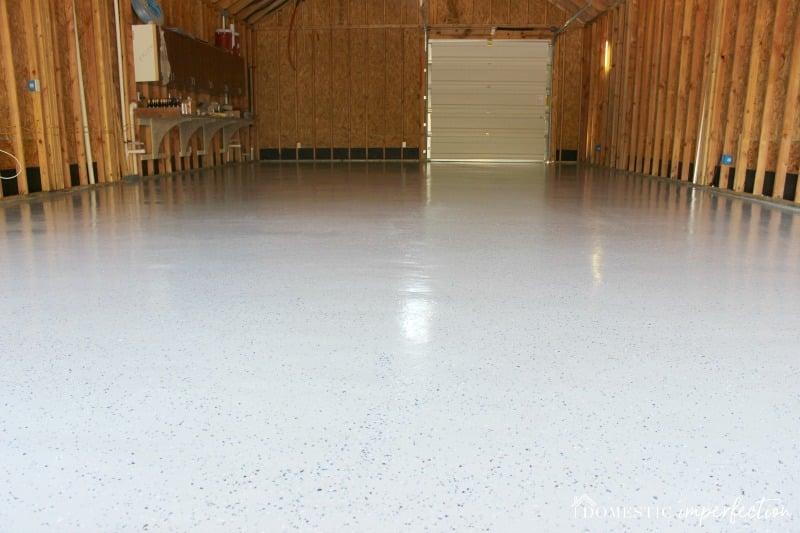
But we did it, it looks great, functions beautifully, and the process wasn’t too painful. Before I dive into all the details, here is a short time-lapse of the process.
As usual, Adam and I did a ton of product research beforehand. We looked into all sorts of DIY garage floor coatings, and as we got into higher and higher priced kits we decided to get a quote from a professional. When we saw that quote we quickly decided not to spend our children’s inheritance on a garage floor and went right back to the cheaper DIY options.
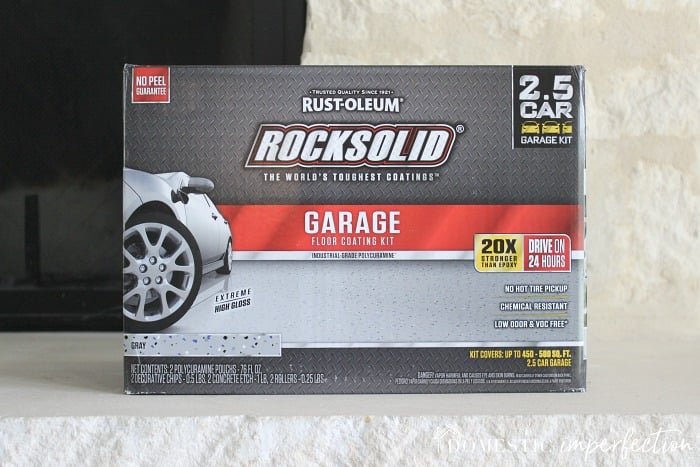
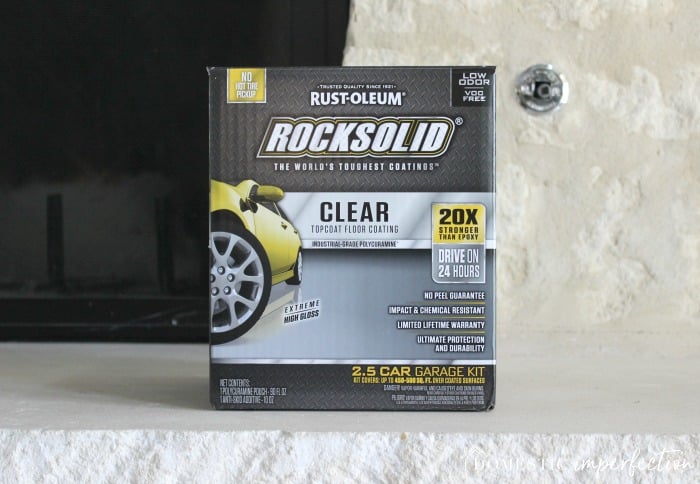
Anyway, our research + budget eventually led us to RockSolid by Rustoleum. I had passed it over many times because on both HomeDepot.com and Amazon it only has three out of five stars…not exactly the kind of reviews that make me excited about a product. But then I got to actually going through the reviews and reading them, and I realized that it was three stars because half of them were glowing five star reviews and half of them were upset one star reviews. The one star reviews all said pretty much the same thing…that the product didn’t cover the amount of square footage that it said it would. So these people ran out of product before they were finished, which would be zero fun… especially for a product with a time limit for use. None of them were complaining that the actual product wasn’t good though, so I decided that if I bought twice as much product as I thought I would need all would be well.
Now, I have to tell you that I ended up getting everything I needed for this project free of charge. After Adam and I decided to use RockSolid I e-mailed RustOleum (I’ve worked with them in the past) and asked if we could exchange product for posting a tutorial/review on my blog. They said yes, and sent me everything I needed without a single guideline for the post. I wasn’t paid any money, and my review is 100% my honest to goodness experience, including all the tiny successes and failures along the way (which there were plenty, as you will see). Also, this post contains affiliate links, see my affiliate disclosure here.
Alright, now that everything is on the up and up, let’s dive in!
Materials Needed
- RustOleum Rocksolid Kit (twice as much as you think you will need, returning what you don’t use is better than running out mid-project. They come in 1 car and 2.5 car kits. We used four 2.5 car kits for our four car garage.)
- kit includes – acid etch, two-part polycuramine, paint flakes, roller
- two gallon watering can or something similar for spreading acid
- gloves
- hose, or pressure washer is better (we have this one, it’s amazing)
- paintbrushes (my favorite ever)
- paint roller cage
- roller extension pole
- RustOleum cleaner and degreaser
- stiff bristle push broom
- RustOleum concrete patch and repair
- putty knife
- RustOleum clear topcoat
- roller for topcoat
- bucket for mixing
- paint stirring stick
The Process – How to Apply an Epoxy Floor Coating
Step One – Empty the Garage
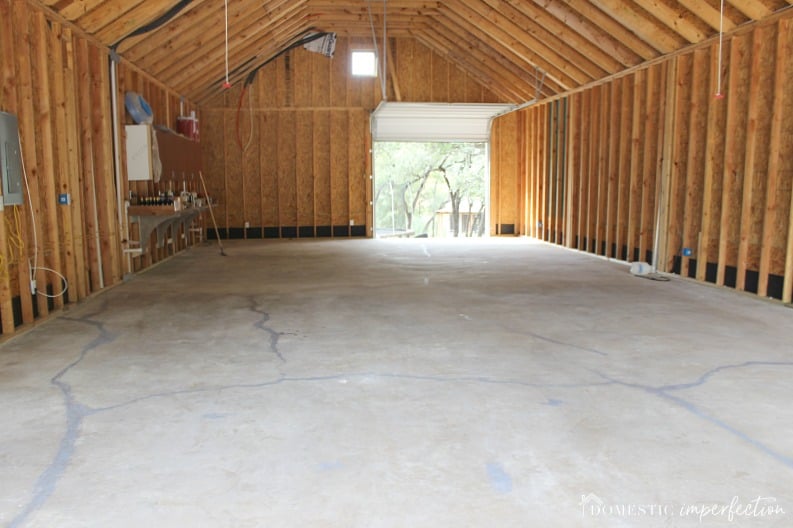
This seems simple enough, but let me tell you….we had a whole lot of random crap in our garage that we have been avoiding since we moved in. We really had the best of intentions not to trash the garage during construction…then life happened, and so did piles upon piles of stuff. So here are the very honest before pictures.
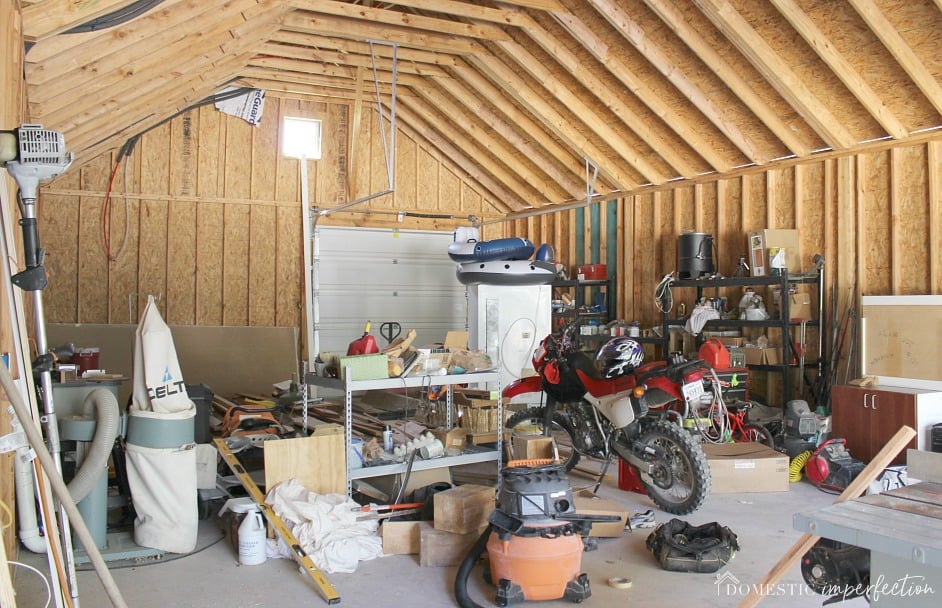
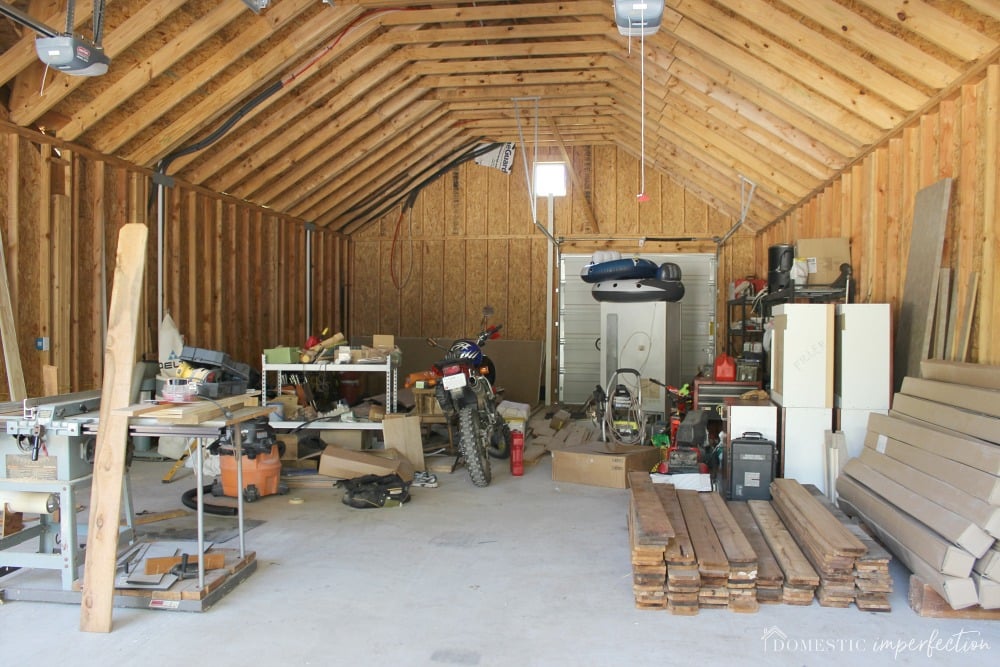
This definitely isn’t the worst it has been, a few months ago we went through and cleaned it out enough to start parking our cars in there, which was a big win for us. Anyway, after about three days of tediously going through every teeny tiny piece of scrap building material and whatnot, we had an empty garage. It was glorious. Honestly, I could have just stopped here and died a happy woman.
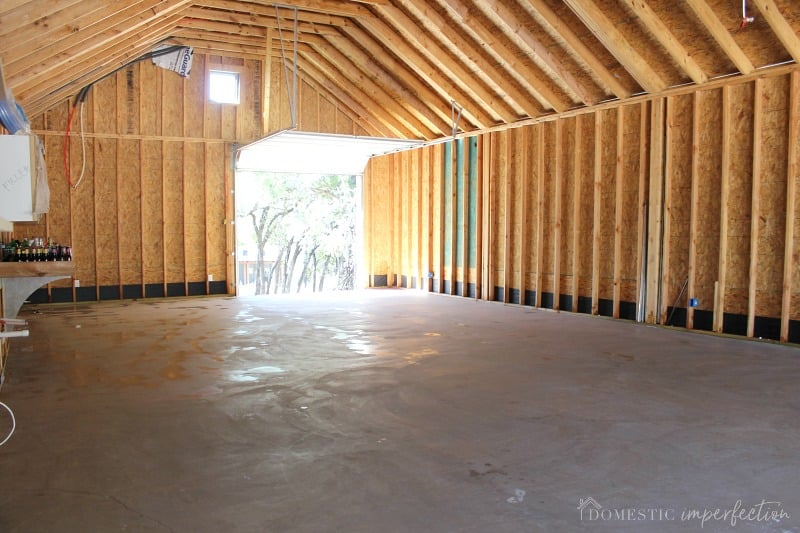
Step Two – Clean the Floor, and Clean it Well
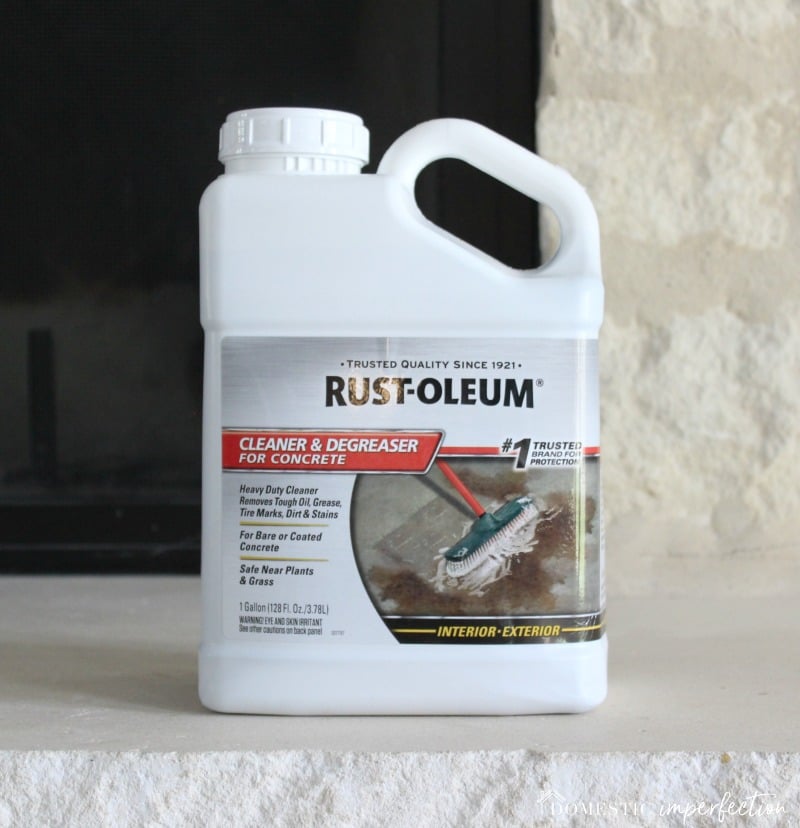
The key to being successful with this project is nailing the prep work. The surface HAS to be clean or the epoxy won’t properly adhere. Even though our garage was messy I felt that our floor was already pretty clean… but using this degreaser proved otherwise. Moral of the story, use the cleaner, no excuses.
Step Three – The Acid Etch
The acid etch is part of the main kit, along with the two-part polycuramine (epoxy) and the paint flakes. The purpose of the acid is to open up the pores in the concrete so that they can better accept the epoxy. It sounds scary but is actually super simple, just mix the powdered acid with water (all the exact measurements and instructions are in the kit), pour it out on your concrete, and use a stiff bristle broom to rub it in.

We started off mixing the acid into a sprayer, but it came out as such a fine mist that I might as well be using a Windex bottle. We decided to go ahead and finish this decade and just do the old dump ‘n scrub. After the floor was etched we used a pressure washer to make sure it was completely clean and then let it dry for a couple of days.
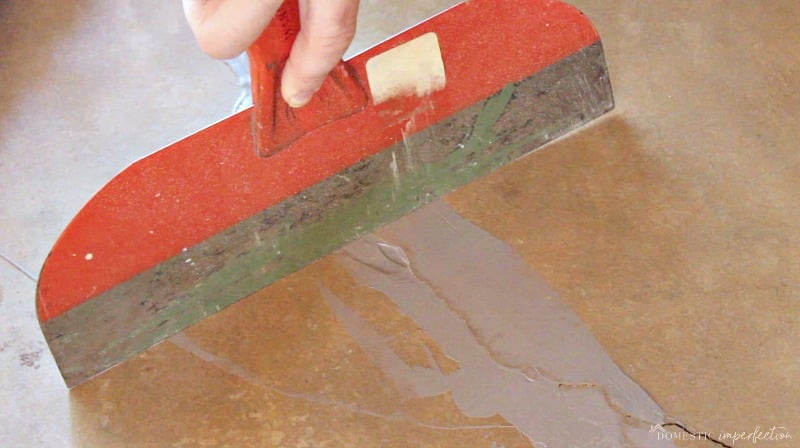
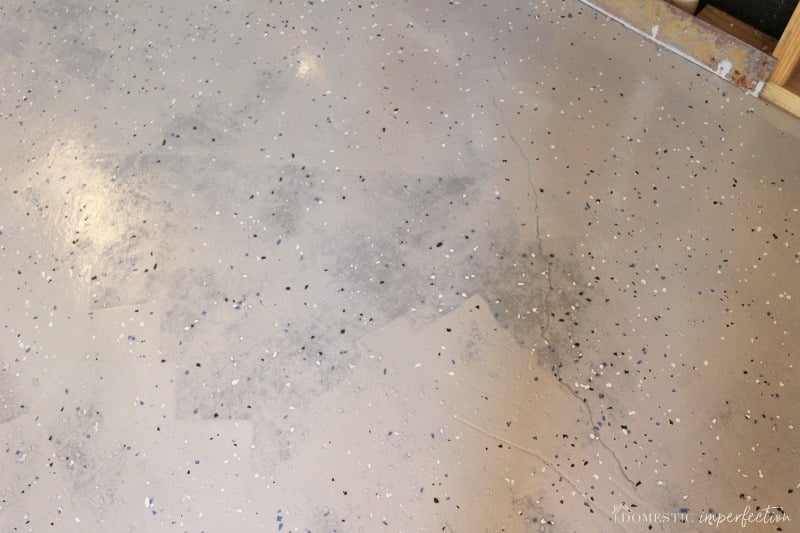
Step Four – Patch all the Cracks and Holes
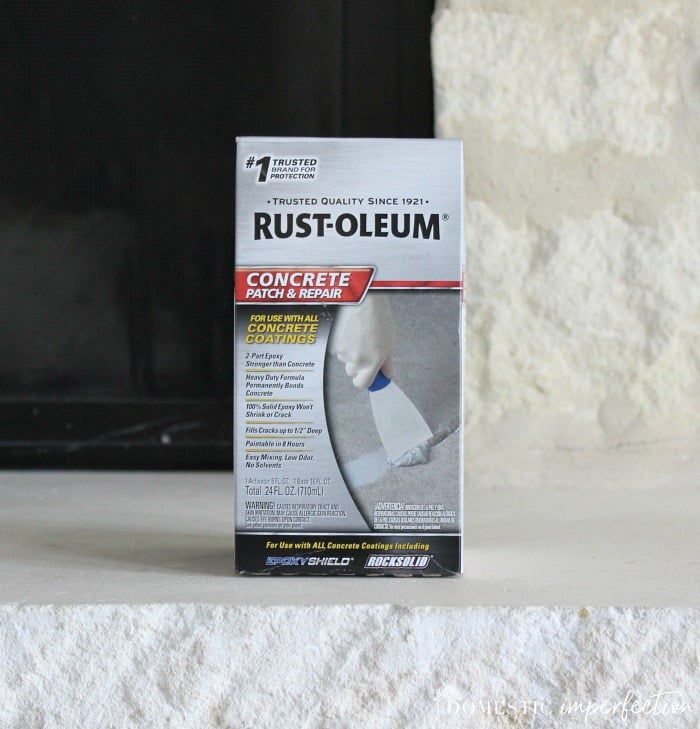
This is one of the parts that we messed up on. The garage floor had some small surface cracks and we patched them properly, no biggie. But we figured that the really tiny cracks, the ones were you are like “Is that a crack…or piece of hair?” would be filled in by the epoxy and didn’t need patching. WRONG. Every single teeny tiny crack that was left unpatched showed through on the final floor finish. Moral of the story, patch EVERYTHING.
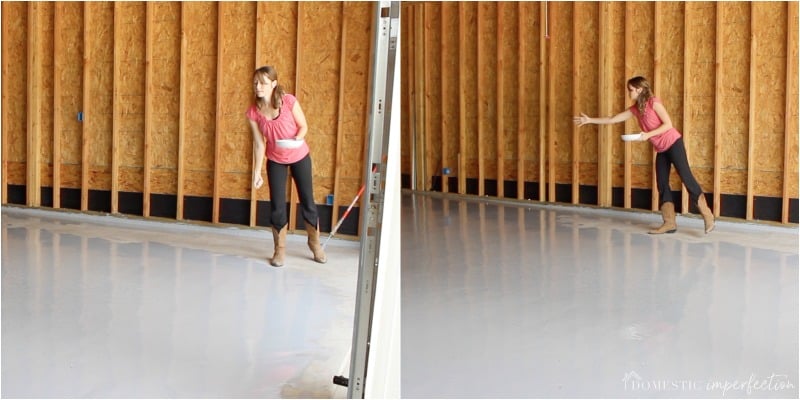
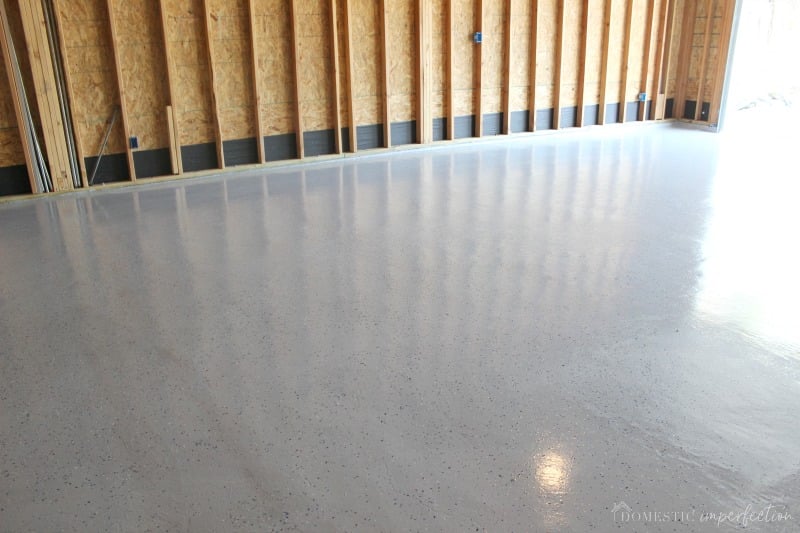
Step Five – Apply the Epoxy Floor Coating
This is where the real fun begins…painting on the epoxy floor coating. All epoxy coatings (Rustoleum calls theirs polycuramine, which is supposed to be way better than regular epoxy) have two parts that have to be mixed before use, and they also have a short shelf life…usually less than an hour. RustOleum actually makes this part really easy with a single separated bag.
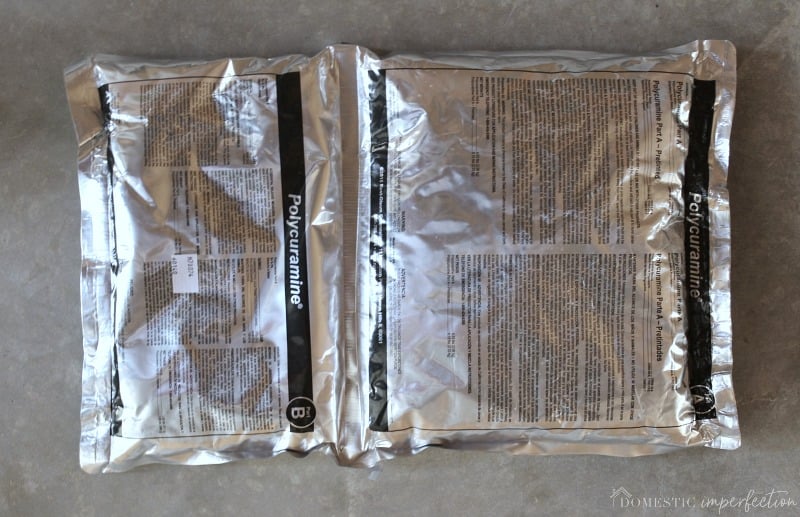
To mix the parts you simply roll the bag up like a sleeping bag, the middle part breaks, and you shake the bag for a few minutes until it is completely mixed. This is the absolute best, least messy way to do this ever…other companies should take note. Also, the product has very little smell, which is nice (and is more than I can say for other epoxy products I’ve used).
After the bag is fully mixed you just cut off a corner and pour it out.

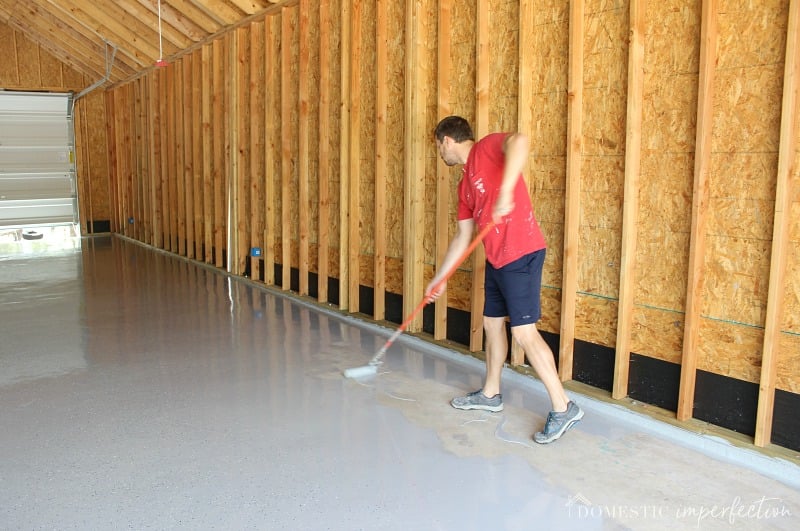
Then use a roller (which they provide in the kit) to spread it. Just glide it across the top with no downward pressure, it takes more strokes but extends the roller life and ensures your coat isn’t too thin.
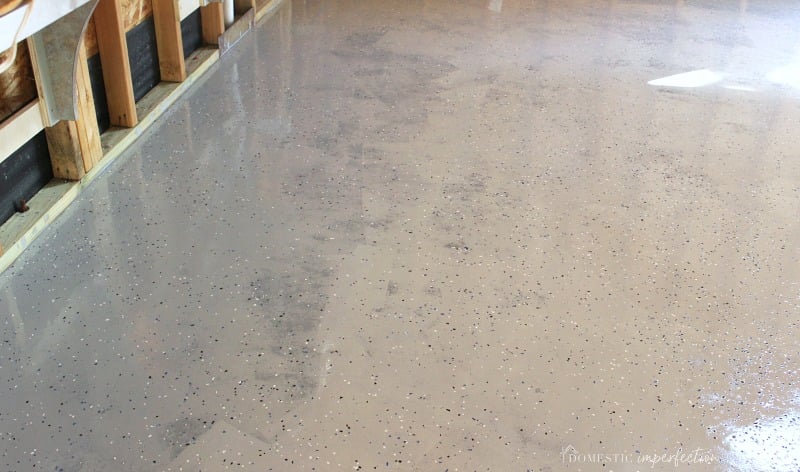


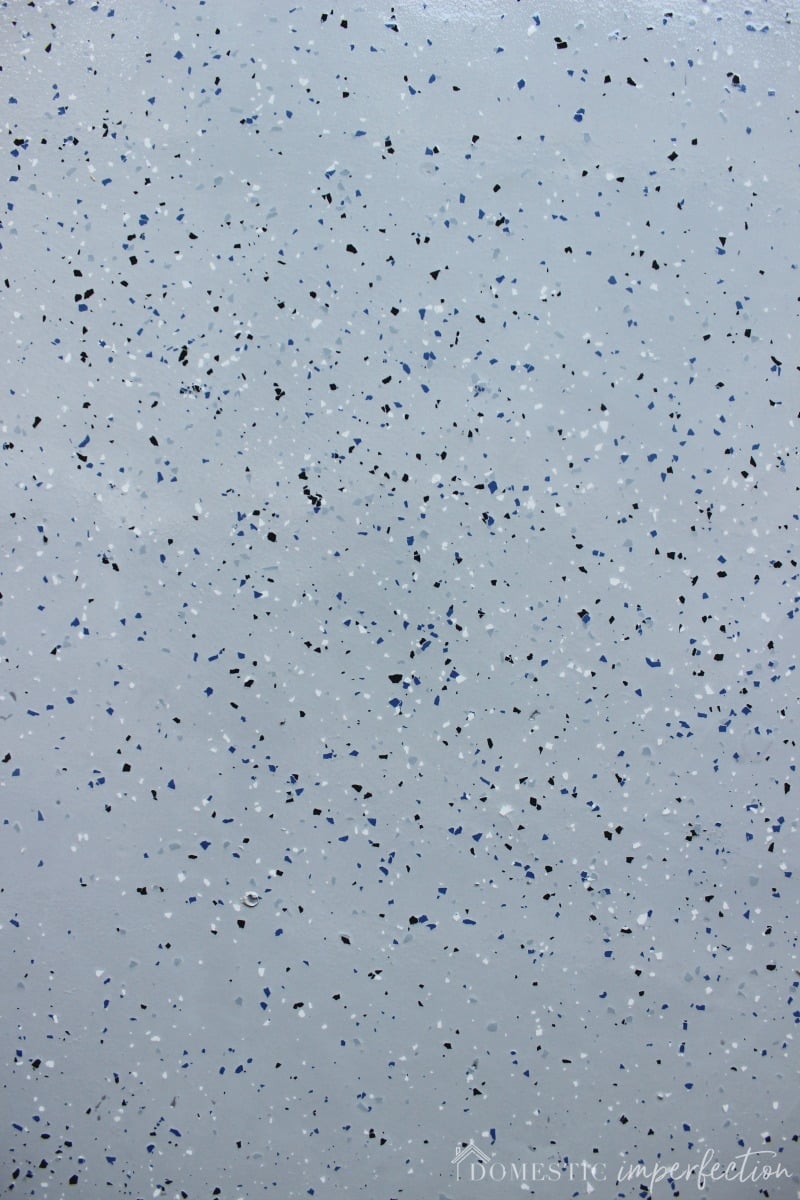
Step Six – Get Your Flake On
Step Seven – Don’t Skimp on the Topcoat
Step Eight – Patience, Patience
- Two RustOleum Rocksolid 2.5 garage kits – $398
- Concrete patch – $25
- Concrete cleaner – $18
- Topcoat, 2.5 car – $149
- Supplies – $25 (ish)
Total – $615 + tax
Alright, I think that about covers it all! If I forgot anything or you have any questions please leave them in the comments below. I don’t foresee getting any more blog posts out before the holidays, so I’ll go ahead and wish you a very Merry Christmas a little early… I hope it is amazing and as stress-free as possible!
UPDATE – WANT TO KNOW HOW THE FLOOR IS HOLDING UP? CLICK HERE!
YOU MAY ALSO LIKE –
You always make me laugh! I’ve tried to redo my garage. I got some pretty sweet storage units built and things are way more organized but I still have piles of things I need to go through. I hate going through stuff! Your project looks amazing and if I had my stuff together, I’d finish going through all my junk, get rid of at least 1/3 of it, and make a sweet floor like yours. But I’ll probably go take a nap instead. Merry Christmas to you as well, and way to go spreading those flakes like a boss! Looks great!
Thank you! I have a love/hate relationship with getting rid of stuff too. I love to get an area cleaned out and fully functional, but the process is tedious. I constantly go back and forth between “what if we need it someday” and “please just get it the hek out of my house”. If only I was one of people that was naturally clean and organized…those people exist, right? We still have a good ways to ge to make a functional workshop in the garage, but luckily that is pretty much Adams job from here, haha.
That looks fabulous! How nice to have such a finished, polished garage floor.
I hope you all have a great Christmas too! :)
Thanks Jan!
I would LOVE to do this in the basement floor!
Thanks for the excellent walk thru
Oh my goodness, I love your garage!!!! It is so awesome…well just like your house! The floors look beautiful, but it sounds like a lot of hard work but so worth it. Thanks for sharing and Merry Christmas, enjoy the time with your little ones.
Looks great!! So would you advise to buy twice the amount then it recommends?
Yes, absolutly. The product is great but they seriously need to reevaluate how much square footage a package covers. Buy double what you think you will need….it’s better to return an unused kit than run out mid project!
Thanks for sharing the good, bad and ugly of garage floor coatings! We’ve been thinking about doing this. I’ll appreciate having your experience in our ‘toolbox’!
Merry Christmas to you and your family!!!
Wow, you did an amazing job with your garage floor. I love that acid etch look and had no idea it was even possible to get it with a DIY approach. For some reason I always though you had to get it done professionally if you wanted that kind of finish. I’ll have to dig a bit deeper into this. You said you read a bunch of reviews before starting the project… anything in particular that’s a must read before doing this sort of project?
Okay, honestly… this is a really cool post! Love the end result, and now I really want to do this with my garage. Really nice to see photos of the process along the way, very helpful. Seems like a doable (but still involved) weekend project. Thanks for sharing!
Great job, guys! Appreciate honesty in your blog rather than some pretty pretty perfect (cough….) post.
I’ve been thinking about doing the concrete floor in my downstairs rent-able room we did. NOW I have the perfect way of making it look great and easy clean. It’s going to be an AirBnB room, and I think your post has helped me figure out how to make it look different but still usable.
One question; is it smelly to use? I have asthma and I react to anything with a chemical smell.
Good on Rust-Oleum for helping you out! They get my vote for the product!
Cheers!
Didn’t smell at all.
I for one sadly have not had two thoughts to spare for Christmas loveliness yet. I’m reading this going oh yes, great idea, this is what Hubby wants to do in the upper garage, I see We are moving this weekend into an unfinished renovation because we simply can’t wait any longer on a reno that is 2 months past our generous, absolute max time estimate. As of today the hardwood is half finished and the cabinet painting was messed up in the primer step and won’t be ready either. Tearing my hair out!
Hi Ashley, I really appreciate your blog. The garage floor looks so amazing, you did a great job. Thanks for sharing the tips in your blog, it will be really helpful for me. Keep posting!
That looks fabulous! Thanks for sharing the good, bad and ugly of garage floor coatings!
Wow, what an operation! The flakes are a nice touch.
Great and helpful blog to everyone. Thanks a lot for sharing this amazing article.
I have some small spots in various areas of the garage where I can’t seem to get the stubborn old paint stain out. Did you run into this problem. If so, did the product cover up those spots?
Hi! Have you posted a follow-up on this project? I’d love to hear about how it’s holding up, as we’re considering doing this and taking all of your helpful recommendations. Thanks!
I haven’t posted a follow up yet because we’ve had it less than a year. We have had zero issues so far though, it hasn’t peeled, flaked up, or even scratched in a single spot. There is a giant stain from where a bottle of polyurethane leaked, but that’s on me.
Can you update on how the floor is looking?
I plan to write one, but I wanted to give it at least a year of wear and tear before I did. I can tell you that it is holding up great, there are no chips or places where it is flaking up. It is a bit discolored in a few spots…a whole gallon of poly leaked and I didn’t find it until after it was dry. Everything else (oil stains, etc) has wiped right up!
Hey guys, awesome write up! I am looking to do this with two (2) separate two car garages at our house. What is the actual size of your garage so I can make sure I get the right amount? Ours are two car garages, but they are somewhat custom and may be a bit bigger than normal.
Also, did you have any issues with color differences since you had to use several boxes of the product? Did you mix any together or just go with it?
Thanks so much!
You completed some wonderful projects in 2015. Doesn’t it feel good to see how much you accomplished? Your checkered kitchen ceiling is fabulous! Look forward to seeing your posts in 2016.Garage
Hi, Very informative post ! There is a lot of information here that can help any business get started with a successful social networking campaign !