
{Another} Chalkboard For The Kitchen
I love that when people in my life see old junk lying next to a dumpster, they think of me. I love it even more than those people put that junk in their car and bring it to me. My aunt is one of these people, she found this antique broken vanity top/mirror/thingy and thought I could do something with it.

She was right! As soon as I saw it I knew it would be the perfect replacement for my kitchen chalkboard that I was never really in love with. (I also have something fun planned for the other part…)
You can tell from that picture that it was really really dirty. It was also really really broken…

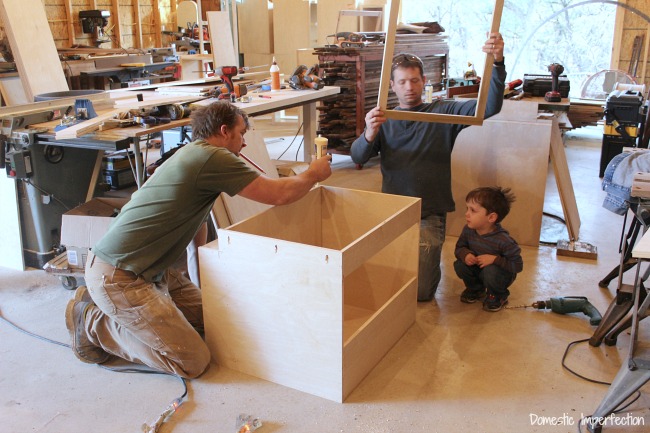
Nothing a little wood glue and patience couldn’t fix though, so Elijah and I pieced it back together while enjoying the crap out of some sliced pears.

After it was dry I traced the shape onto a scrap piece of plywood and cut it out with my jigsaw.

After sanding, I applied the chalk paint. I used chalkboard paint by RustOleum and did four coats, sanding lightly with 400 grit sandpaper between each one. After the last coat was dry I covered the entire thing with chalk. I’ve heard that if you don’t do this it will be hard to erase the first thing you ever write on it and you may always see it a little.

Then I just used wood glue to adhere it to the frame. Also, we only own two clamps so I had to improvise a little.

To hang it I used a little trick I learned. I usually end up using the “guess and check” method followed by the “that’s good enough” conclusion, but with this shortcut none of that is necessary. You just take a piece of tape and put it where you want your nails to hit, then tape it to the wall. And then put your nails/screws at the end of the tape! Easy…you can even use your level on the tape to make sure your frame will be straight.

And just like that, I have a new chalkboard for my daily to do list!
(Enjoy reading my list for today…I finished everything but the last two. And do you like how I forgot the “t” in comments? No spell check on a chalkboard, lol.)

The picture doesn’t really do it justice, but it is really big…way bigger than my last one. Hopefully I can keep myself from filling it up with chores, though it’s not looking good. I also really love with the shape, it feels very feminine and looks like nice decor rather than a giant black hole.
Since this is kinda a before and after, here is a side by side of my first chalkboard and this one.

You might be looking at my new plank walls wondering what happened to whitewashing (go here to read about that). Well, I’m sorry to say that whitewashing looked terrible. I’ll tell y’all the whole story later, for now just know that we’re in the process of painting them white (and it’s taking forever!) but they look awesome.
Anyway, go forth and make chalkboards :)

To read other kitchen renovation posts click the links below…
New Appliances, Painting and Raising the Cabinets, Butcher Block Countertops, Organized Pantry, Farmhouse Table, Penny Countertop, Planked Walls, Painted Walls, Pantry Door, Plate Wall, Windows, Command Center, Floating Shelves, Kitchen Reveal

LOVE the new chalkboard! The shape is wonderful – much more fun than a regular rectangular frame. I’m still searching for the “perfect” piece for this type of project…
What a fun shaped frame! I’m always on the look out for something unique like that, but with no such luck, yet! It makes a great chalkboard!
love it – I have one very similar that still has a mirror in it…if I can find a place to hang it – I might just convert it to a chaulkboard…
The finished chalkboard on the white wood wall looks straight out of pottery barn. Love it!
Very cool! Too bad I’m not that crafty!!! haha
As always Beautiful! What mind you have to come up with such wonderful ideas I envy you. Keep up the good work.
YAY! What a great rescue operation! The frame is lovely and it looks great as a chalkboard!!!
That is quite a transformation! Love it! Makes me want to make a chalkboard for myself.
Love it! If only I had a jig saw… :P
It looks wonderful, Ashley. I also love the shape, and I really need to learn how to use the jig saw. That piece you cut is awesome! I would like to be able to do that.
I love Elijah, as usual! That kid cracks me up. If you’re going to eat pears, you might as well enjoy the crap outta them, right? :)
The jigsaw is so easy to use Jan, you could be a jigsaw master in no time. As long as you don’t let the piece your cutting flop around, your good!
Now that’s a makeover – your chalkboard looks beautiful, love the lines of it!!
Cute!! That was a great find she got for you!!!
This just may be my favorite chalkboard of all time. It’s just beautiful! Oh, I need to go find me some junk.
What a beautiful project! Megan
Found you on 36th Avenue and I’m really glad I did. Love your new chalkboard. Thanks so much for the tutorial – you did a great job and it looks great!
Hi, Ashley! This is wonderful!
I love this project! I’d love it if you’d join me on my T.G.I.F. Linky Party that I host every Thursday evening – Sunday.
http://www.craftjunkietoo.com/2012/09/tgif-linky-party-65.html
Hugs,
Tracy
Love this chalkboard. The shape is great and the dark wood frame really stands out on the white panelled wall. Great job :)
I love it!!! The curvy lines are so gorgeous. You have a lovely blog and I’m your newest follower :)
Thanks Deborah, glad to have you!
Ooooh Ashley! I saw this post after I had spotted just this type of treasure at my favorite local prim shop. So, back I go before he closes for the day to snatch up my $19.99 bargain! The one I snagged is (with the outer frame) about 3.5 feet high and 3 feet wide (a biggie) and the mirror is square! I’m going to actually hang mine near my front door, on my porch and change my “Welcome” message on the chalkboard to reflect the season! Can’t wait to dive in! Thanks for the inspiration once again!!
I LOVE the idea of changing the message with the season. So festive…and easy. Extra points for easy!
great crafting idea, seriously learning it through here!