
Simple Industrial Pipe Shelving, Bathroom Edition
I finally have a new project to show you! So remember that master bathroom remodel that Adam and I have slowly been working on? Well, we checked another project off the list. Meet my new shelves…
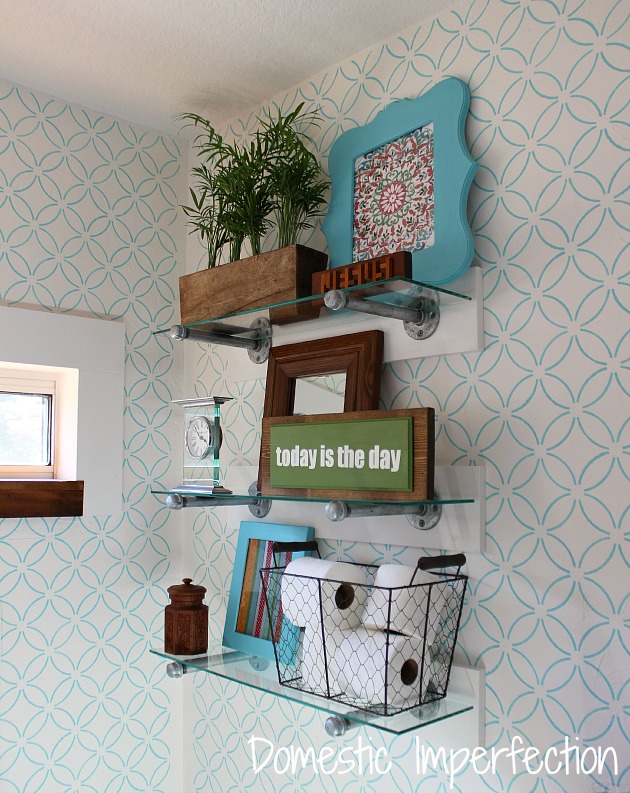
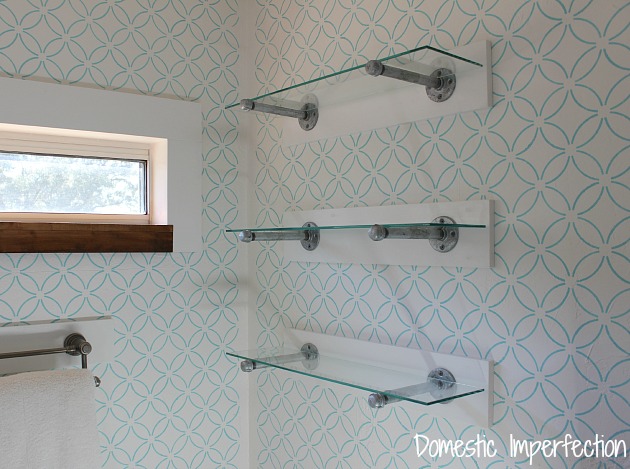
I love the way they turned out…they add a ton of personality to the bathroom. I like that they feel light (since it’s glass) but are also cluttered with stuff. That sounds kinda weird to say, but the rest of the bathroom is a little sparse so I wanted a “stuff filled” area.
They’re actually not at all hard to make if you’re straightforward about it, but Adam and I were trying to be creative and save money and none of that stuff ended up working out. That’s what we get for being “guess and check” DIYers… things didn’t go perfect the first time around. Actually, let me change that. I am a “guess and check” DIYer…Adam is not. Since he works outside the home I’m often left to my own devices, so I start projects without planning the end (or measuring anything) and he gets to come along for the ride. I’m pretty much a mans worst nightmare, haha.
So here’s how it started.
We have two different sizes of nice tempered glass that have been sitting under the bed for a long time. Years, probably.
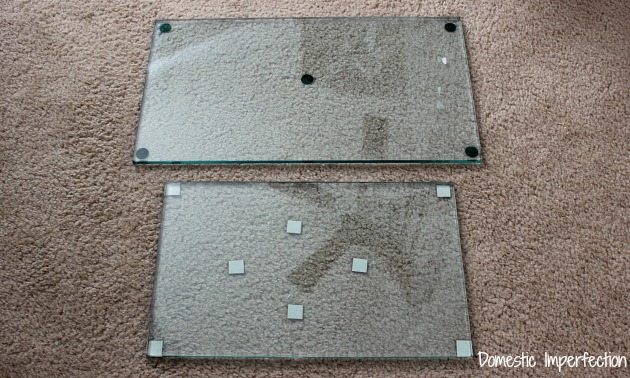
Adam used to work on the office side of a construction company, and he got them for free. We have three of each size and I thought they would make for great bathroom shelves. I figured we could just buy some industrial galvanized pipe, attach those to the wall, slap the glass on top and call it a day. I was good to go. Then my planner husband pointed out that 1) galvanized stuff isn’t cheap, especially the flange parts that would hold it to the wall, and 2) the studs in the wall above the toilets were not centered and my shelves would be crooked. Argh…. I hate him and I love him.
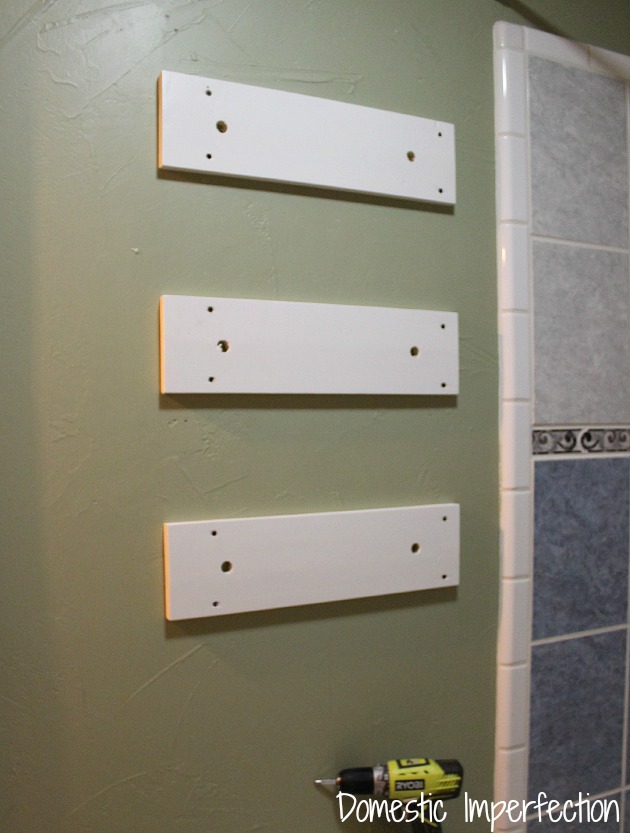
His idea was to attach some wood to the wall (in the studs), drill some large holes, and put the pipe into the holes. So the holes would actually be the supports. Stick with me, pictures help. (We did both our bathrooms, which is why the pictures don’t match up.)
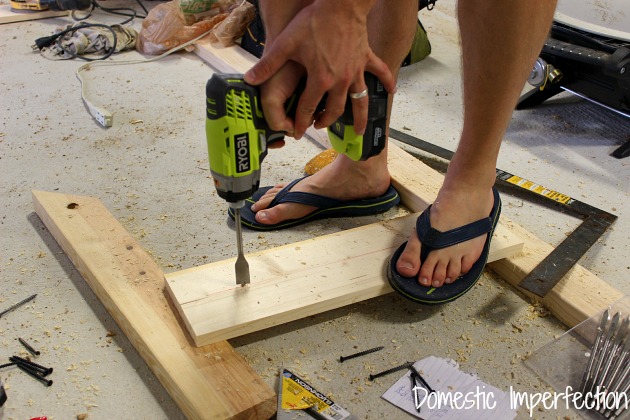
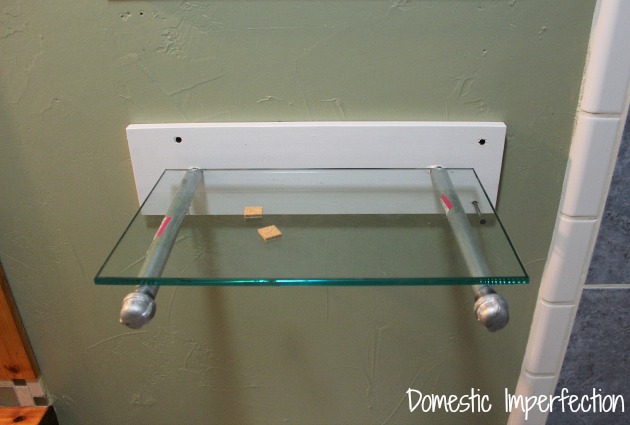
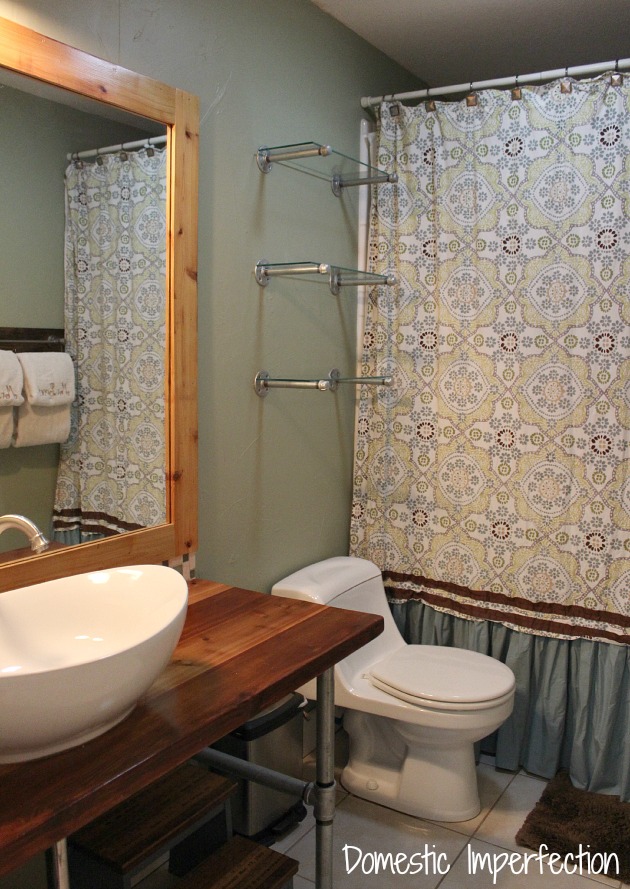
Despite the fact that it seems to be working in that picture, it didn’t. The pipe was impossible to screw into the wood and even more difficult to get in straight, so it wasn’t sturdy at all. Then there’s was the biggest problem…the shelves stuck out wayyy to far.
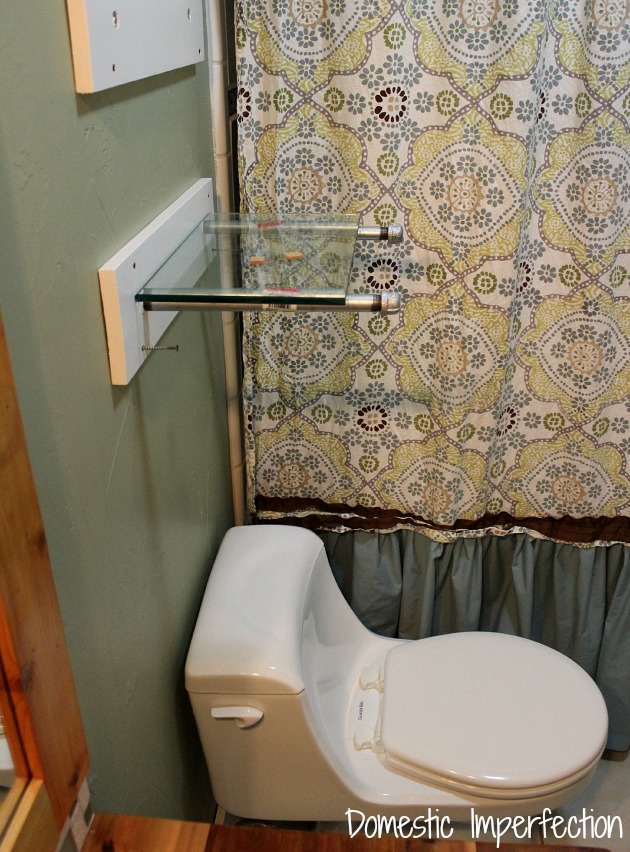
Now it’s not like people recline back when they’re using the toilet (and least not that I know of), but they were still dangerously close to the toilet user’s head.
So my free glass was not going to work (you can’t cut tempered glass). Dang it.
Now we could have just cut some wood planks and made this really easy, but I had my heart set on glass. So I went shopping and quickly discovered that plain old glass is pricey. Premade glass shelves are pricey. Even buying thick plexiglass for shelves is pricey. Most of the glass estimates I got online looked something like this…
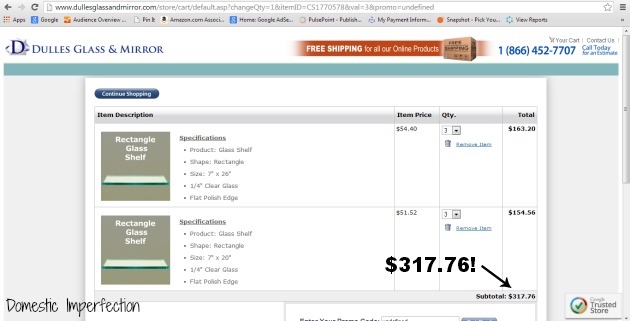
$317 freaking dollars. That is CRAZY. I was about to settle for wood shelves when I called up a local glass company as a last-ditch effort. I’m glad I did, cause they gave me a price of $74 for all six shelves (Thad Zieglar Glass in San Antonio). I would have normally flinched a bit at even $74, but after the other quotes I pounced on 74 bucks.
%20industrial%20pipe%20and%20glass%20shelving)
Here is a list of exactly what I used for those of you that would like to make your own (per shelf)
- glass – 26 inches wide and 7 inches deep
- 8 inch long 3/4 inch galvanized pipe (2) threaded on each side. These are standard and premade, no cutting needed.
- 3/4 inch flange (2)
- 3/4 inch cap (2)
- wood for screwing into the studs (optional) and screws
- Price per shelf is roughly $25 – would be much cheaper to use wood instead of glass
- Oh, and make sure and adhere the glass to the pipe by using a few dollops of clear caulk
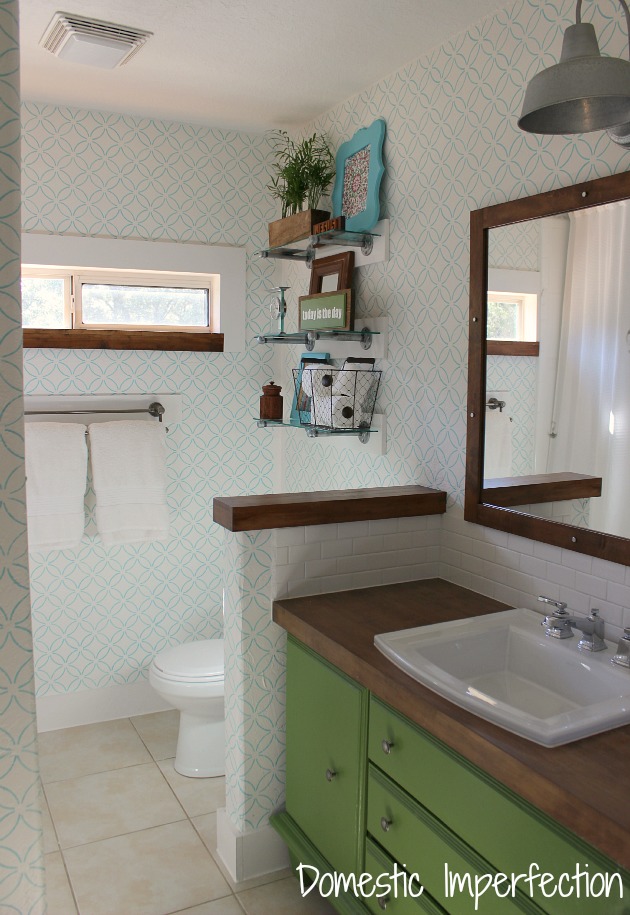
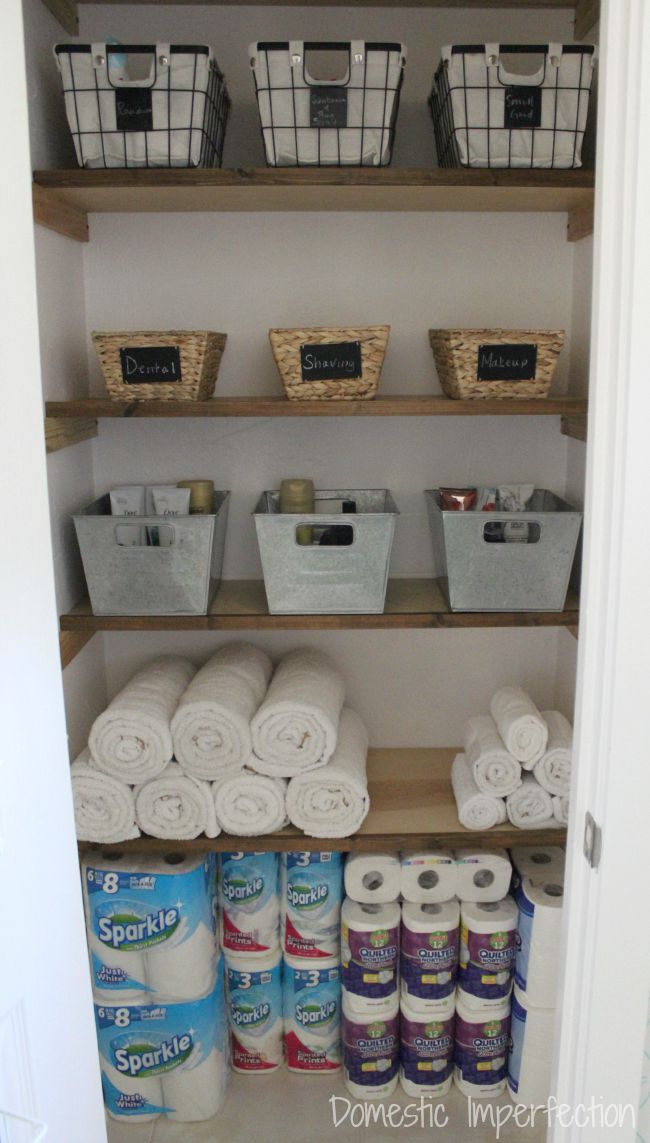
In the guest/kids bathroom we ended up taking the wood down, the studs were actually close enough to center that it doesn’t look awkward. These shelves use the same material, except the shelves are 20 inches long rather than 26 like the master.
Then I went ahead and decorated the stew out of them, that was the most fun part. Yes, even more fun than multiple trips to Home Depot and getting glass estimates. If you can believe it.
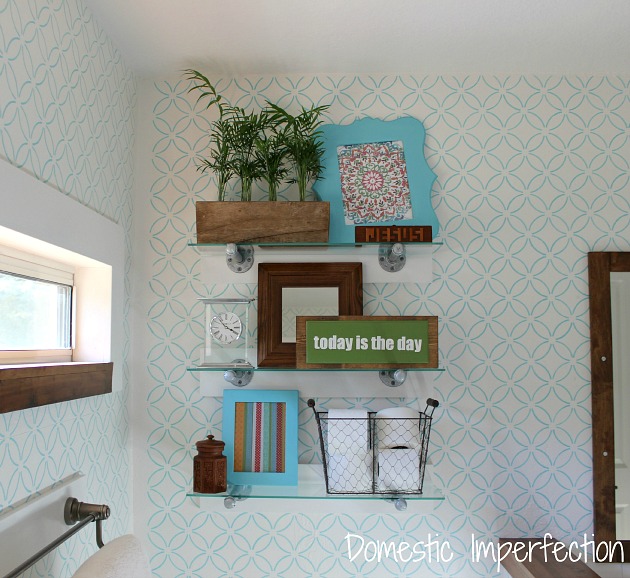
I made a few really easy “art” pieces for it, I’m going to give y’all tutorials on those in my next post.
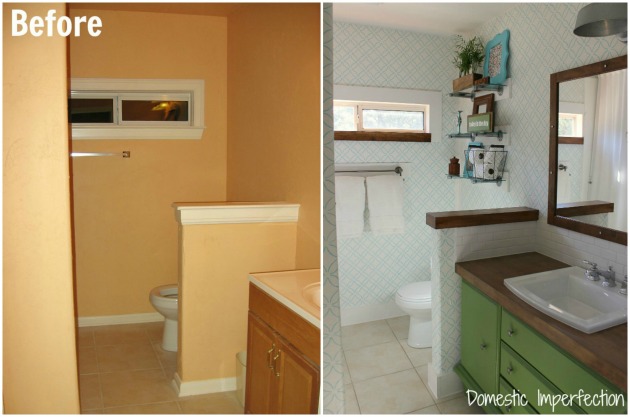
Here is a side my side of what we started with and where we’re at now. Dramatic, right? I’m loving it.

)

Haha, most people don’t recline when they’re on the toilet!!! Love that.
Ooh love it! Would happen to know how much weight the shelves would hold?
I don’t know much weight they will hold….they are really sturdy though, so probably quite a bit.
love these! the glass is amazing in the bathroom!
Ashley, your shelves look wonderful, and as always I admire your determination to do things as cheaply as possible–even if it backfires sometimes :-) I also think your dresser remade into a vanity is absolutely awesome. And on another note, DIY is not always a bargain. My husband just finished making an industrial-style kitchen island for my son and his fiancee (my latest blog post), and we spent almost $700 on materials! (But it did come out really nice).
P.S. Your blog is one of my favorites. I love that you keep your sense of humor with two toddlers and a small budget….
Thanks Diane! I love the dresser vanity too, it’s my favorite thing in the bathroom. Plus it has a ton of storage, which is always a bonus.
You are so right about DIY not always being cheap…sometimes it’s downright expensive. Your island turned out amazing! And even though it wasn’t cheap it’s custom, unique, and and super practical. Those things usually come with a steep price tag!
i freaking love those :)
We are in the process of completing our boys’ bath. I cannot wait to get to our horrible master bath! Loving these shelves!
Love the shelves. they are beautiful.
http://frugaliciouschick.blogspot.com
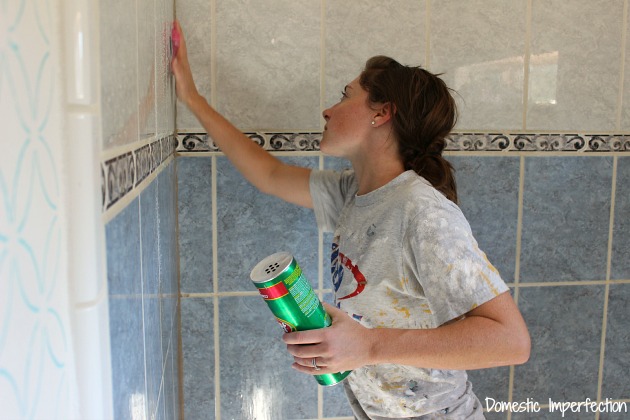
Gah! My blood just went cold! Never, ever, ever use a spade bit (or anything else for that matter) with feet not protected! One itty bitty slip and that will go straight through a toe! Just ask at your local ER, they’ll tell you the stories! >Shudders< Anywooooos, apart from that heart attack, the shelves look fantastic! I like the idea of them being glass to allow more openness of space and light. Terrific job!
Sorry to give you a heart attack! We tend to get lazy about safety when we’re just going to do one quick thing (rather than a big DIY day). It only takes once though and we should really be better examples. Thanks for the reminder and thank you about the shelves!
You just added the finishing touch! My favorite part – the walls!
These are fabulous, Ashley! I love how honest you are about the trials and errors of those glass shelves.
They look lovely, and really – $74 isn’t all that much for six shelves. But holy dinah to the $300 bill from before! Gah!
Looks awesome! I think it would look good with wood shelves too. Might show my husband. We need some shelving in our master bath too =)
These look so modern and chic, and for that price?! Simply amazing! Great job.
Quit giving me ideas! We have some pipe shelves but I never thought of using glass instead of wood. Much better, you can see the industrial edginess of the pipe so much better.
Beautiful shelves. I really need to make some too. Thanks for this tutorial
Glad to see that your hubs also wears OSHAA approved flip-flops when constructing! LOL My hubs spent two years building us a lovely home and each summer wore his flip-flops. I can’t say that his feet didn’t suffer a few accidents – one particularly nasty nail removal just moments before he was toes-down all day installing flooring! Gotta love our helpful husbands!
Hi Ashely
Saw your shelves they look AWESOME!!!! Just wanted to know the thickness of the glass. Would you happen to know?
Beautiful cheap shelves. thanks
Hmm,, awesome modern shelves! Great job.