
Pecan Farmhouse Dining Table
Surprise! We built another dining room table. That kind of came out of left field, I know…after all, we just built our current pine farmhouse table last year. Allow me to explain…
Adam is a wood snob.
Now Adam isn’t snobby about much. He will gladly drive old crappy cars, sport goodwill t-shirts, go waaay to long between haircuts because I don’t feel like cutting it, and use the same towel for the tenth time without complaining. But show him a piece of cheap furniture and you can watch his nose turn up…while wearing socks and sandals. That’s my man.
So last year we gave our old dining table to family (the paisley table) in order to build something bigger. I found some plans online for a big pine farmhouse table and showed them to Adam. “Pine?” he said “Well I guess it can’t hurt to practice building a table with cheap wood.” I happen to like the look of rustic pine, but I’m certainly not going to stop my husband from building furniture. That would just be silly.
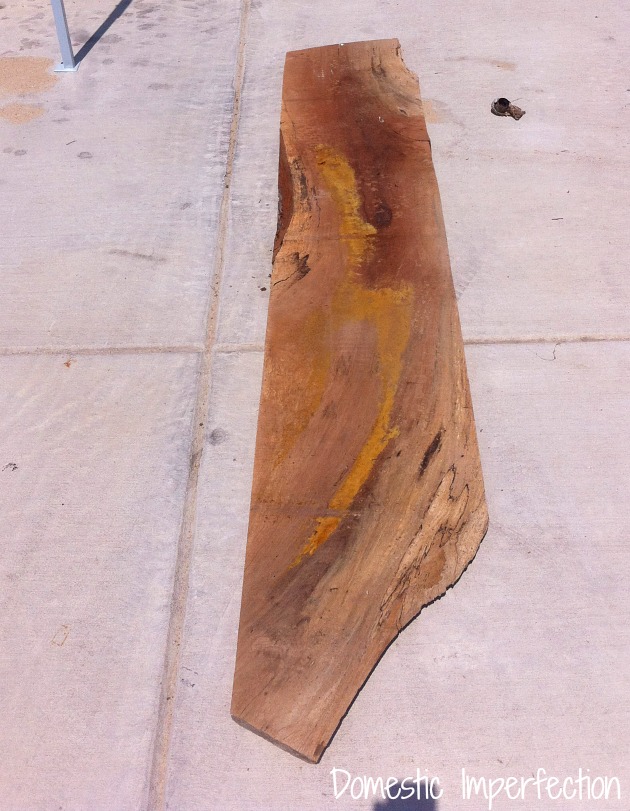
Long story short, our friend Darin (who built the pine table with us) found a source for some pecan and he and Adam decided to build two more tables. What was their source? Well, a tree.

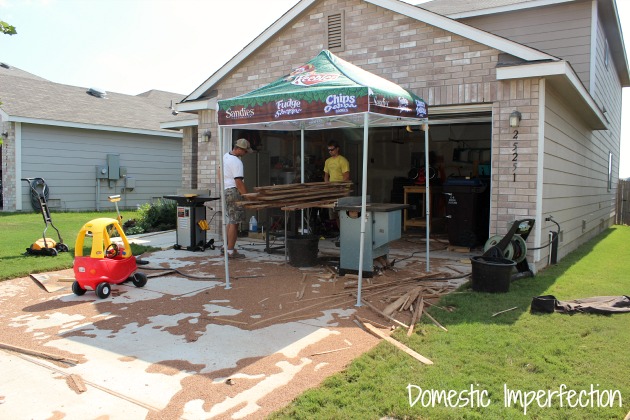
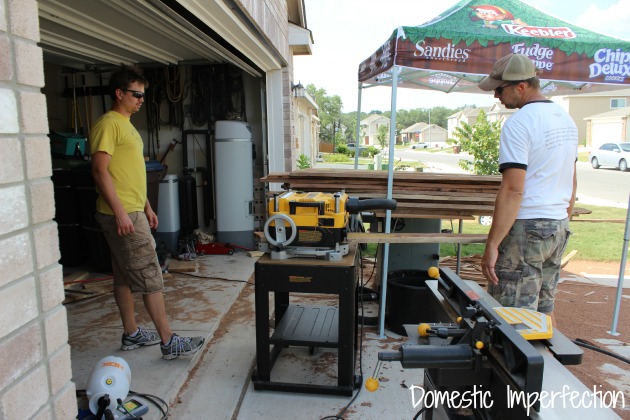
Not that exact tree, but one just like it that had already fallen and had been roughly milled. So even though Adam didn’t hack this tree down with his own brute strength, the thought of my husband dragging home his kill instead of buying it at the store makes him very…. attractive. He’s just so dang masculine. So Adam and Darin brought all the rough lumber back to Darin’s and spent an entire day – literally – milling the wood and making it into something they could use.
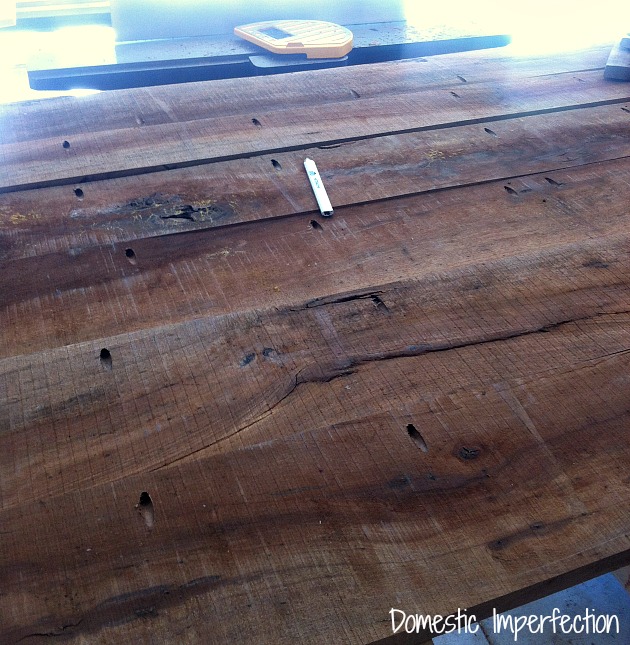
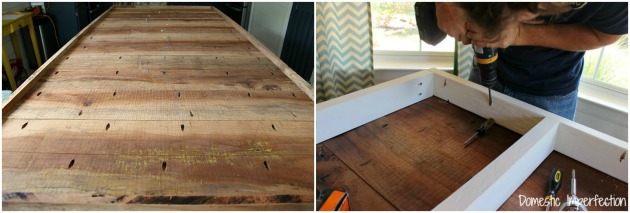
The next day they put together the table tops. I wasn’t there, which means y’all get really random iphone pics of the process. I’m giving Adam serious props just for remembering to take pictures. The secret to making tabletops is the Kreg Jig. If you’ve ever wondered how plank tabletops go together and you never see any screws…Kreg Jig. It’s a really easy tool to use and not at all intimidating (also, not expensive). You can kinda see how it works in the picture below.
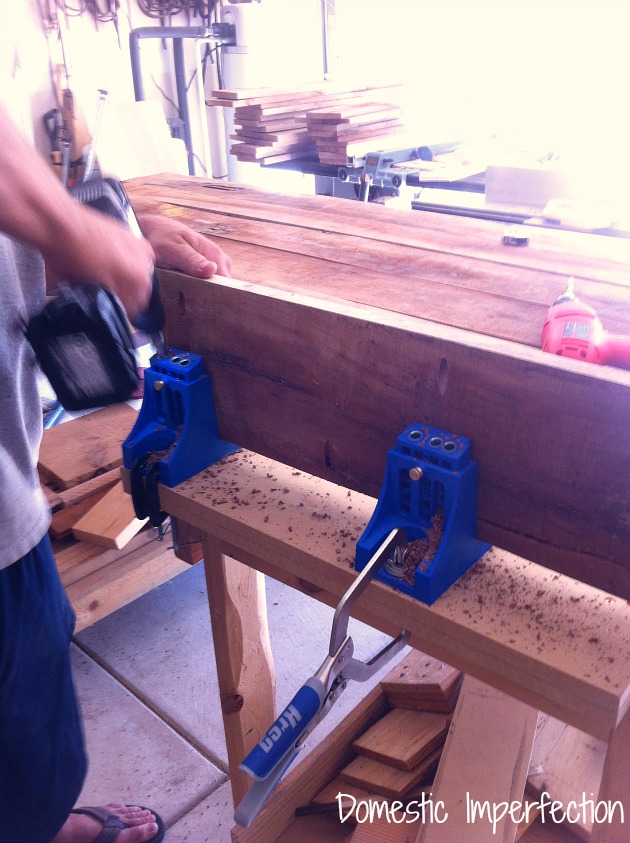
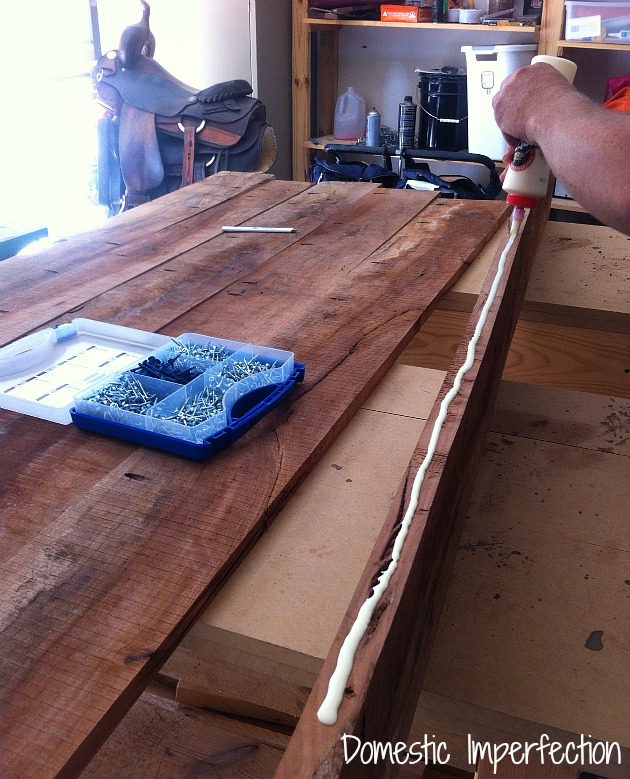
You basically just secure your plank into the jig and use your drill to make angled holes in the plank. We also used the automaxx clamp and the pocket-hole screw kit, which aren’t necessary but do make the job easier.
Then you glue and add the screws and just like that everything is hidden and secure.
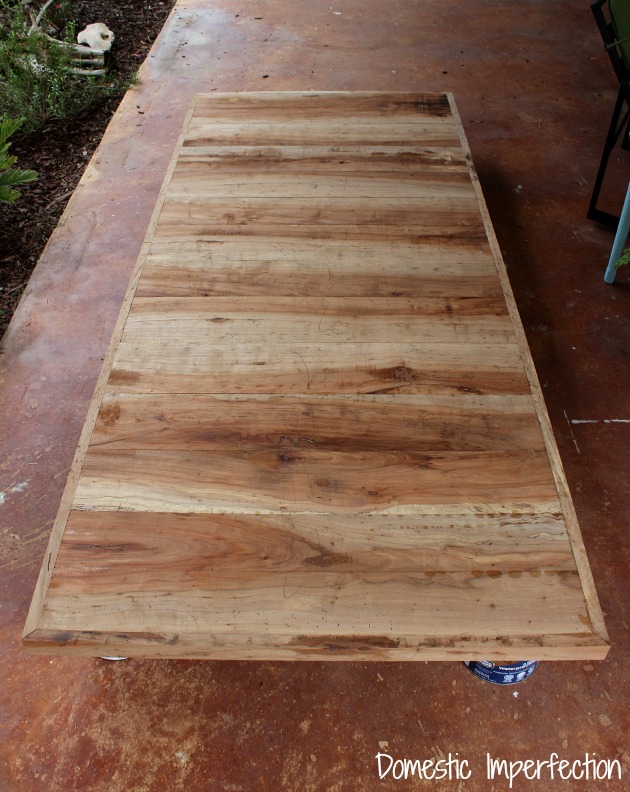
Then Adam brought me home this lovely beast and told me it was my turn.
First I spent forever sanding it with a belt sander and 80 grit sandpaper (that sucker was rough) and then finished it up with the orbital and 150. I managed to do all this, watch my boys, and look fabulous the entire time.
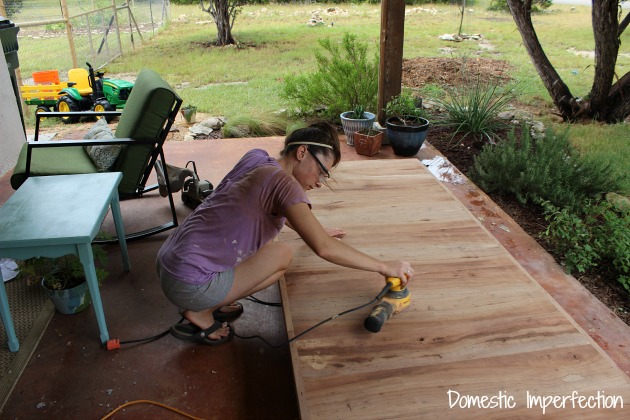
What can I say…it’s a gift.
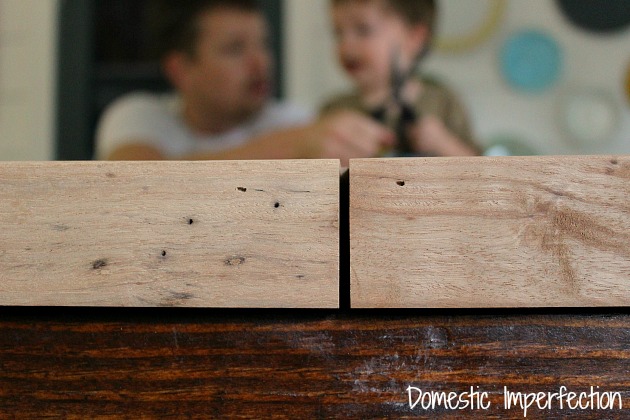
And then we were dumb and left it out on our front porch overnight. The wood soaked up the humidity, expanded, and pulled apart the seams in the skirt. Also, blurry Adam and blurry Levi had an epic battle over who is old enough to use scissors and who isn’t.
After about two weeks of sitting in our house on top of our other table everything came back together. Whew.
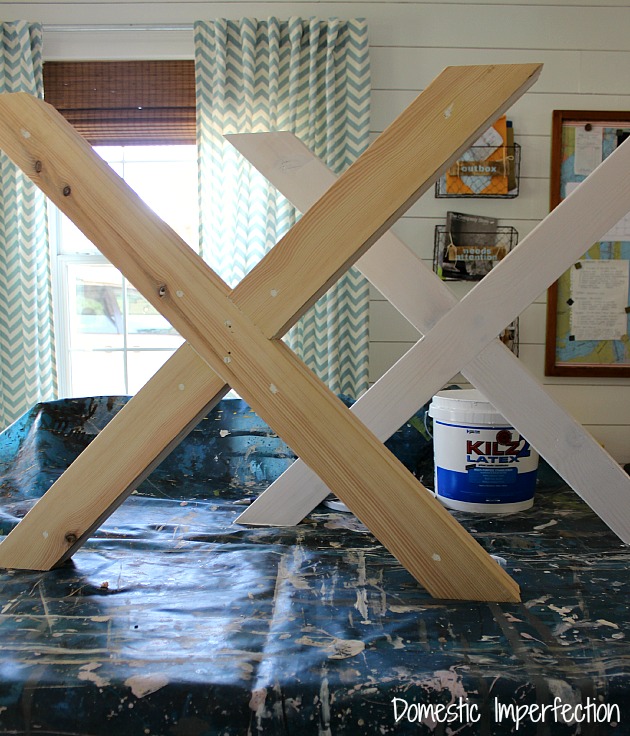
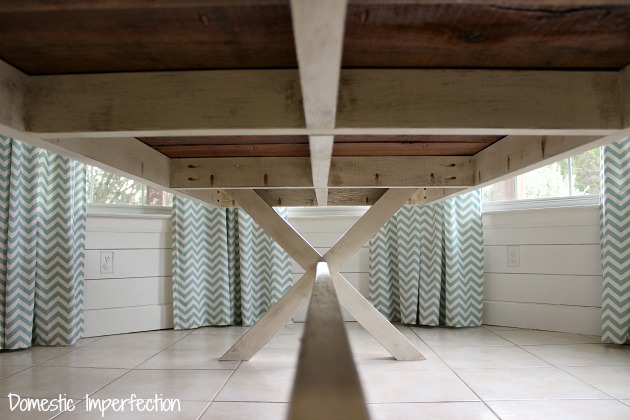
We decided to do the bottom of this table a little differently than our pine one. That one had more traditional farmhouse legs, for this one we decided on big X legs instead, like the Toscana table from Pottery Barn. I’m not going to share all the details and measurements for building X legs, but here is a link to the tutorial we used.
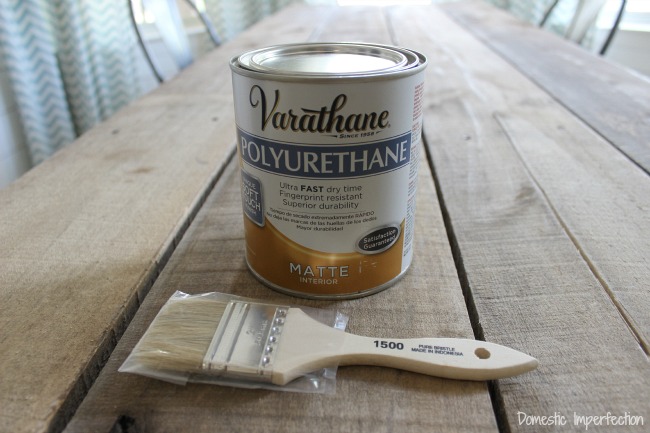
Then it was time to seal the top. We chose to leave the pecan natural and use Waterlox, which is the same thing we did to seal our butcher block countertops. It’s basically tung oil that has hardeners in it and gives a really great finish. The application process isn’t the most fun thing though. Here is the first coat going on…
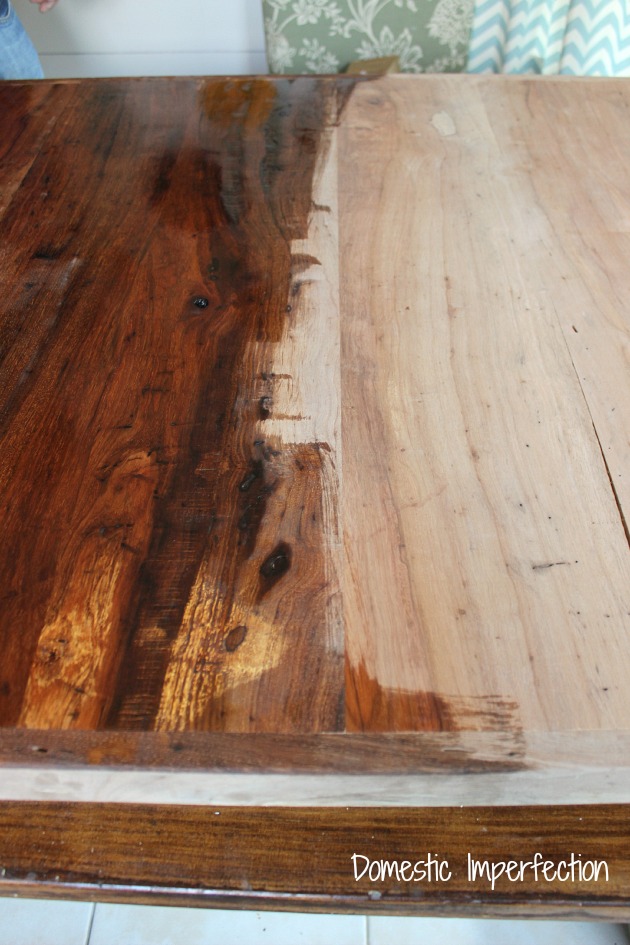
This stuff smells terrible. (Although I’ve now found something that smells worse). If you have to do it indoors then it’s best to apply it and then leave and run errands or something…it’s likely to make your brain hurt if you stay. We ended up applying four coats total, and each coat had to dry 24 hours before applying the next. (Also, if you sand with 400 grit sandpaper before the last coat it will be smooth as glass.) During that time we enjoyed many family picnics on the kitchen floor. The boys thought it was great.
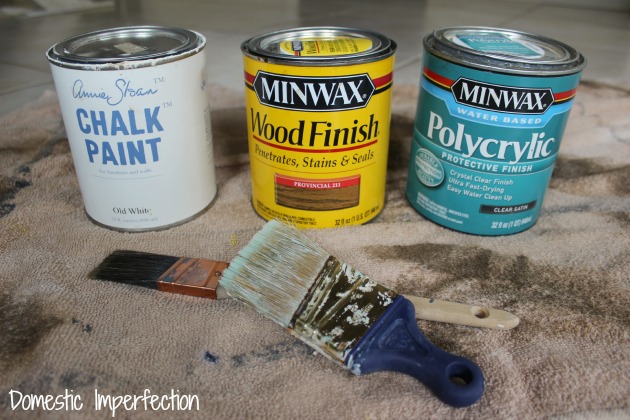
Then came the very last step…finally. We would have loved to make the entire table out of pecan, but none of the pecan pieces were thick enough to use as legs. So we used…pine. Ha! First I painted them with Annie Sloan Chalk Paint in old white, then I went ahead and gave then the dirty cowboy treatment (tutorial here) and sealed them with polycrylic.
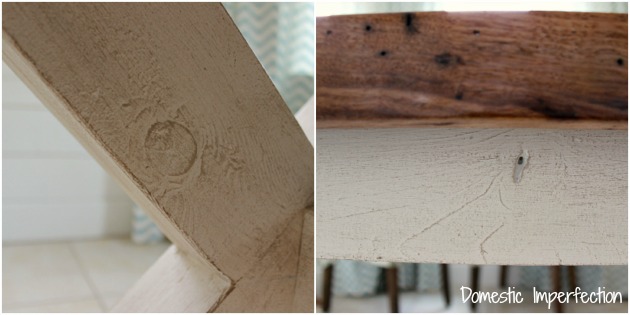
Here are some close ups of what the dirty cowboy treatment looks like, it’s just another way (super easy) to make furniture look worn.
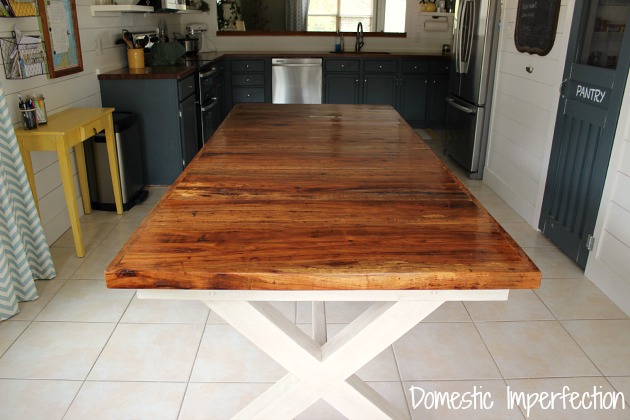
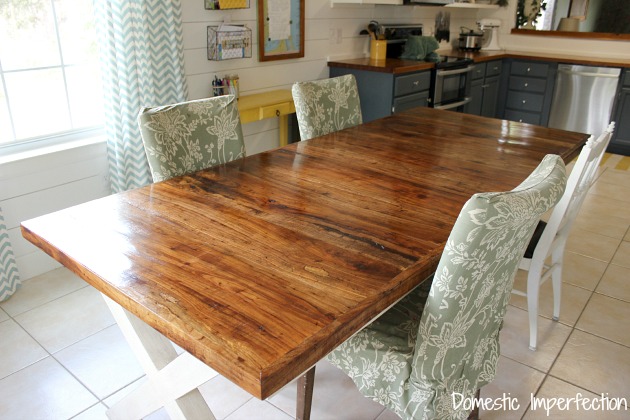
And here she is…our non-pine but still half pine masterpiece.
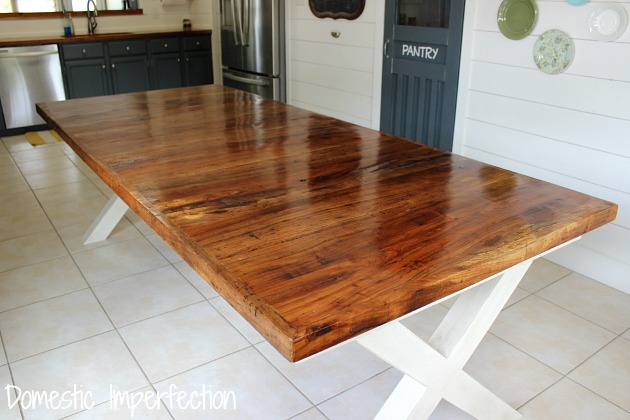
I think the top is gorgeous…maybe my husband is onto something. I think a matte rustic finish may have even been better, but glossy is going to much easier to keep clean with my double dinnertime disasters (aka. my kids)
(Also, it is nearly impossible to take pictures of a glossy table in a room full of windows. I seriously think I took 50 pictures and 95% were horrid.)

Here are a few of the beautiful imperfections..

Now we just have to build benches, because currently we only have four chairs…and one of them is not like the others.
Also, the table is 3.5 feet wide and 8 feet long, the same dimensions as the other table. It comfortably seats 8-10 adults, though we’ve had as many as 16 around it.
This is Gorgemegussssy with bench and two of the chairs at the ends so cool.
Thanks Kathryn! We build a bench for our last table and it was so great for the kids…we were able to get rid of our high chairs and just let them stand on it.
The table is magnificent! Thanks for sharing it with us and also thanks for giving your husband props. Its refreshing to read a woman actually complimenting her partner instead of complaining! I can tell y’all have a good time together.
Karen, you just made my day. Thank you. I think it’s important for wives to build up their husbands and not tear them down. I’m not perfect about it, and it certainly helps that I have an amazing, fun, hard working man. We do have a lot of fun together, and even when things aren’t fun we are able to laugh about it.
LOVE this table! I think the gloss finish is beautiful. I would love to get my hands on some “real” wood. I want to build a dresser with a milled top; yours is right up my alley!
That would be beautiful, especially if you can find something with a live edge!
OMGooodness! I’m so glad you posted! I was going through withdrawals. :) I love reading your blog- you’re hilarious and always have great ideas. I would die if I saw that table in my dinging room- simply beautiful. What did you do with your other table and bench?
Haha, sorry! If I don’t have a completed project then I don’t know what to write about. I’m not good at that filler post stuff :) Last week Adam said “When are you going to post something on your blog? Readers are starting to complain.” I told him I hadn’t seen anyone complaining, and he said “I’m a reader, and this is me complaining.” Haha…he’s the voice of the people.
Oh, and we sold the other table and bench to some friends of ours.
What a beautifully made table! I love that you chose to make the x framed legs which lightens up the table from a traditional heavy farmhouse look. Also, I am SO jealous of the light in your home! I know it makes pictures tricky, but my apartment has north/south facing windows and it’s so dark all of the time, I have to use lamps even the brightest part of the day. Sad!
I have a question. I made my own paisley stenciled table and sealed it with about 10 coats of polycrilic. It worked really well, but perhaps I didn’t sand enough between layers, or it’s not the right product, because I wasreally hoping for a glossy/hardened finish like you got with the minwax. Since I do not dare try to sand the table and risk ruining the stenciling, do you think I could use minwax over the poly to create this finish? Or do you think there is a better product, like an epoxy, that would do a clear protective glossy coat?
Thanks for sharing another successful project:)
Hmmm, tough question. What makes it tricky is that polycrylic is water based and the products I would normally recommend (like the waterlox we used) to make it glossy are oil based. You can’t just put one over the other. I would probably buff it if I were you, I found this youtube video that might help…
http://www.youtube.com/watch?v=X-pRQagYI3I
Thanks :) I might just keep it as is… we’ll see.
This table is gorgous – luuurve that wood!! And the thought of Adam “dragging home his kill” is just awesome :) Another thing for your home with personal history – probably even an heirloom someday. Cheers!
This is so beautiful. I WANT IT!!!
that is beautiful, ashley!!! the base is stunning and love the top as well!
Absolutely stunning! You guys amaze me with what you not only take on, but complete beautifully, and while having two little ones around as well! Missed your posts!
Thanks Maureen ! And don’t worry, a “summer ramblings” post is in the works :)
I love it! And I pick the white chair. Just a guess.
Oooo, so close. The answer is actually the “mother of pearl” chair. Maybe next time ;)
This table is awesome Ashley! Gary and I love pecan wood as well, we found a gorgeous dining table once shopping, well looking at Stowers(a very expensive furniture store there in San Antonio) and we’ve dreamed of it since, waay tooo pricey for us though. Yours is even better! Love your style! Are you going to make the benches out of pecan also? looking forward to seeing them!
Cindy@GlassSlipperRestorations
When this table was still in the early stages I was looking up other pecan tables…holy cajolies they are pricey! Like many thousand of dollars. I think ours cost about $80, but only because we got a bangarang deal on the pecan. You just need to find yourself a tree :) We are making the benches out of pecan too, with tiny little X legs.
Aaaaaaand another great table! Lucky you with a wood snob for a husband (and lucky us readers with your husband as our voice. Thanks Adam!)
WOW! (That’s all I have to say.) =]
Beautiful, Ashley!!
You husband is right to be a wood snob – the pecan is stunning, really! You can’t get that kind of color with pine. I also have a Kreg jig and I love it – it makes putting things together so much faster and more accurate. I edge glued for years and the jig just works better.
Oh my goodness, that is just beautiful!!!!! And props to your husband for the photos!!! Gotta love a man who knows what to do! By the way, who won the scissor fight – blurry Adam or blurry Levi?
Blurry parents always trump blurry children…as long as we have the energy for the battle. So 50/50, haha.
I LOVE the shot of Adam leaning on the tree. I love that he built you a table out of a tree. I love the character in the grain and imperfections of the table (my table’s imperfections are my favorite part of it). This is a totally awesome and wholly beautiful family project!!
Thanks Julie! That’s Actually Darin leaning against the tree, Adam was the photographer. Darin in very manly too though :)
Ah drat, I was hoping that was Adam as I typed and figured I had a 50/50 chance of getting it right :)
I missed you! That pecan wood has such a beautiful color depth to it. Gorgeous! What an undertaking Adam and what a great job you did!! Really like the idea of the X legs, that way no one has to sit straddling the corner leg. This beautiful, made with love table, should become an heirloom for your boys. You should date and write a little description on the underside of the table for future info. I personally love finding someone’s name under furniture!
I love that idea! I’ll have Adam date and autograph it for sure. I really like the X legs too, if only because they are so much easier to clean around. Lot’s if under table cleaning happens at this house! Should happen, I mean…
Love it! that wood is so beautiful!
i LOVE this table! would love to take on a project like this, any chance you could give a supply list for lumber?
Sure, I can help. Your looking at (10) 2″X4″ pine studs – use the highest quality available. The top is made of 30 board foot of Pecan assuming you use 1″ thick hardwood or just 30 square feet if you use plywood or dimensional lumber. My original plan was to build the table top out of dimensional lumber. If we hadn’t had access to the pecan I would’ve used Western Red Cedar from a local decking company.
Thanks! =) seriously beautiful table
Ashley!!! That turned out amazing!!!!! I’ve been begging Jesse to build me a table to like 1 year. Because that’s how long I’ve been without a table! :) I’ll definitely be showing him this. I love the glossy finish! AWESOME job!!
Gah, that’s super beautiful! And hat’s off for sanding the entire desk like a beauty queen, you did an amazing job there. Because of what you did, I still believe that seeing the finished product of your DIY furniture is already a paid-off experience, especially if you were able to have a glossy table in the end.
gorgeous table. That wood has so much character, and your design (both construction and finish) really showcases it well. One question for the wood snob – why the kreg pocket screws? I’ve always been taught that a good edge glue-up was study enough for tabletops, and if you wanted some help in aligning boards, to use dowels/biscuits/joiner bit….
A fellow woodworker! Great question. The answer lies in the old “Know your audience” adage. Most of our viewers are looking for budget project ideas, and bar clamps are expensive. I only have three! As are routers, jointers, drill presses, planers, etc… I was also wary to do a glue up due to the fact that the wood I used was not “kiln dried” and could end up warping pretty badly. The intent was to make a table that could be replicated with just a table saw, belt sander, kreg jig, and a drill (assuming you purchase prefaced lumber). We also wanted to keep it farmhouse style with plenty of gaps and imperfections. I have a very nice cherry table top I glued up about 10 years ago sitting in my closet, maybe I’ll bust that out and see if Ashley wants to do something with it.
Wow! This table is absolutely gorgeous!!
Beautiful table! We recently aquired an old farmhouse table on craigslist (stained purprle of all horrid things) and my mom refinished it to a beautiful centerpiece for our house! Tables are the best! Nice work!
Hubba, hubba, hubba!!! This table is a show-stopper! Sooo pretty!
Amazing!! I love the story about your hubby being a wood snob LOL. Love it ;)
Sharing on my FB page today!!
Hugs,
Jamie @ somuchbetterwithage.com
Ahsley.
Wow! What an undertaking. The finished table is breath-taking. I love how you did the white base and let the beauty of the top stand on its own!
The wood is absolutely beautiful and you did a fantastic job. My husband is also a wood snob. I found an antique piece at a sidewalk sale this weekend made from true cherrywood. I talked the vendor down to half price and wound up lugging it home myself because I had walked to the village. He was very surprised – and pleased I was starting to understand his passion for good wood.
Nice work, cherry is expensive! Adams wood snobbery is rubbing off on me too, now I go to thrift stores and think “no dovetailed joints? forget it.”
I really love the pecan! How wonderful to have a handy husband with handy friends! I really enjoy your blog.
We are having a heart pine table and bench made from an old barn. It will have oak legs. I can’t wait to get it – it should come before Thanksgiving. We bought 6 matching chairs, but they are in serious need of a good cleaning and some wax, not to mention seat covers. I’ve ordered 50 yards of burlap for that and some window treatments. I think I’ll have a busy November!
This farmhouse dining table looks amazing. It will go well with wood benches and or wooden farm type chairs.
Beautiful table top! You are so lucky to have a woodworking husband… that’s a beaut!
WOW! Great job!
Beautiful pecan. That table turned out really nice!
Thanks for your site – packed with some real info.
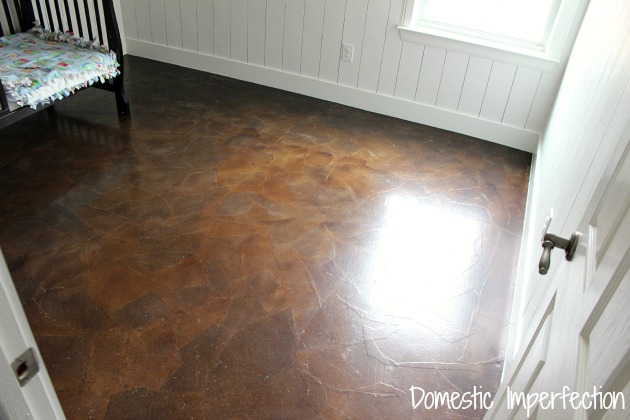
Lovely, out of curiosity what would you have done to make it matte?
Used matte poly (I think I used semi-gloss?). The shine on my floors didn’t last too long though, they are matte now and it looks great.
Wow, this is gorgeous! (Visiting from I Heart Naptime!)
Oh my goodness! Your table is beautiful! Someday when we have a bigger dining area I would love to build a huge table. Right now our little four person table barely fits! Kreg Jigs are the best and make projects so easy. We used ours to help put together our chicken coop. Thanks for linking up to The Creative Exchange!
xo,
Laura
This is a beautiful project. It was discovered through Pinterest. Thank you for sharing it!
I love the look of farmhouse tables but I keep hearing friends complain about food getting stuck in the seams. Did you have any issues with this table? Any tips for get a really tight seam?
Yes, we have the same food issues. I would actually recommend getting a dark epoxy and filling the cracks before sanding and finishing the table. We have friends that just did that with a pecan kitchen island countertop and it is smooth as silk and you would never know the epoxy was there (it looks like part of the wood grain). We plan to do that on our next table.