Skip to content
Facebook
Instagram
Pinterest
TikTok
YouTube
Email
Trending Post
:
7 Mid-Century Modern Kitchens That Inspired My Own
Home
About
Project Gallery
Most Popular Posts
Search
Facebook
X
Instagram
Search
Toggle Menu
Home
/
2012
/
January
Month: January 2012
Basics
|
Decor
|
DIY
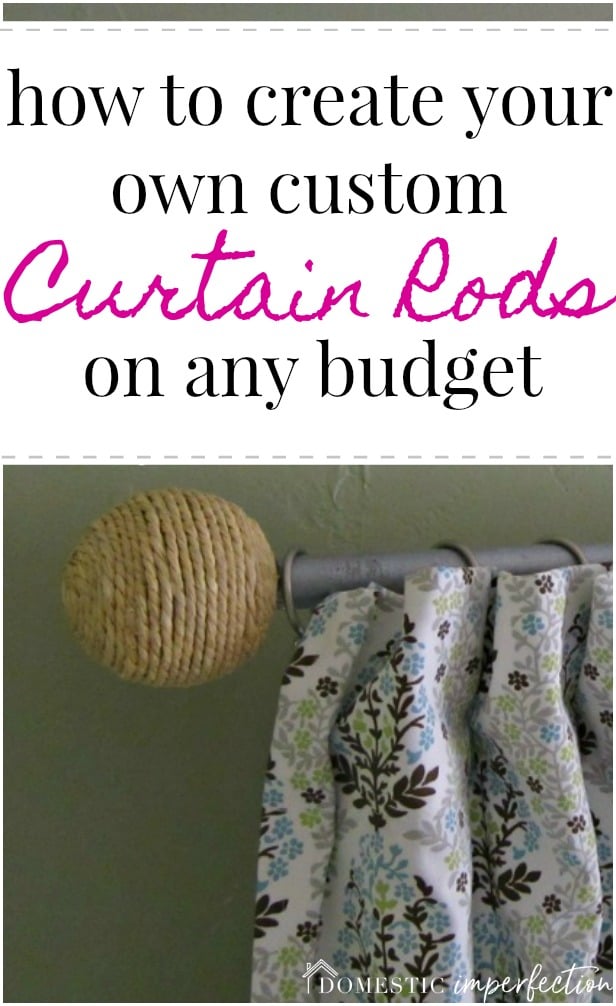
How To Make Your Own Curtain Rods On The Cheap
Crafts
|
DIY
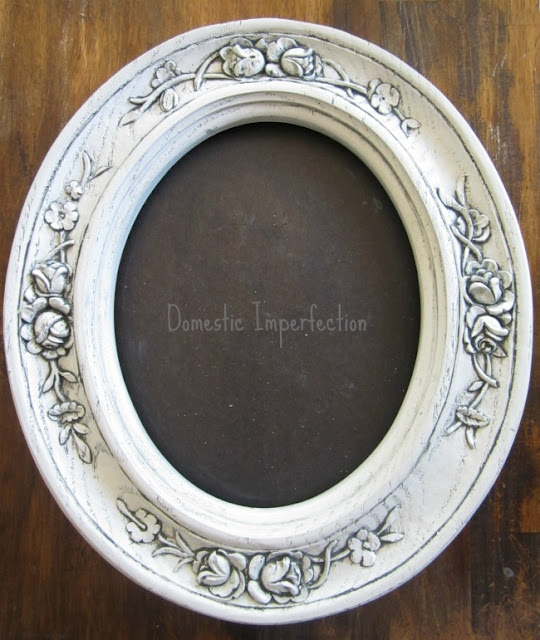
Glazed Frame – Learning By Doing
House 1
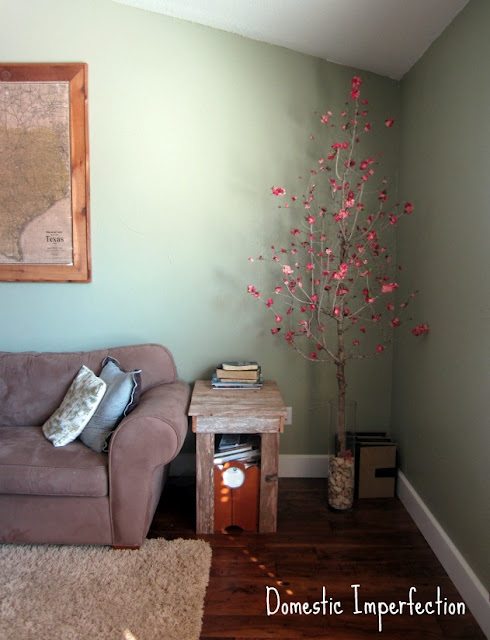
The Debrowning of the Living Room
Home
About
Project Gallery
Most Popular Posts
Toggle Menu Close
Search for:
Search